4
InstallationInstructions
Ifthecounteropeningextendstothewalls,itwillrequiremaintopfillerkit(JXS66XX)orback-guardkit(JXS36XX,
JXS39SS,orJXS32XX)toclosethegap.Refertothefillerorbackguardkitinstructionsforinstallationdetails.
NOTE:Ifthecountertopisgreaterthan25”itwillshowagapbetweentheback-guardandwallorbetween
fillerkitandthewall.
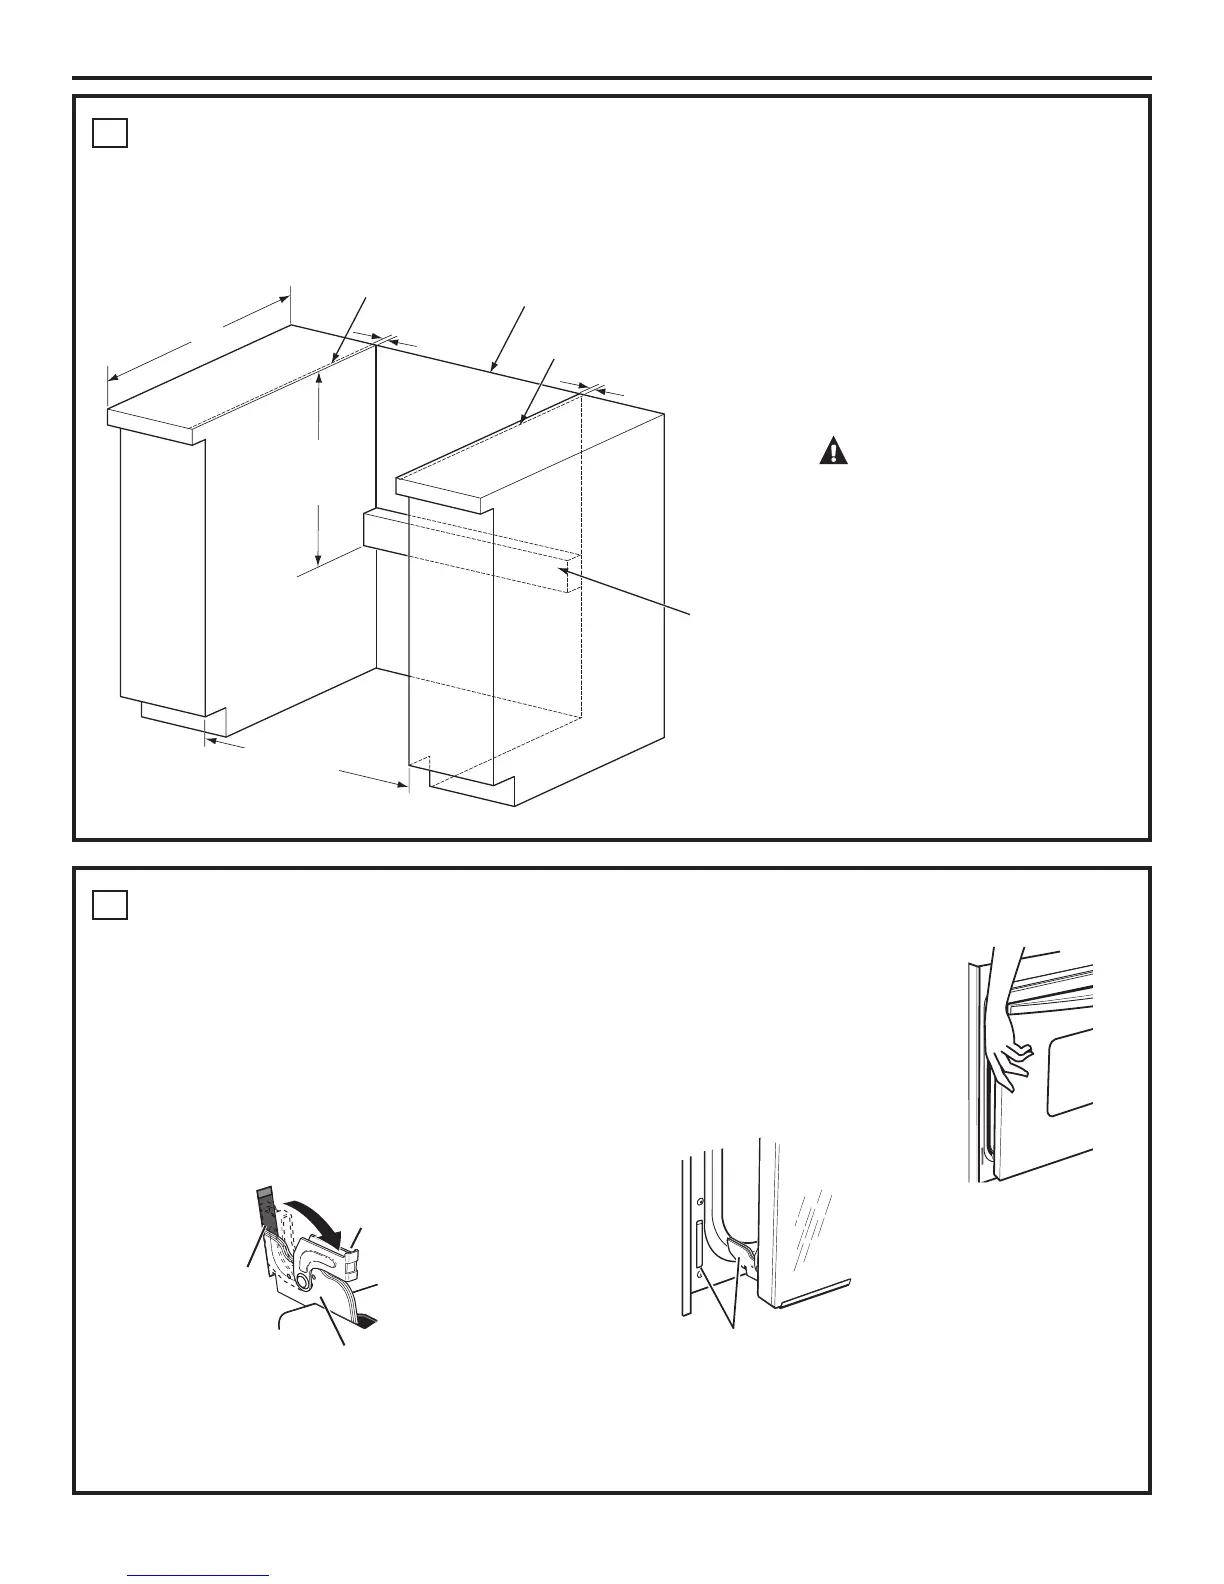
Remove Oven Door
Doorremovalisnotarequirementforinstallationof
theproductbutisanaddedconvenience.Toremove
thedoor:
1.Opentheovendoorasfarasitwillgo.
2.Pushbothhingelockstowardthedoorframe
totheunlockedposition.Thismayrequireaflat
bladescrewdriver.
3.Placehandsonbothsidesofthe
door,andclosethedoortothe
removalposition.Thisishalfway
betweenthebroilstopandfully
closed.
4.Liftthedoorupandoutuntilthe
hingearmscleartheslots.
3
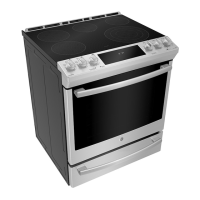
WHEN INSTALLING RANGE IN COUNTERTOP CUT OUT TO THE WALL
4
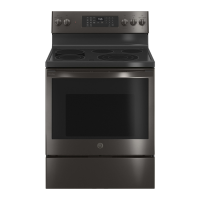
PREPARING THE RANGE
29-15/16” Min.
30-1/16” Max.
10-3/8” from
countertop to
anti-tip support
25”
9/16”
9/16”
Must be Flat
Anti-Tip Support
Wall
WARNING
Anadditionalanti-tipbracket
supportmustbemountedto
therearwallofthecutout.
Theanti-tipbracketsupport
istypicallya2x4pieceof
lumberscreweddirectlyinto
thewallstuds.Theanti-tip
bracketsupportmustbeable
towithstand200lbsofforce
attheengagementpoint.
Hinge
ClearsSlot
(Unlocked
Position)
Hinge
Slot
Hinge Arm
NOTE: The oven door is very heavy. Be sure you have a firm grip before lifting the oven off the hinges.
Use caution once the door is removed. Do not lay door on its handle. This could cause dents or
scratches.
 Loading...