HOW TO REPLACE PH BOARD
13 - Assembly the rear cover.
14 - Assembly the front cover.
15 - Turn on the plotter.
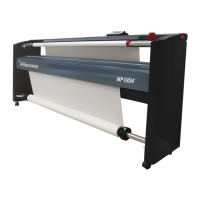
5 - Move the printhead to the
left side.
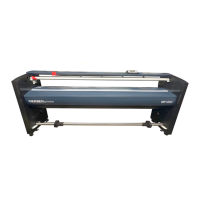
7 - Unplug all the all the wires
connected to the PH board.
6 - Remove the Clip on the PH
Board.
11 - Plug again all the wires. 12 - Assure the printhead is at the
ENCODER CENTERING ZONE
before fastening the screws.
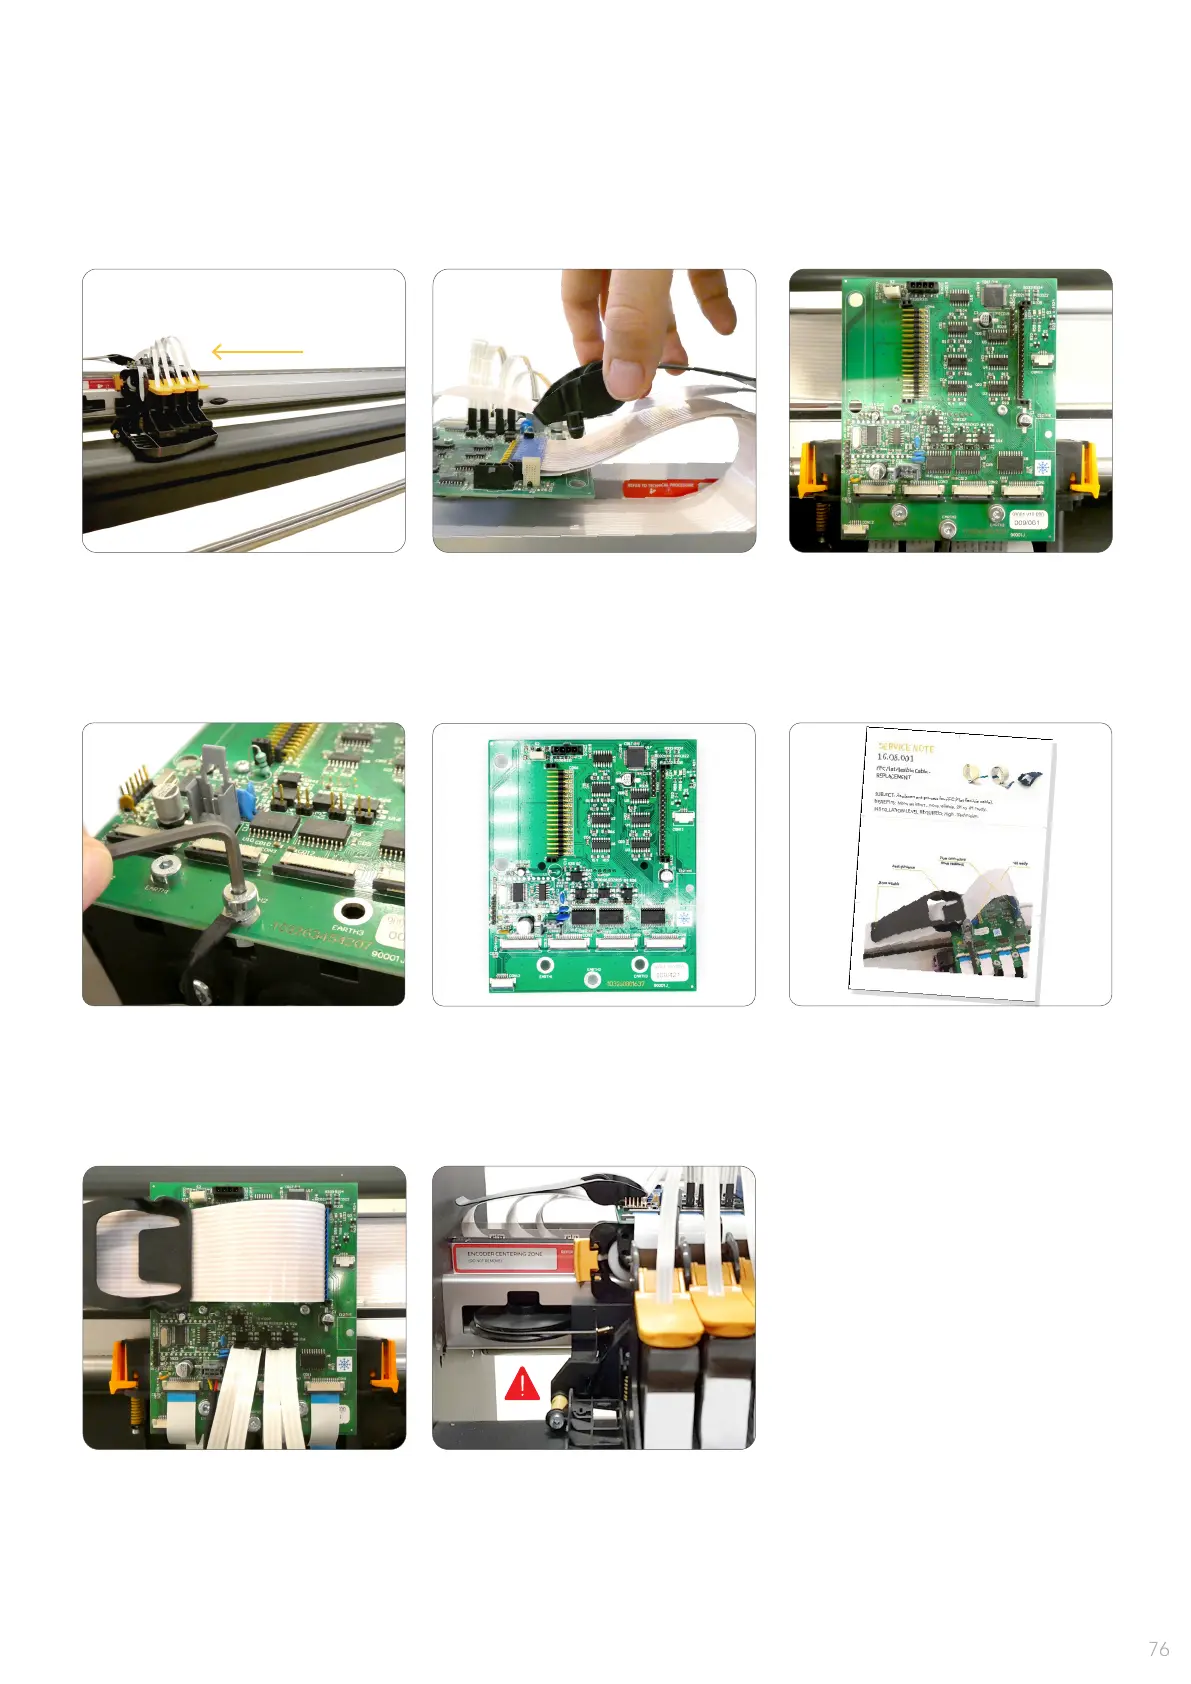
8 - Unscrew the PH Board. 9 - Replace the old one for the
new one.
10 - Replace at cables
following the Service Note
16.08.001.
1 - BEFORE HANDLING ANY COMPONENT,
PLEASE PUT THE ANTI STATIC WRIST STRAP.
2 - Turn off the plotter.
3 - Remove the front cover.
4 - Remove the rear cover.
 Loading...