 Loading...
Do you have a question about the Gigabyte G1.Sniper 3 and is the answer not in the manual?
| ECC | No |
|---|---|
| Non-ECC | Yes |
| Memory voltage | 1.5 V |
| Memory channels | Dual-channel |
| Number of memory slots | 4 |
| Supported memory types | DDR3-SDRAM |
| Maximum internal memory | 32 GB |
| Supported memory clock speeds | 1066, 1333, 1600 MHz |
| Supported memory module capacities | 16GB, 1GB, 2GB, 4GB, 8GB |
| System bus rate | 5 GT/s |
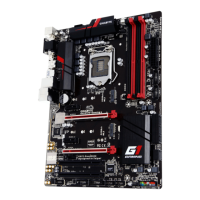
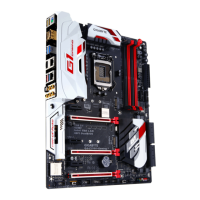
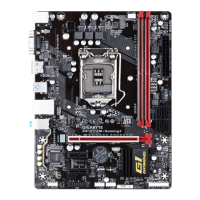
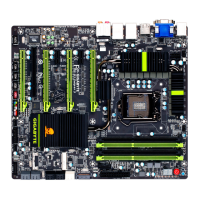
| Processor socket | LGA 1155 (Socket H2) |
| Processor manufacturer | Intel |
| Compatible processor series | Intel Core i3, Intel Core i5, Intel Core i7 |
| Maximum number of SMP processors | 1 |
| USB 2.0 connectors | 2 |
| Number of SATA III connectors | 6 |
| Number of Parallel ATA connectors | 0 |
| Headphone outputs | 5 |
| USB 2.0 ports quantity | USB 2.0 ports have a data transmission speed of 480 Mbps, and are backwards compatible with USB 1.1 ports. You can connect all kinds of peripheral devices to them. |
| Audio chip | Creative CA0132 |
| Cooling type | Passive |
| Component for | PC |
| Power source type | ATX |
| Motherboard chipset | - |
| PC health monitoring | CPU, FAN, Temperature |
| Audio output channels | 7.1 channels |
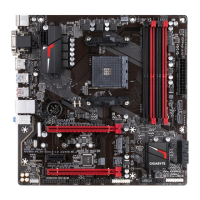
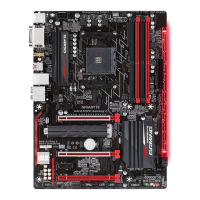
| Motherboard form factor | XL-ATX |
| RAID levels | 0, 1, 5, 10 |
| Supported storage drive interfaces | SATA II, SATA III |
| Cables included | SATA |
| Graphics card | HD Graphics |
| OpenGL version | 3.2 |
| DirectX version | 11 |
| Maximum graphics card memory | 1696 MB |
| Parallel processing technology support | 2-Way SLI, 3-Way SLI, 4-Way SLI, Hybrid CrossFireX |
| PCI Express slots version | 3.0 |
| Controller interface type | Intel Z77 |
| Controller 2nd interface type | 2 x Marvell 88SE9172 |
| Wi-Fi standards | 802.11b, 802.11g, Wi-Fi 4 (802.11n) |
| Bluetooth version | 4.0 |
| Networking features | 10/100/1000 Mbit/sec |
| Ethernet interface type | Gigabit Ethernet |
| BIOS type | EFI AMI |
| ACPI version | 2.0a |
| BIOS memory size | 64 Mbit |
| Depth | 264 mm |
|---|---|
| Width | 305 mm |
Safety guidelines and ESD precautions before hardware installation.
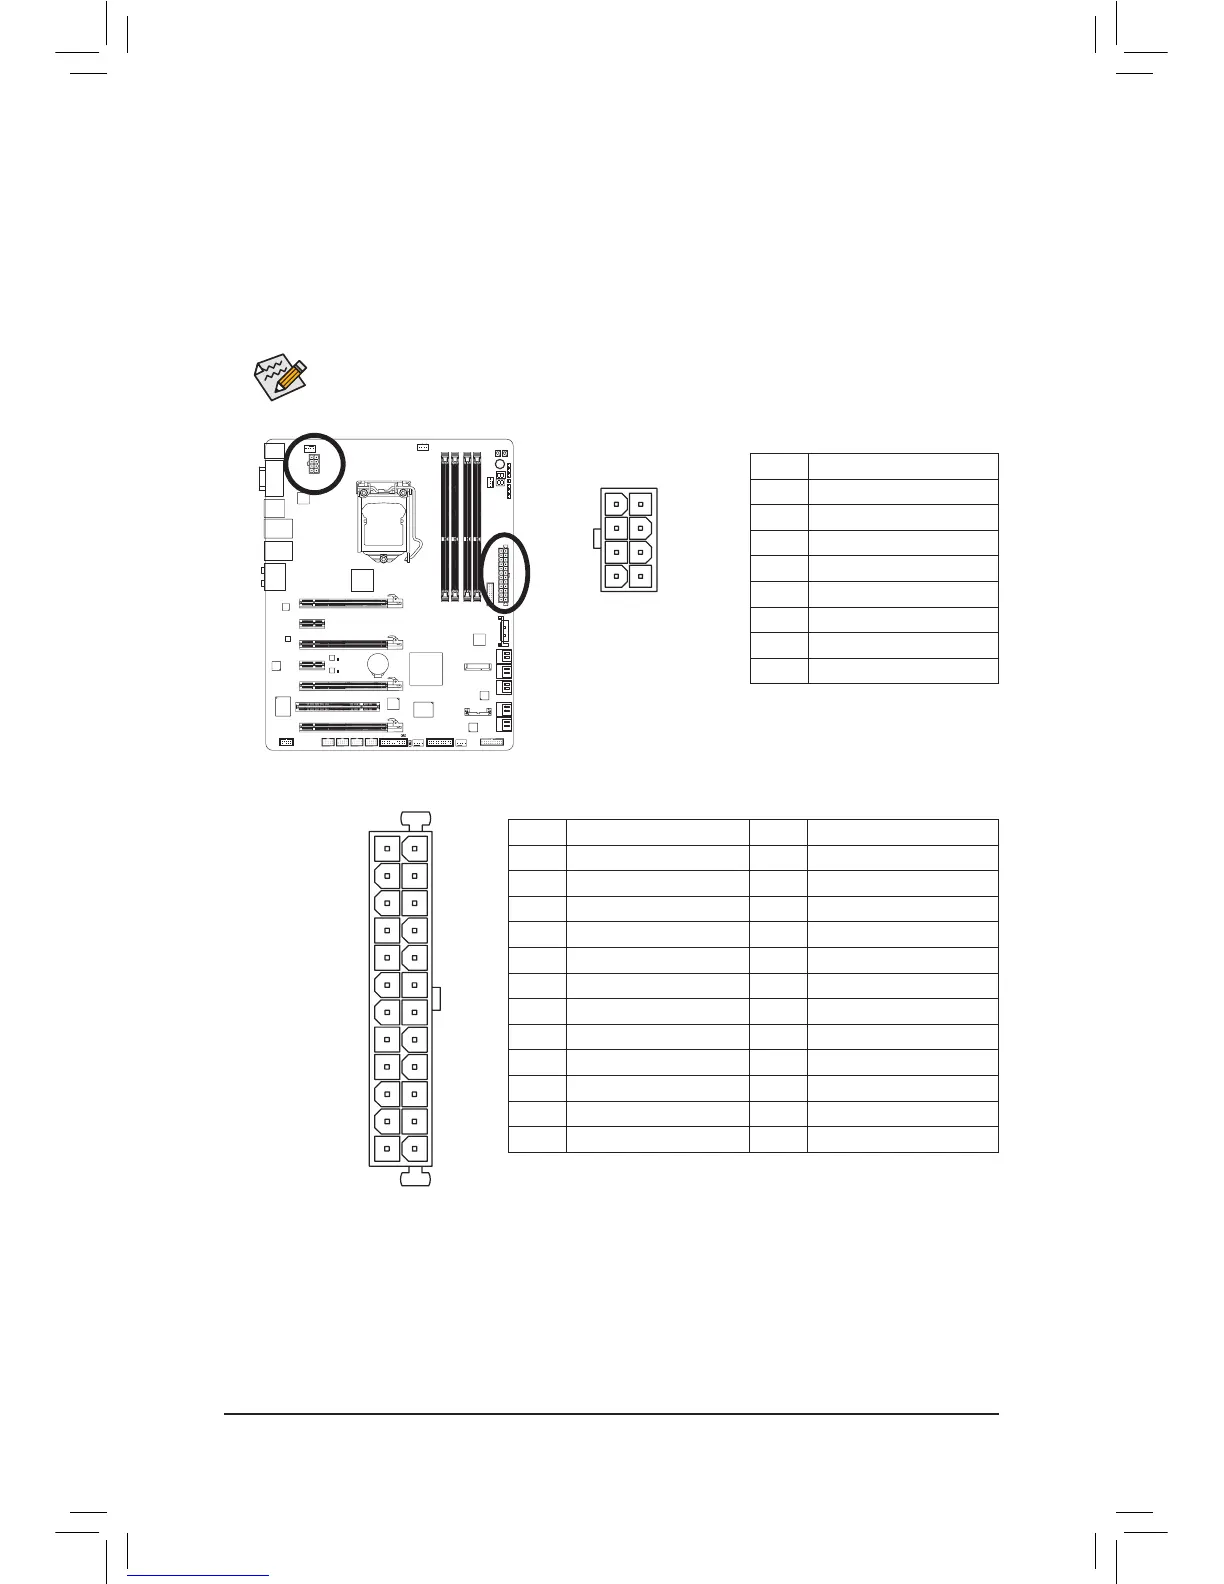
Step-by-step guide for installing the CPU and its cooler.
Instructions for installing DDR3 memory modules.
Guide for installing PCI Express or PCI cards.
BIOS section for CPU/memory frequency and voltage adjustments.
Settings related to boot order, security, and system features.
Settings for onboard devices like SATA, USB, Audio, LAN.
How to save BIOS changes, load defaults, and exit setup.
Steps to install the motherboard chipset drivers from the disk.
Information on Q-Flash and @BIOS for updating motherboard BIOS.
Detailed guide on configuring SATA controllers and RAID arrays.
FAQs and step-by-step procedures for solving system startup issues.