 Loading...
Do you have a question about the Gigabyte GA-H81M-S2PV and is the answer not in the manual?
| Non-ECC | Yes |
|---|---|
| Memory voltage | 1.5 V |
| Internal memory | 16 GB |
| Memory channels | Dual-channel |
| Memory slots type | DIMM |
| Number of memory slots | 2 |
| Supported memory types | DDR3-SDRAM |
| Supported memory clock speeds | 1333, 1600 MHz |
| Processor socket | LGA 1150 (Socket H3) |
| Processor manufacturer | Intel |
| Compatible processor series | Intel Celeron, Intel Pentium |
| Number of EATX power connectors | 1 |
| USB 3.2 Gen 1 (3.1 Gen 1) connectors | 0 |
| S/PDIF out port | No |
| USB 2.0 ports quantity | USB 2.0 ports have a data transmission speed of 480 Mbps, and are backwards compatible with USB 1.1 ports. You can connect all kinds of peripheral devices to them. |
| Audio chip | Realtek ALC887 |
| Component for | PC |
| Power source type | ATX |
| Motherboard chipset | Intel® H81 |
| Audio output channels | 7.1 channels |
| Motherboard form factor | micro ATX |
| Windows operating systems supported | Windows 7 Home Basic, Windows 7 Home Basic x64, Windows 7 Home Premium, Windows 7 Home Premium x64, Windows 7 Professional, Windows 7 Professional x64, Windows 7 Starter, Windows 7 Starter x64, Windows 7 Ultimate, Windows 7 Ultimate x64, Windows 8, Windows 8 Enterprise, Windows 8 Enterprise x64, Windows 8 Pro, Windows 8 Pro x64, Windows 8 x64 |
| Supported storage drive interfaces | SATA II, SATA III |
| Maximum resolution | 1920 x 1200 pixels |
| Maximum graphics card memory | 1024 MB |
| Parallel processing technology support | Not supported |
| Ethernet interface type | Gigabit Ethernet |
| BIOS type | EFI AMI |
| ACPI version | 2.0a |
| BIOS memory size | 128 Mbit |
| Depth | 180 mm |
|---|---|
| Width | 244 mm |
Guidelines and procedures to follow before installing hardware components to prevent damage.
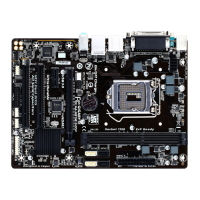
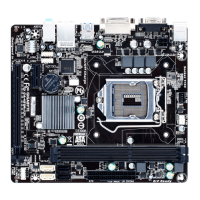
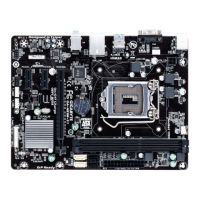
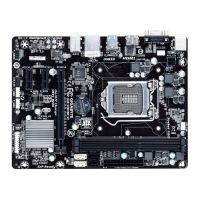
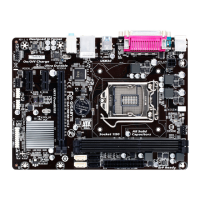
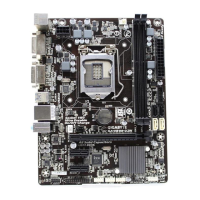
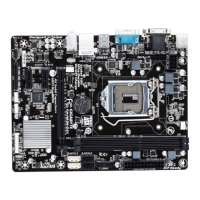
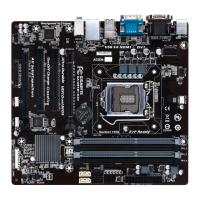
Detailed specifications of the motherboard's components and features.
Step-by-step instructions for safely installing the CPU onto the motherboard.
Guidelines for installing memory modules into the motherboard's DIMM sockets.
Procedures for installing expansion cards into the motherboard's slots.
Description and function of the external ports located on the motherboard's back panel.
Explanation of the internal connectors on the motherboard and their purposes.
Overview of the initial screen displayed when the computer boots into BIOS.
Motherboard Intelligent Tweaker (M.I.T.) section for system frequency and voltage settings.
Displays information about the motherboard model, BIOS version, and system time.
Configuration options for boot settings, security, and system features.
Settings for onboard devices like graphics, audio, LAN, SATA, and USB controllers.
Options for managing system power states, wake-up events, and AC power loss behavior.
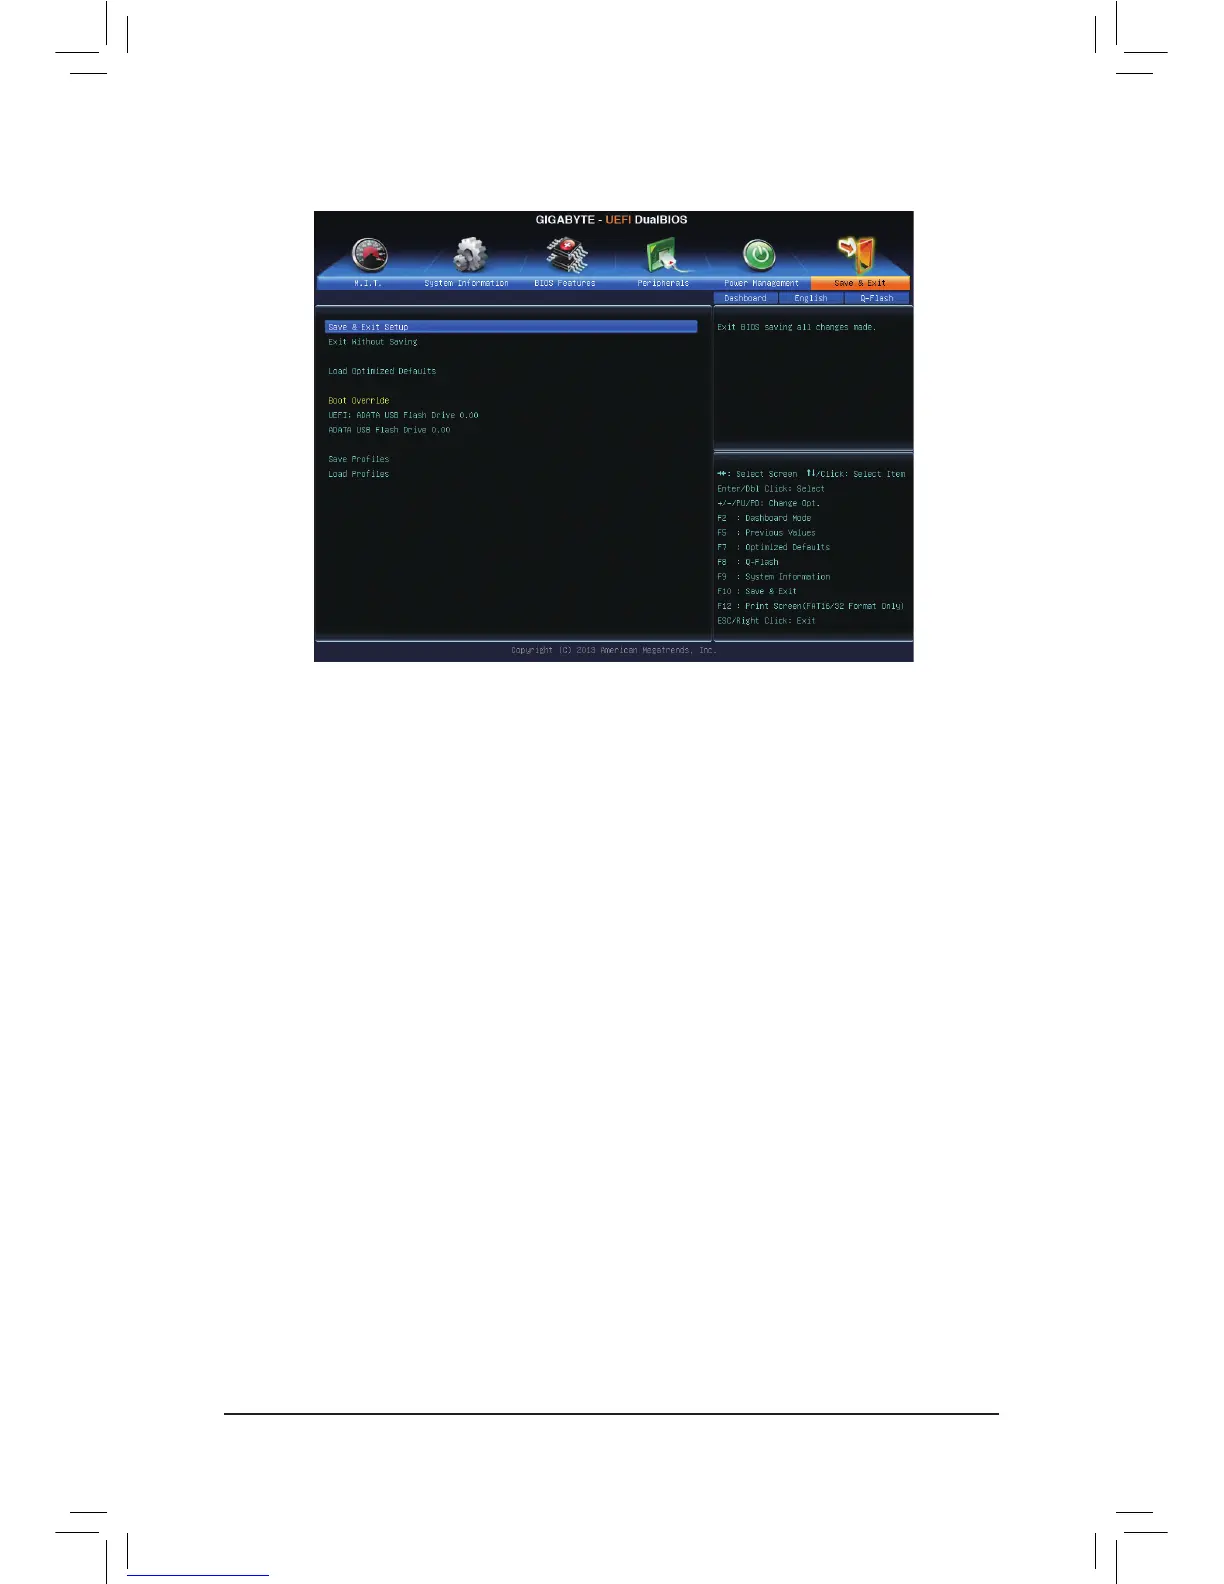
Options for saving BIOS changes, loading defaults, or exiting the setup utility.
Instructions for installing motherboard drivers after the operating system is installed.
Legal notices, environmental compliance, and safety statements regarding the product.
Information on how to contact GIGABYTE for technical support and service.