Unique Features- 59 -
3. Select the BIOS update file and press <Enter>.
Make sure the BIOS update file matches your motherboard model.
Step 2:
The process of the system reading the BIOS file from the floppy disk is displayed on the screen. When
the message "Are you sure to update BIOS?" appears, press <Enter> to begin the BIOS update. The
monitor will display the update process.
B. Updating the BIOS
When updating the BIOS, choose the location where the BIOS file is saved. The follow procedure
assumes that you save the BIOS file to a floppy disk.
Step 1:
1. Insert the floppy disk containing the BIOS file into the floppy disk drive. In the main menu of Q-
Flash, use the up or down arrow key to select Update BIOS from Drive and press <Enter>.
• The Save Main BIOS to Drive option allows you to save the current BIOS file.
• Q-Flash only supports USB flash drive or hard drives using FAT32/16/12 file system.
• If the BIOS update file is saved to a hard drive in RAID/AHCI mode or a hard drive
attached to an independent IDE/SATA controller, use the <End> key during the POST to
access Q-Flash.
2. Select Floppy A and press <Enter>.
• Do not turn off or restart the system when the system is reading/updating the BIOS.
• Do not remove the floppy disk, USB flash drive, or hard drive when the system is updating
the BIOS.
Step 3:
When the update process is complete, press any key to return to the main menu.
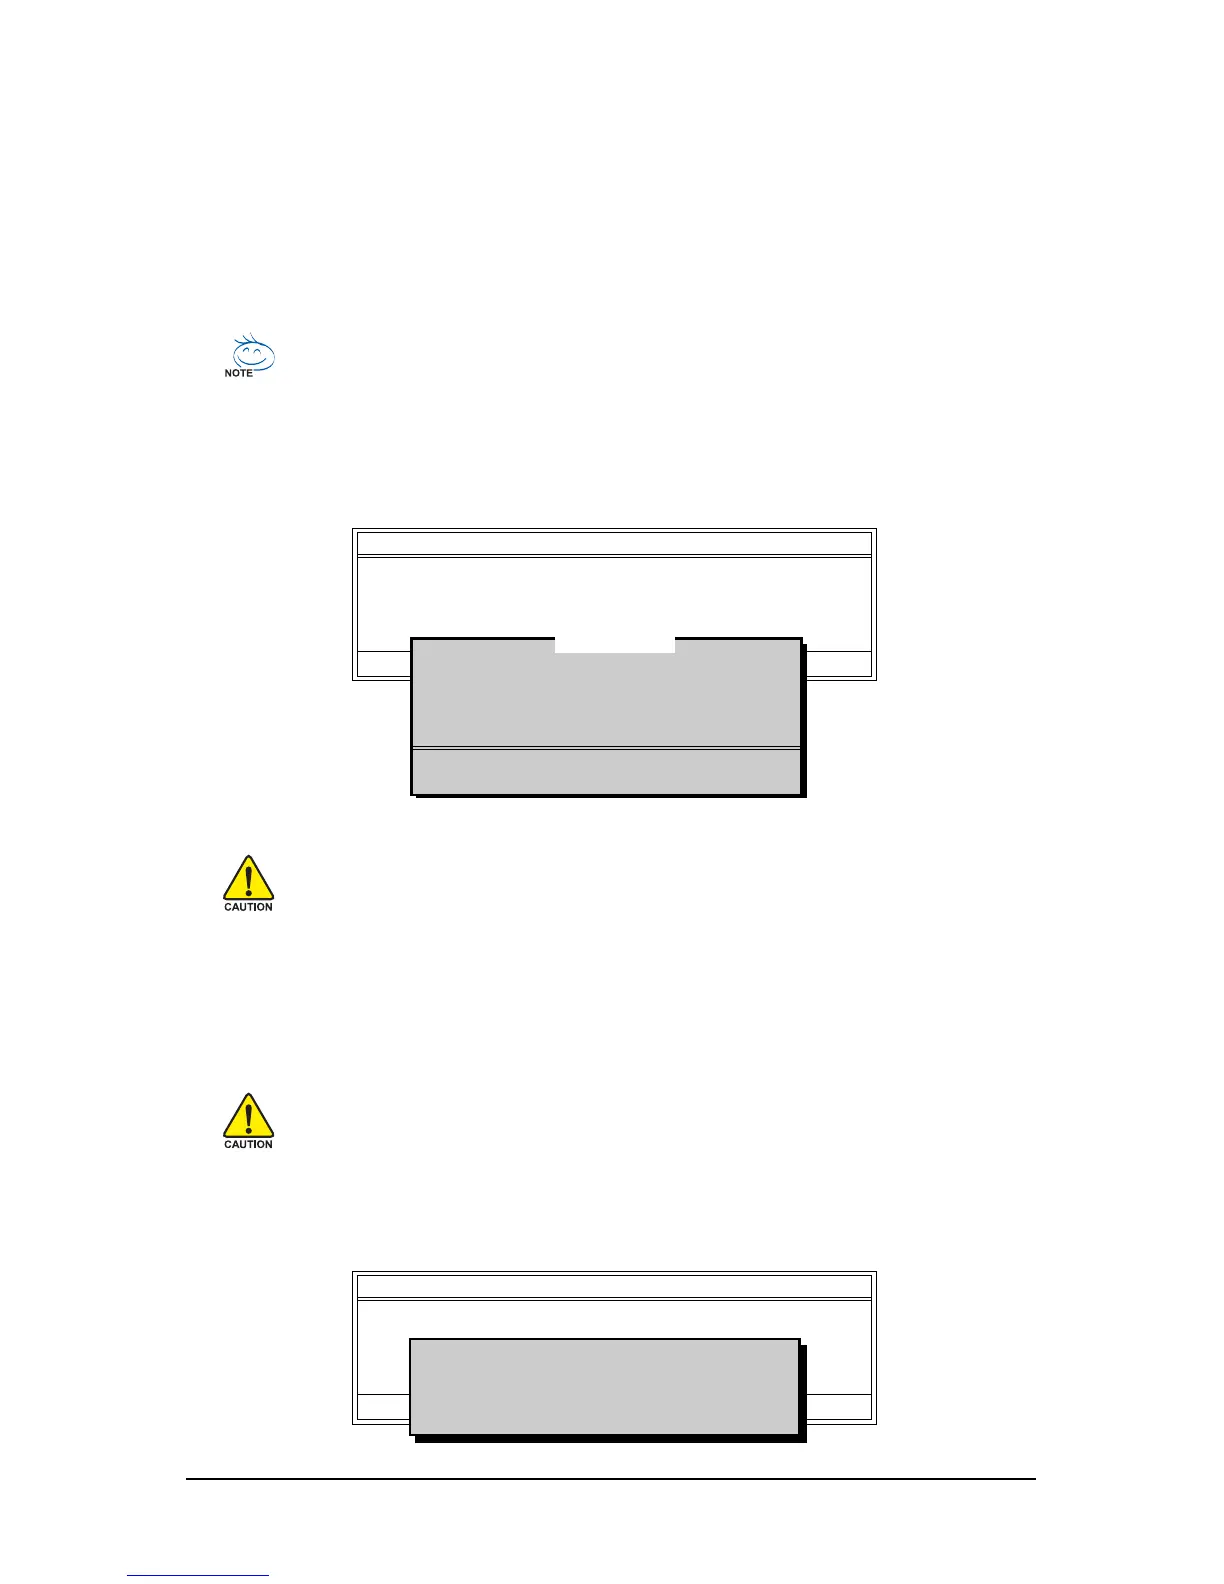
Q-Flash Utility v2.05
Flash Type/Size.................................Winbond 25X40 512K
Keep DMI Data Enable
Update BIOS from Drive
Save BIOS to Drive
Enter : Run KL:Move ESC:Reset F10:Power Off
!! Copy BIOS completed - Pass !!
Please press any key to continue
Q-Flash Utility v2.05
Flash Type/Size.................................Winbond 25X40 512K
Keep DMI Data Enable
Update BIOS from Drive
Save BIOS to Drive
Enter : Run KL:Move ESC:Reset F10:Power Off
Floppy A <Drive>
HDD 0-0 <Drive>
Total size : 0 Free size : 0
0 file(s) found
 Loading...