Hardware Installation - 28 -
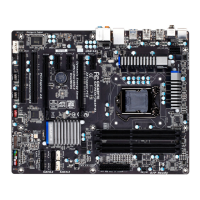
14) CLR_CMOS (Clearing CMOS Jumper)
Usethis jumper toclear theCMOS values (e.g.date informationand BIOS congurations)and reset
the CMOS values to factory defaults. To clear the CMOS values, place a jumper cap on the two pins to
temporarily short the two pins or use a metal object like a screwdriver to touch the two pins for a few
seconds.
Open: Normal
Short: Clear CMOS Values
• Always turn off your computer and unplug the power cord from the power outlet before clearing the CMOS
values.
• After clearing the CMOS values and before turning on your computer, be sure to remove the jumper cap from
the jumper. Failure to do so may cause damage to the motherboard.
• After system restart, go to BIOS Setup to load factory defaults (select Load Optimized Defaults) or manually
conguretheBIOSsettings(refertoChapter2,"BIOSSetup,"forBIOScongurations).
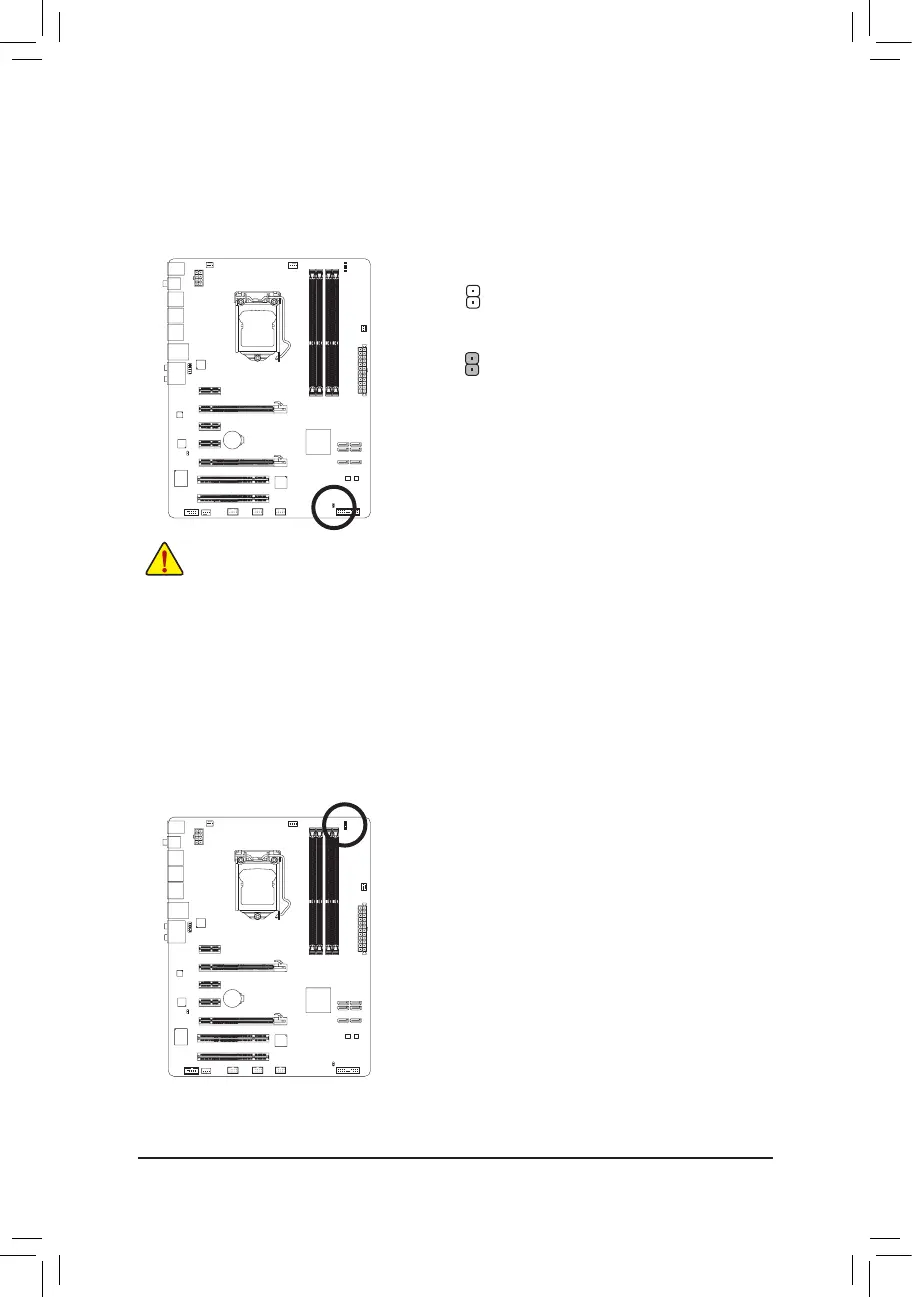
15) PHASE LED
The number of lighted LEDs indicates the CPU loading. The higher the CPU loading, the more the
numberoflightedLEDs.ToenablethePhaseLEDdisplayfunction,pleaserstenableDynamicEnergy
Saver
™
2. Refer to Chapter 4, "Dynamic Energy Saver
™
2," for more details.
 Loading...