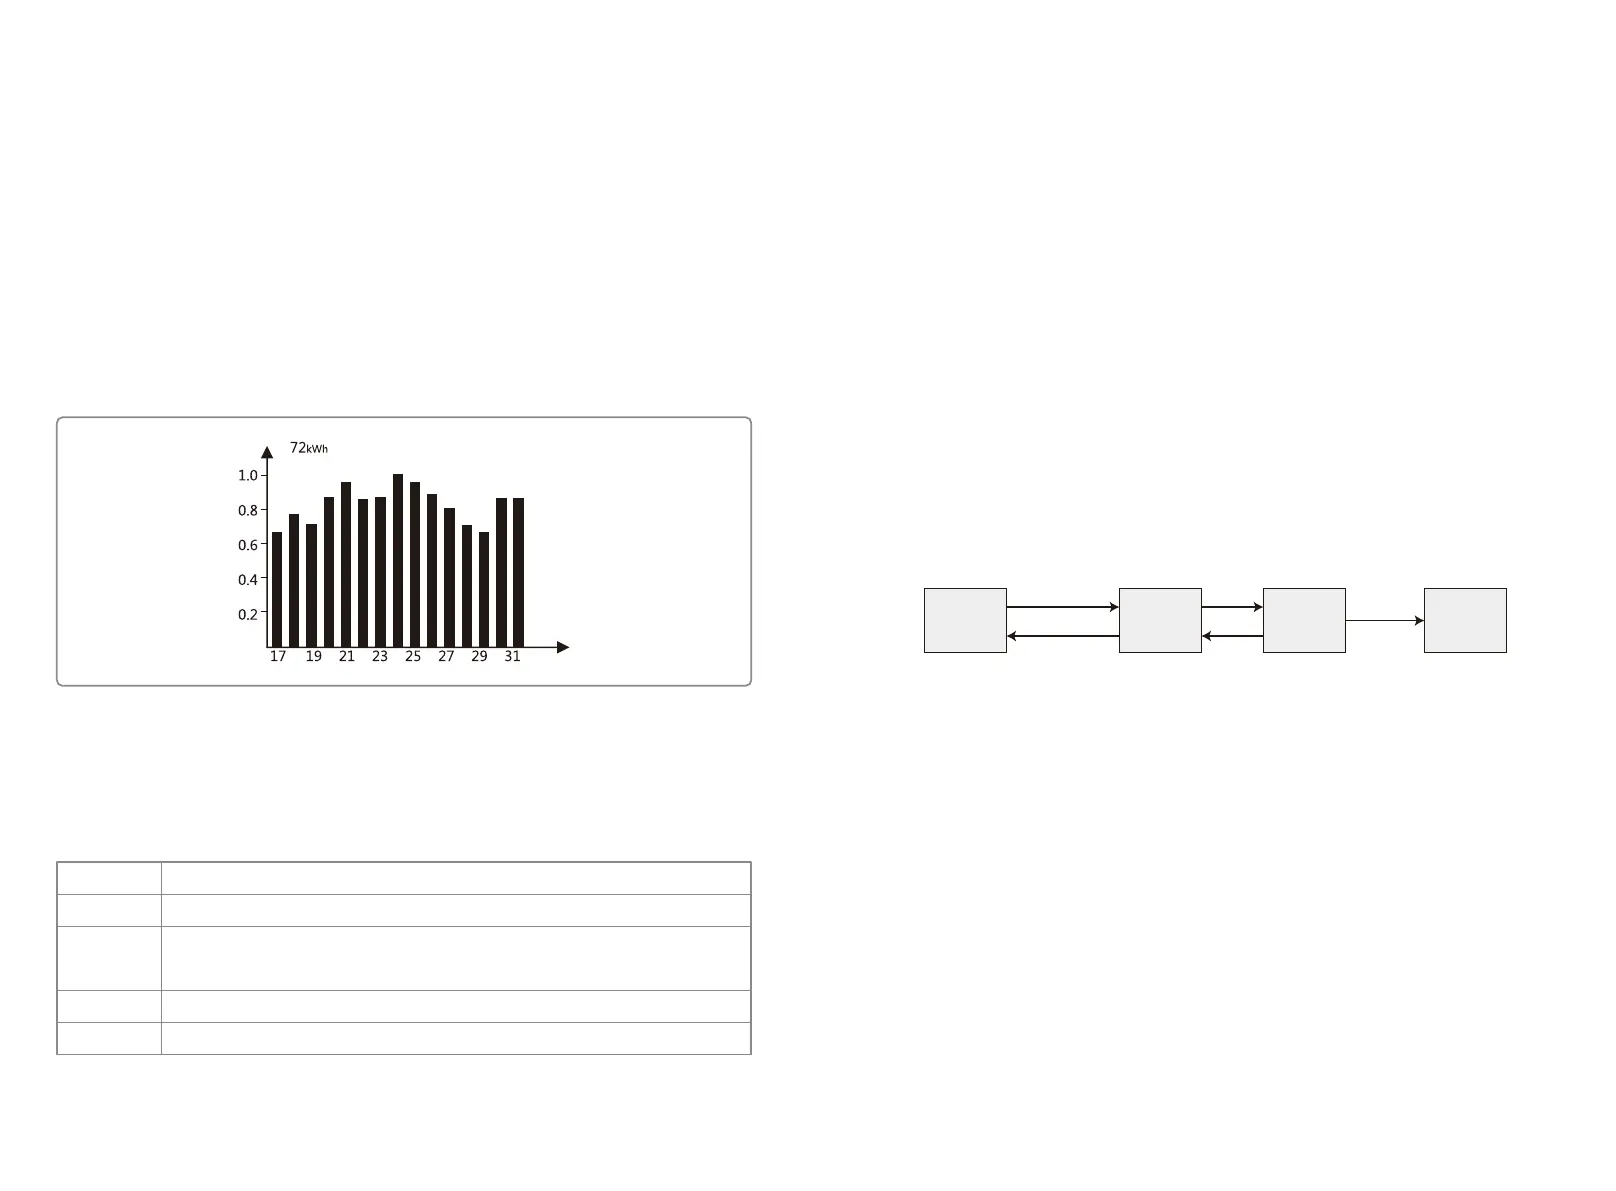
Area③ -Histogram Display:
Area③ uses histogram to demonstrate the average power generation at each hour from 4:00am to
8:00pm on one day. Each columnar points 20 scale, the left top area shows the maximum rated
power generation each hour for inverter.
This area can display information in different modes, there are 5 display modes in total: real-time
mode, hour mode, day mode month mode, year mode.
Real-time mode: display hourly power generation from 4:00am to 8:00pm;
Hour mode: display the hourly power generation in a specific day from the recent 14 days;
Day mode: display the daily power generation in a specific month from the recent 6 months;
Month mode: display the monthly power generation for 12 months in specific year;
Year mode: display annual power generation for recent 10 years.
Take day mode for example:
72kWh means the maximum power generation of recent 16 days. The unit on the left corner
sometimes turns to "MWh" from "kWh", it depends on Maximum power generation. 0.0一1.0 on
the left is scale factor, which is fixed display content; 17-31 are based on current mode which
shows the bar chart label.
Area④ Displays total power generation, daily power generation, real-time power generation and
time information, described as follow:
Area
E-DAY
E-TOTAL
TIME
POWER
Description
Dailly power generation
Gross power generation after first time use of inverter. The initial unit is "kWh";
When power generation exceeds 999.9kWh, the unit changes to "MWh".
Current system time
Real-time power Generation of the system
5.2.3 Use Of The LCD
The buttons near the LCD screen are mainly used for inverter information display, setting of
time, language selection and histogram information display.
The menu in LCD display area has three levels; In the first level menu, first 6 interfaces displays
inverter status, model, PV voltage and current, grid voltage and current, line frequency. Pressing
button "Enter" to lock current menu interfaces in order to check specific parameter. In the
meanwhile, backlight will turn on for 1 min; Press "Enter" to unlock the interface for information
display, the backlight will be kept on for 30S and then switch back to default initial interface.
The last interface (including error Log, time and data, language setting and historical electricity
generation) can be entered by pressing "Enter" to according Second Level menu.
In second level menu, move the cursor to the setting area through "Down" and "Up" button
operation. For the second level menu which has three level menus, press "Enter" to get in and
change the figures at cursor location through "Down" and "Up" button operation, in addition the
cursor location can be changed by pressing "Enter"
In all levels of menu, it will automatically enter the first item of the first level menu if no action is
taken within 305, meanwhile, the modified data will be stored into internal memory.
5.2.4 Menu Introduction
Long press "Enter" in the Configure Safety interface, there will be set safety interface, press
"Down" or "Up" to choose the safety you need and then long press "Enter" to confirm your option.
Configure
Safety
Set Safety
...
Long Press Enter
Long Press ESC
Set Safety
...
Set Safety
Successful
Down
Long Press
Enter
Up
• When PV panel is feeding power to the inverter, the screen shows the first interface of first level
menu. The interface displays current state of the system. It shows "Waiting" in the initial state; it
shows "Normal" during power generation mode; if there is something wrong with the system,
error message is shown. Please referred to "5.4 Error Message".
• Press any button once to turn on the LCD backlight when it is off; if the backlight is on, press
"Down" button to enter the next menu displaying data of Vpv and Ipv; press "Enter" to lock the
current interface.
• In the first level menu, the displayed information can be switched through "Down" and "Up"
button operation, there are 7 interfaces in total, which are circulatory. The second level menu
can only be selected through "Enter" from the seventh interface.
• In the second level menu, short press "Error Log" to enter the historical error message interface,
press "Up" and "Down" to inquire the first 5 historical error message, press "Esc" to return.
• In the second level menu, short press "Date&Time" to enter the time setting interface, press "Up"
and "Down" to change the data, short press "Enter" to move cursor, long press "Enter" to save
the settings.
2423
 Loading...