Cleaning your Nest Protect
Nest Protect has been designed to be as maintenance
free as possible, but you should keep it clean. As with
any smoke alarm, dust build-up on the outside or inside
of Nest Protect can stop it from working properly.
To clean Nest Protect:
1. Turn o mains power to Nest Protect or remove
the fuse (see p.8).
2. Remove it from the wall or the ceiling (turn
anticlockwise until it comes o the back plate and
detach the power connector).
3. Wipe the outside with a clean, slightly damp cloth.
Don’t use soap or solvents.
4. Place Nest Protect on a so, dry cloth with
the buon facing down. Open the baery
compament door and remove the baeries.
Remove the screws and li o the back. Be
careful not to lose the screws.
5. Gently vacuum the inside. Make sure that you
clean all the way around the mesh sides of the
smoke chamber (the large metal circle).
Note: Never use detergents or solvents (like glass
cleaner) on your Nest Protect and do not spray air
fresheners, hair spray or other aerosols near it. Do not
get water inside the alarm or paint over it..
Replacing the backup baeries
If there is a power cut, Nest Protect will use three
AA Energizer® Ultimate Lithium baeries (L91) for
backup. These baeries can be purchased at your
local retailer.
1. Turn o mains power to Nest Protect or remove
the fuse (see p.8).
2. Twist Nest Protect anticlockwise until it disconnects
from the back plate.
WARNING
• Only use baeries specied by Google. Use of
a dierent baery model will have a detrimental
eect on the operation of the smoke alarm.
The alarm may not operate properly with other
baeries. Never use rechargeable baeries,
as they may not provide a constant charge.
• Never remove the baeries from a
baery-operated alarm to stop an unwanted
alarm (caused by cooking smoke, etc.).
Removing baeries disables the alarm so that
it cannot sense smoke or carbon monoxide,
leaving you at risk.
3
2
1
20
General Maintenance
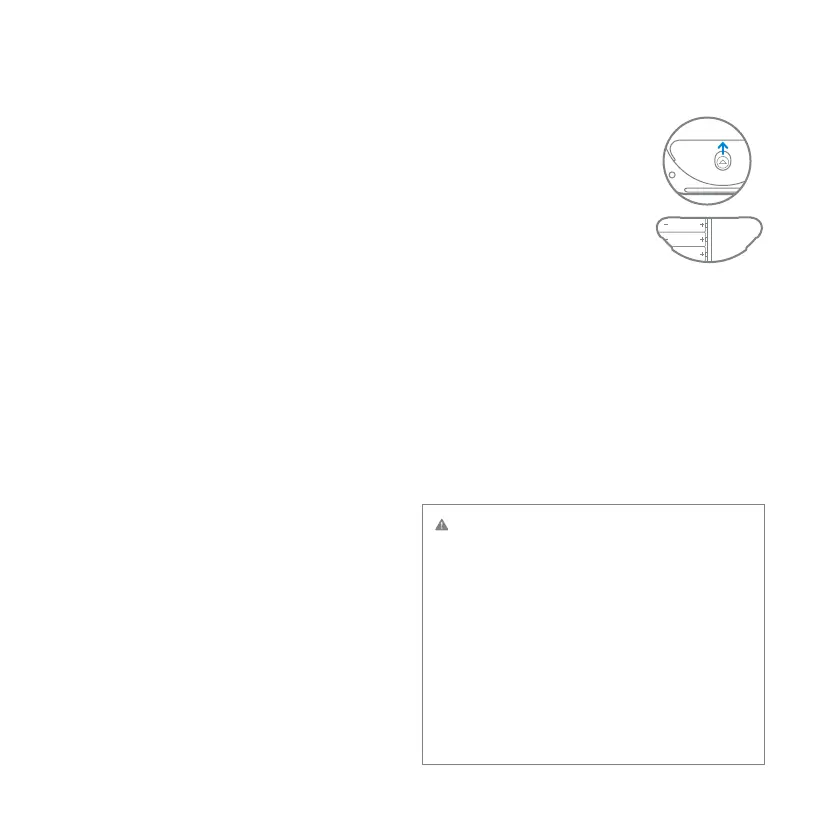
3. Detach the power connector from
the back of Nest Protect and
open the baery door.
4. Replace the baeries. Align the
+ positive and - negative ends
with the markings in the baery
compament.
5. Close the baery compament. Do not force
the door closed.
6. Re-aach the power connector.
7. Push Nest Protect onto the back plate and turn it
clockwise until you feel it grip.
8. Turn mains power to Nest Protect back on or
replace the fuse.
9. Press the buon twice.
 Loading...

