A
Once the appliance has been installed, the power supply cable and the electrical socket
should be easily accessible.
A
The cable
should
not
be bent or compressed.
Âlf the power suppl y cable is damaged, it must be replaced by the manufacturer or its
Technical Assistance Service in order to prevent all potential hazards.(See Assistance)
A
The company shall not be held responsible for any incidents that occur if these
regulations are not observed.
Advice regarding the first wash cycle
After the appliance has been installed, immediately before running the first wash cycle, completely
fill the sait dispenser with and add approximately 2 Kg of sait (see Rinse aid
and
refined sait). The
water may overflow: this is normal and is not a cause
for
concern. Il is also normal that
the
LOW
SALT indicator light continues to flash for a few cycles after the sait has
been
loaded.
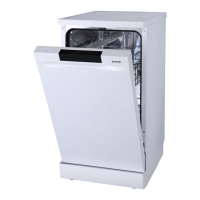
Positioning the Appliance
Position the appliance in the desired location. The back should rest against the wall behind il, and
the sides, along the adjacent cabinets or wall. The dishwasher is equipped with water supply and
drain hoses that can be positioned to the right or the left to facilitate proper installation.
Leveling the Appliance
Once the appliance is positioned, adjust the feet (screwing them in or out) to adjust the height of the
dishwasher, making it level. ln any case, the appliance should not be inclined more than 2
°
NOTE: The maximum adjustment height of the feet is 20 mm.
How to Drain Excess Water From Hases
If the sink is 1000mm higher from the floor, the excess water in hoses cannot be drained directly
into the sink. Il will be necessary to drain excess water from hoses into a bowl or a suitable
container that is held outside and lower
than
the sink.
Water Outlet
Connec! the water drain hose. The drain hose must be correctly fitted to avoid water leaks.
Ensure that the water inlet hose is not kinked or squashed.
Extension Hase
If you need a drain hose extension, observe
to
use a similar drain hose ..
lt must be no longer than 4 metres; otherwise the cleaning effect of the dishwasher could be
reduced.
Syphon Connection
The waste connection must be at a height of between 50cm (minimum)
and
100cm
(maximum)
from the bottom of the dish. The water drain hose should be fixed by a hose clip.
Start of Dishwasher
The followings should be checked before starting the dishwasher:
1 Whether the dishwasher is level and fixed
2 Whether the in let valve is opened
3 Whether there is leakage at the connections of the conducts
4 Whether the wires are tightly connected
5 Whether the power is switched on
6 Whether the inlet and drain hoses are knotted
7
Ali packing
materials and
printings
should be taken out from the dishwasher
Attention
After
installation,
please put
this
manual
into
the bags of
printings.
The content of this manual is very helpful
to
the users.
li
9. Troubleshooting Tips
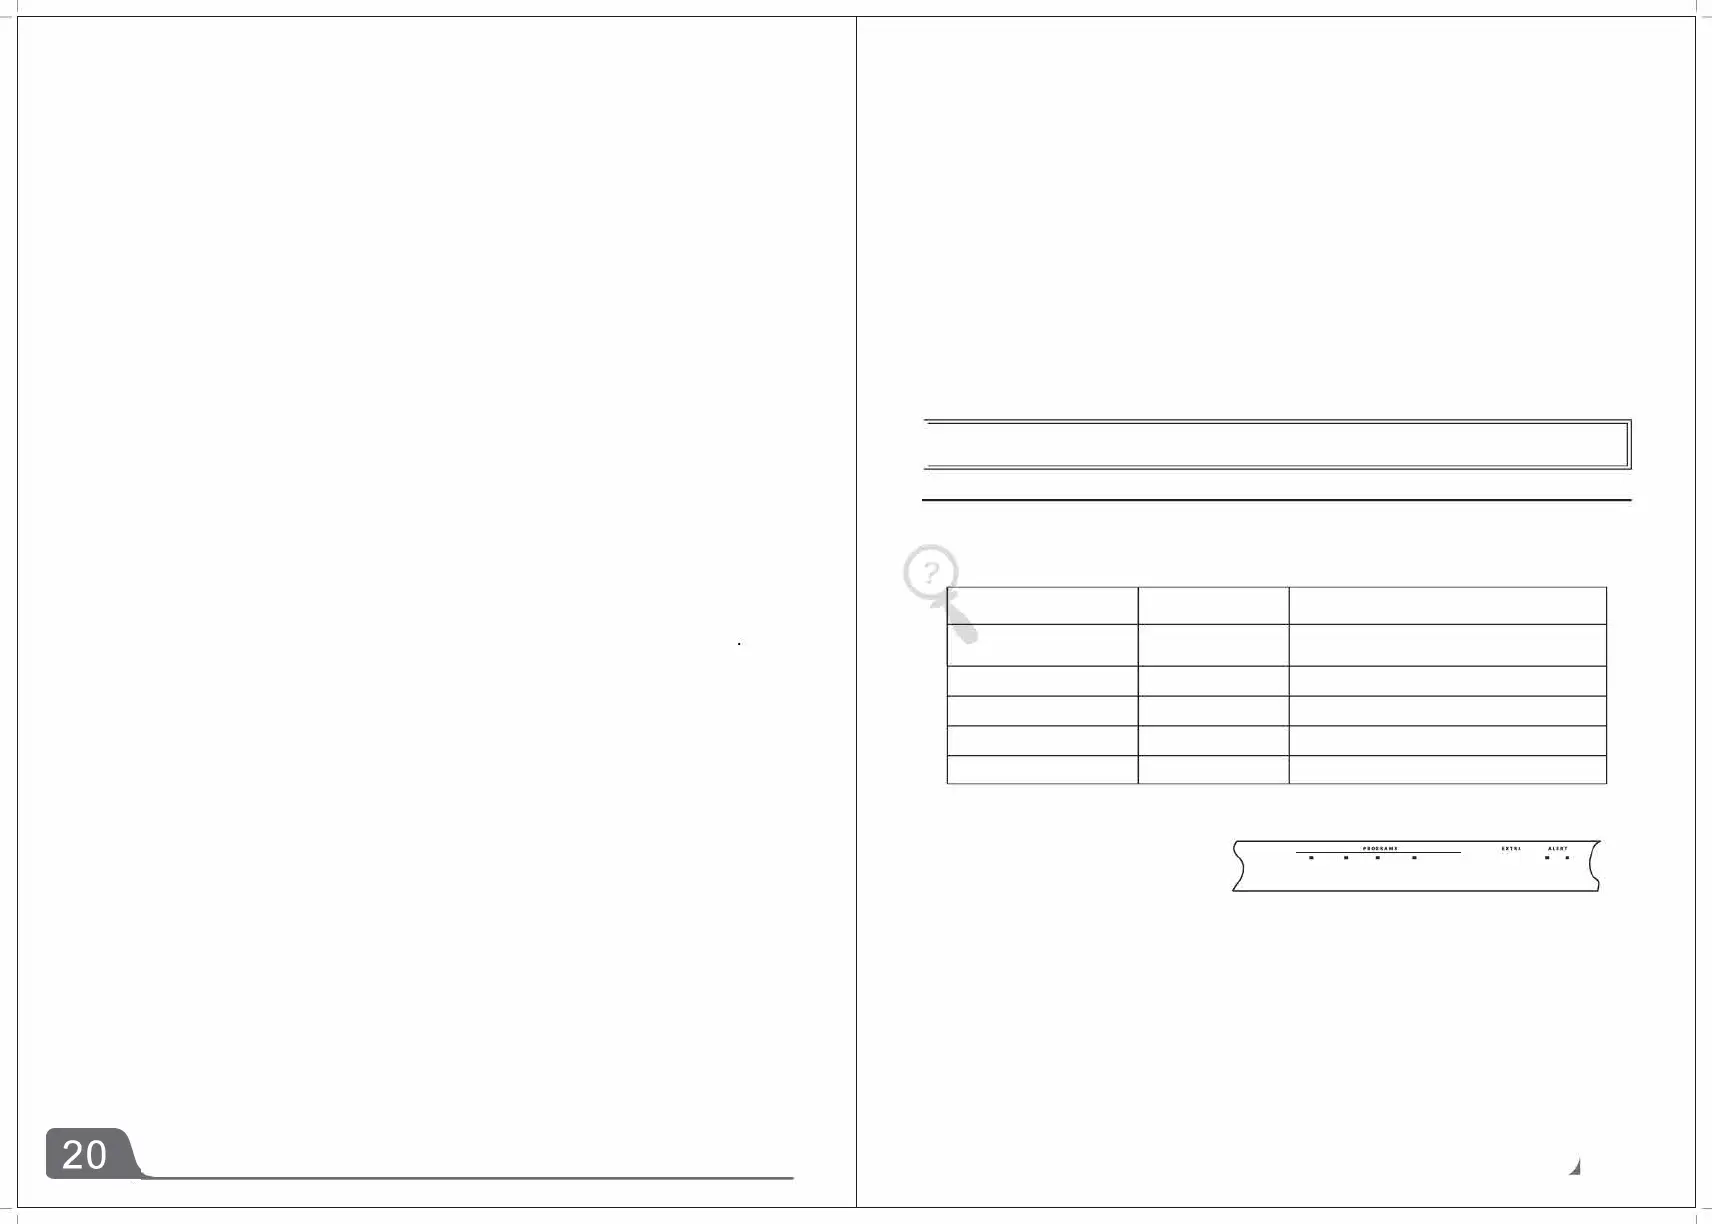
Error codes
When some malfunctions happen, the appliance will display error codes to warn you.
Codes
Meanings
Possible Causes
LED1 ,LED3 flash
Dooropen
The door is opened when the
dishwasher is operating
LED1 ,LED4
flash
Water inlet Water inlet malfunction
LED1,LED10
flash
Temperature sensor Temperature sensor malfunction
LED1 ,LED11 flash
Overflow/leakage
Overflow
occurs/Water leakage occurs
LED2,LED3
flash
Heating element
Abnormal heating
0
LEO 1
■LED 1 0•
0 --
LE
D 2 LE D 3
LE D
4 LEos
L
E D 1 1
■
LE08LE07
LED1211
Â.WARNING!
If overflow occurs, turn off the main water supply before calling a service. If there is water in the base
pan
because
of
an overfill or small leak,
the
water should be removed before restarting
the
dishwasher.
----------
 Loading...