English
4
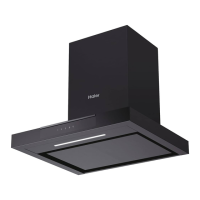
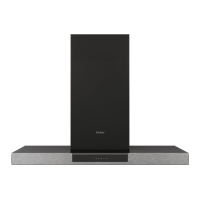
Installation Preparation
To install this range hood, you will need the following tools and materials:
Note: This procedure will require 2 people for easier installation.
Tools Needed for Installation
t%SJMM
tw%SJMMCJUGPSESJMMJOHQJMPUIPMFT
tw8PPECJUGPSESJMMJOHFMFDUSJDBMXJSJOHBDDFTTIPMF
t1IJMMJQTIFBETDSFXESJWFS
t'MBUIFBETDSFXESJWFS
t1MJFST
t1FODJMSVMFSBOEMFWFMGPSNBSLJOHSBOHFIPPEMPDBUJPO
t)BOETBXPSKJHTBXGPSDVUUJOHUIFXBMMPSDBCJOFUPQFOJOHT
t)J5FNQEVDUUBQF
t&MFDUSJDBMUBQF
t$POOFDUPS$MBNQ
Preparing Hood Location
1. Determine whether hood will discharge vertically (3¼” x 10” or 7” Round),
horizontally (3¼” x 10” only) or non-ducted. For vertical or horizontal discharge,
run ductwork between the hood location and a roof cap or wall cap. For best
results, use a minimum number of transitions and elbows.
2. Use diagram, below, for proper placement of ductwork and electrical cutout in
cabinet or wall. For a non-ducted installation, DO NOT cut a duct access hole.
3. Run house wiring between service panel and hood location.

 Loading...