-6-
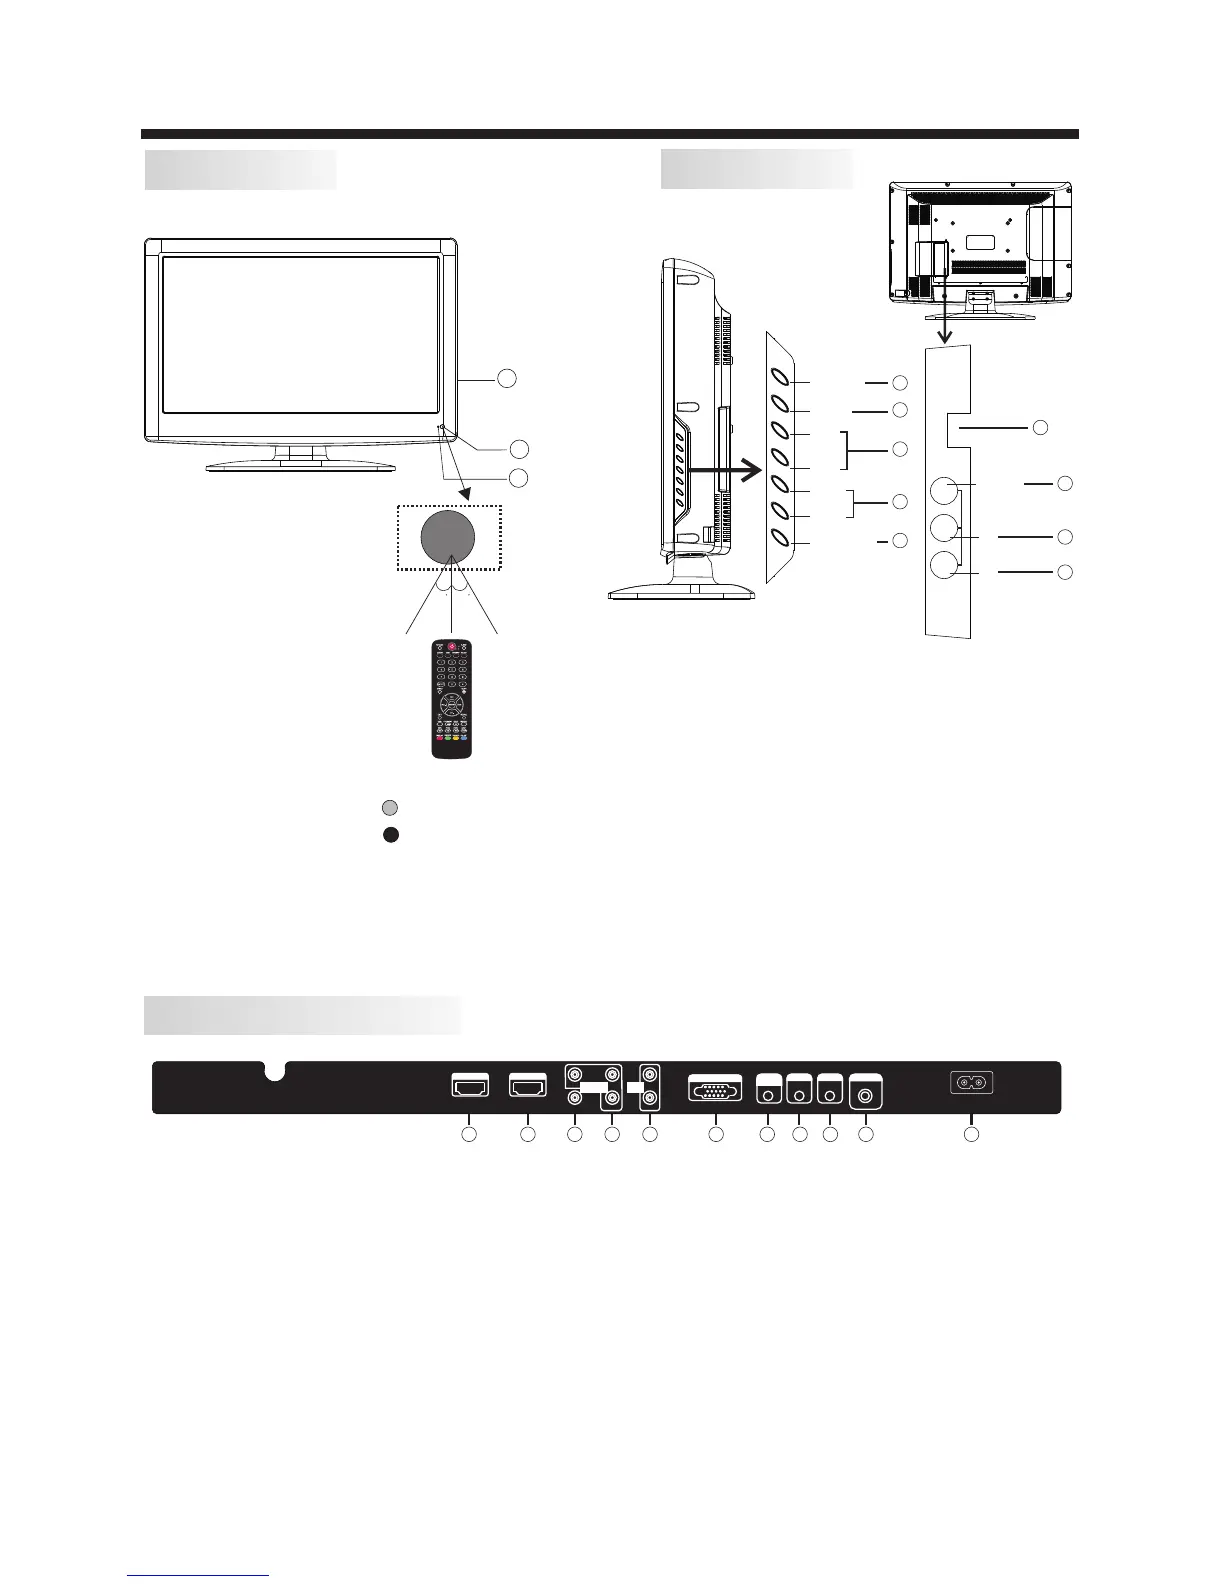
INSTALLATION
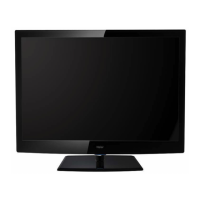
Front panel
REAR AV INPUT/OUTPUT
1: Remote control sensor.
2: Indicator LED: GREEN POWER ON.
RED STANDBY.
3:
Side panel keys
1. SOURCE: Display the input source menu.
2. MENU: Display main MENU.
3. CH+/CH-: In TV mode, press "CH+" or "CH-" to
change the channel up and down. In MENU mode, press
"CH+" or "CH-" to select items in standby mode, press
"CH+" or "CH-" to turn on the TV.
4. VOL+/VOL-: Adjust sound level. In MENU mode,
press "VOL+ " or "VOL- " to adjust the item that you
selected.
5. STANDBY: Press this button to turn the unit ON
from STANDBY mode. Press it again to turn the set
back to STANDBY.
6. USB INPUT
7. VIDEO INPUT
8. AUDIO INPUT-L
9. AUDIO INPUT-R
Side panel
SOURCE
MENU
CH+
CH-
VOL+
VOL-
STANDBY
30 30
3
1
2
VIDEO
L
R
AV2
USB
R
L
VIDEO
Note: 1. Composite video input and component video input share the audio input.
2. When HDMI has an input signal coming from a DVI source then the audio input signal must be
connected to the PC audio input.
7. PC Audio Input
8. Headphone Output
9. Coaxial
10. Antenna Socket
11. AC Power Socket
1. HDMI1 Input
2. HDMI2 Input
3. Composite Video Input
4. Component Video (YPbPr) Input
5. Audio Input
6. VGA Port (PC Input)
1
2
3
4
5
6
7
8
9
1 2
3
4 5
6
7
8
9
10 11
HDMI 1
AC INPU T
100-2 40V ~5 0/6 0H z
L
R
AV1
Pr
Y
Pb
HEADPHONE
PC AUD IO
INP UT
COA XIAL
RF INPU T
COM PONEN T
INP UT
AUD IO
INP UT
VGA INPU T
HDMI 2
 Loading...