12
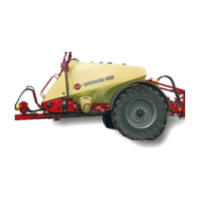
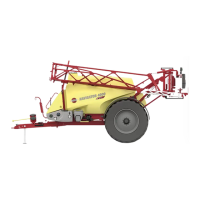
HARDI NAVIGATOR
Fig 18
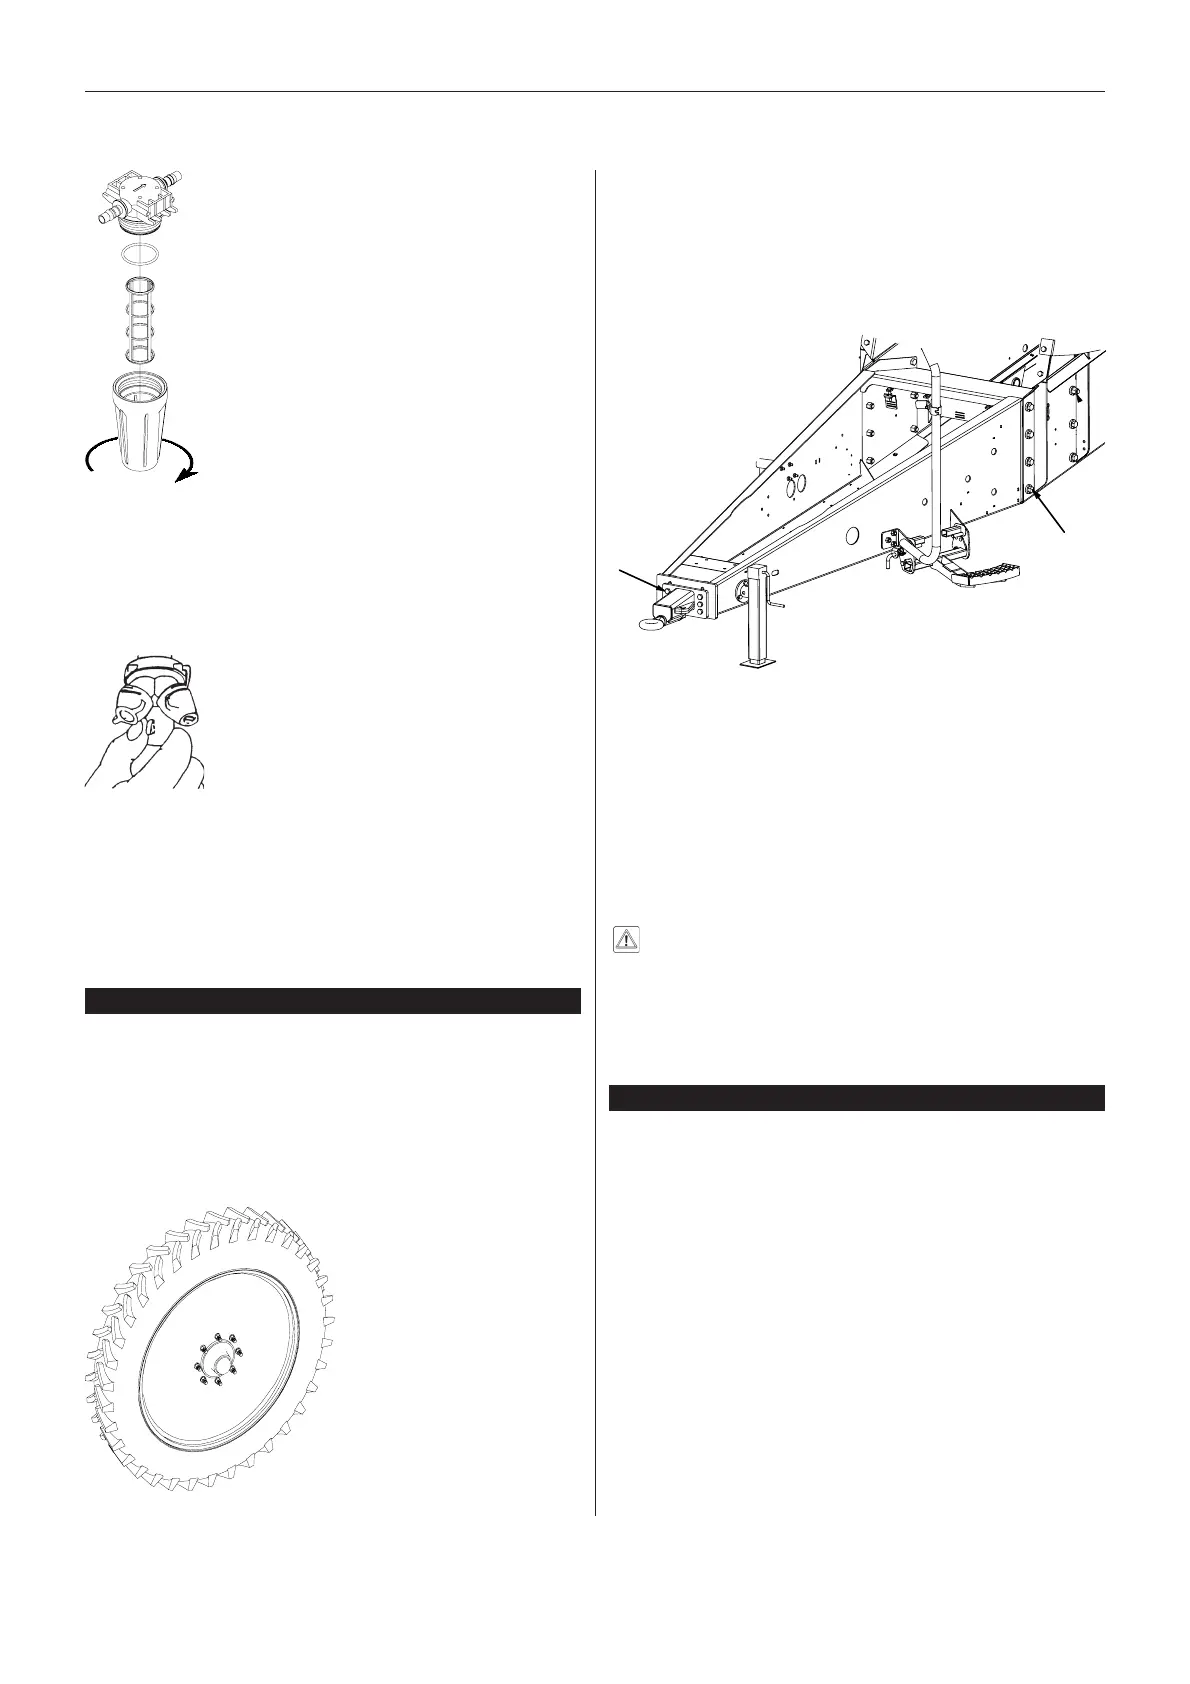
3 In-Line filters (If fitted)
If the sprayer is equiped with In-line filters, unscrew the
filter bowl to inspect and clean a filter. Lubricate O-rings.
Alternative filters are available. Refer to
Filters,
(Page
16) and
Filters
, (Page 38).
4 Nozzle filters
1 Remove the nozzle.
2 Clean the nozzle, filter and filter gasket.
3 Check parts for deterioration. Replace if necessary.
4 Refit filter and nozzle. Repeat for each nozzle.
7 Draw bar bolts
The draw bar bolts must be tightened as follows:
1 Jack up chassis so there is no load on the drawbar.
2 Tighten chassis bolts (A Fig 21) - 370 Nm ( 270 lbf-ft).
3 Tighten hitch bolts (B Fig 21) - 190 Nm (140 lbf-ft).
Fig 21
8 Tyres
Check the tyre pressures against the table below, and
Load Limit table on page 22.
TYRE PRESSURE (kPa)
Road (Max) Work (Recommended)
12.4 x 46 240 145-155
18.4 x 38 240 145-155
18.4 x 30 200 145
23.1 x 30 200 145
WARNING! Over-inflated tyres may explode and
cause severe damage or personal injuries.
2
5
7
8
1
3
4
6
Fig 19
Wheel hub to rim plate: 490 Nm (362 lbf-ft)
Rim plate to rim: 310 Nm (230 lbf-ft)
Tightening sequence:
Fig 20
9 Transmission shaft
Check function and condition of the transmission shaft’s
protection guards. Replace any damaged parts immedi-
ately.
250 Hours / Monthly Service
10 Wheel bearings
Check for play in the wheel bearings:
1 Place stop wedges in front of and behind the left
hand wheel and jack up the right hand wheel.
2 Rock the right hand wheel to discover possible play
in the bearings.
3 If there is any play, support the wheel axle to prevent
the trailer from falling down from the jack.
4 Remove the hub cap (A Fig 44) and cotter pin (B Fig
44). Turn the wheel and tighten castelated nut (C
Fig 44) until slight resistance in wheel rotation is felt.
5 Loosen castelated nut until first notch - horizontal or
vertical - is aligned with cotter pin hole in the shaft.
6 Fit a new cotter pin and bend it.
7 Fill the hub cap with fresh grease and press it on to
the hub again.
8 Repeat the procedure on the left hand wheel.
50 Hours / Weekly Service
6 Wheel studs and nuts
Tighten wheel studs and nuts as follows with the follow-
ing torque wrench settings:
B
A
 Loading...