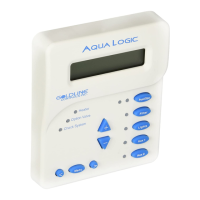
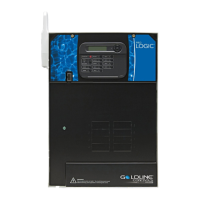
Follow these steps ONLY if Salt Chlorination is Enabled. It is important to verify which
cell type is being used AND to verify the system is configured for the correct model. If
incorrectly set, salt readings and chlorinator operations will be unreliable.
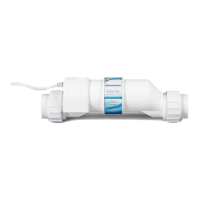
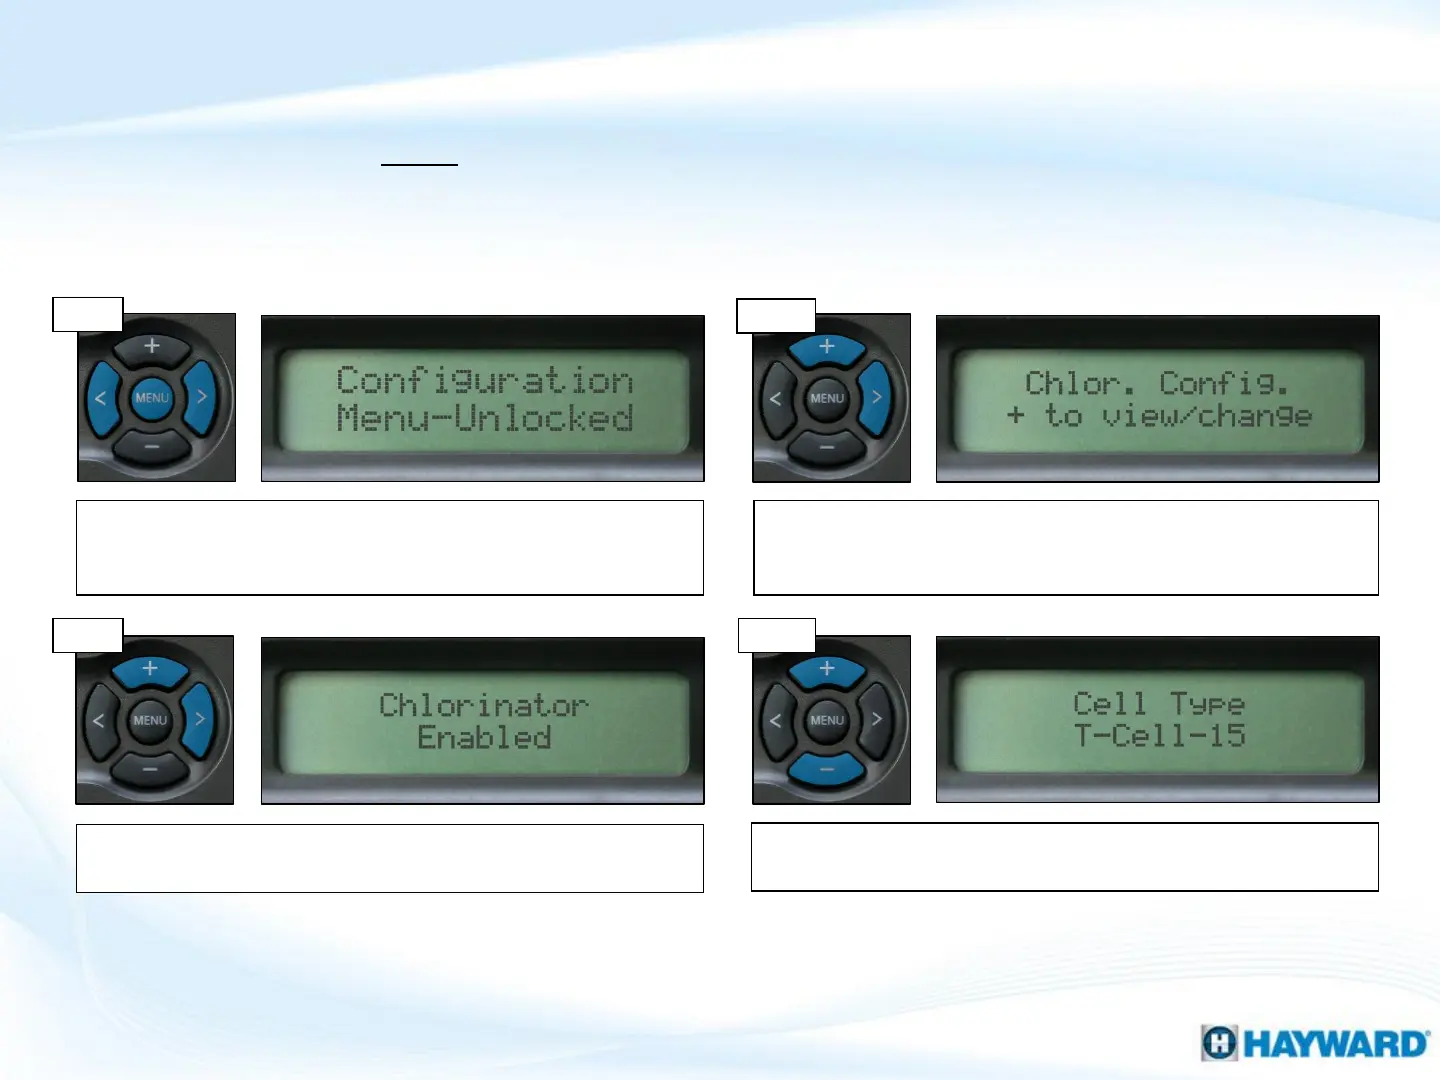
If the cell type shown does not match the model plumbed-in,
press the (+) or (-) until it matches. Then press the ‘Menu’ to exit.
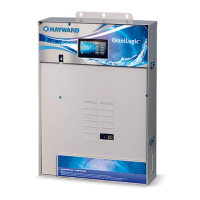
How To: Change Cell Type
11
Step 3
Step 4
Step 1
Press the ‘Menu’ until, ‘Configuration Menu-Locked’ appears. To
unlock, press and hold the (<) & (>) until the text, on the display,
changes from ‘Locked’ to ‘Unlocked’.
Press the (>) until ‘Chlor. Config.’ appears on the display. Press
the (+) button, one time, to enter into the Chlorinator
Configuration screen.
Note: If the ‘Cell Type’ option does not appear in the ‘Chlor. Config.’ menu, then review the system’s
model number to identify the type of cell that should be used with the system. Some earlier board
revisions could not be configured for different cell types.
Step 2
The display should show ‘Chlorinator Enabled’ if not, press the
(+) button to Enable it. Then press the (>) two times.

 Loading...