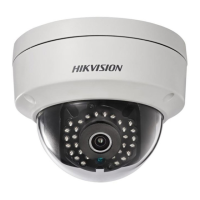
Press RESET about 10s when the camera is powering on or rebooting to restore the default
settings, including the user name, password, IP address, port No., etc.
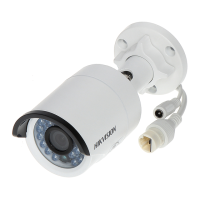
No.8 is the audio/alarm cable interface, of which the “I” mark connects to the alarm input, the “o”
mark connects to the alarm output, the “GND” mark connects the grounding, and the “A” mark
connects the audio output.
WPS (Wi-Fi Protected Setup, also known as AOSS or QSS) is a computing standard that attempts
to allow easy establishment of a secure wireless network. Refer to user manual for details.
A wireless router with the WPS function is required to enable the WPS function of the camera.
Refer the steps below.
Steps:
1. Press the WPS button on the router.
2. Press the WPS button (about 2s) on the camera within 120s you enable the WPS of the
router to join in the wireless network.
The WPS button works as a reset button only when you press it when the camera is powering on.
Press the WPS button on the camera, and then press the WPS button on the router will establish
a connection as well, and the expire time of WPS connection on the camera is 120s.
The link indicator blinks if the wireless connection is succeeded.
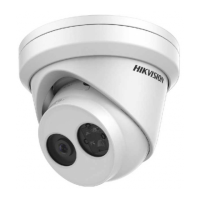
3.9.2 Installation
Steps:
1. Drill the screw holes and the cable hole in the ceiling according to the supplied drill template.
 Loading...