Network Video Recorder User Manual
157
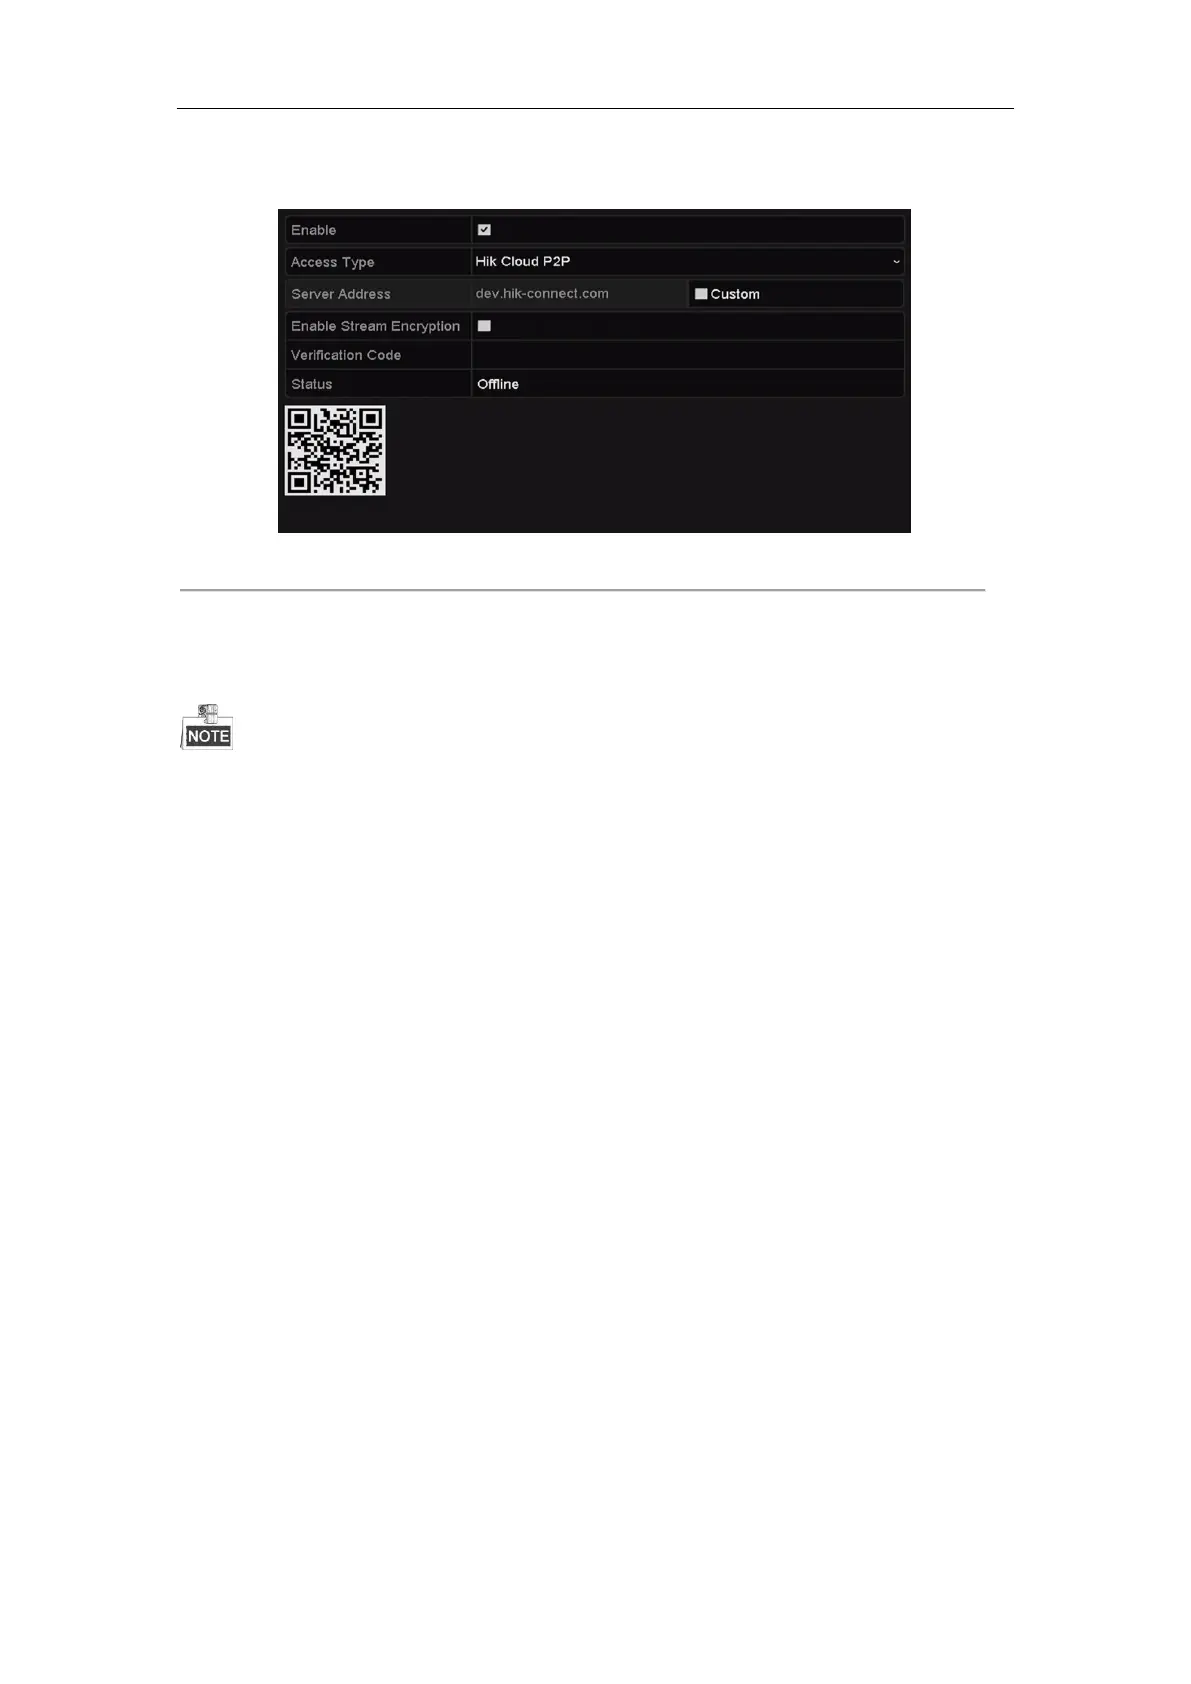
The verification code consists of 6 capital letters and is located at the bottom of the DVR. You can also use the
scanning tool of your phone to quickly get the code by scanning the QR code below.
Figure 11. 4 HIK Cloud P2P Settings Interface
7. Click the Apply button to save and exit the interface.
After configuration, you can access and manage the NVR by your mobile phone on which the HIK Cloud P2P
application is installed or by the official website (www.hik-connect.com).
For more operation instructions, please refer to the help file on the official website (www.hik-connect.com).
11.2.3 Configuring DDNS
Purpose:
If your NVR is set to use PPPoE as its default network connection, you may set Dynamic DNS (DDNS) to be used
for network access.
Prior registration with your ISP is required before configuring the system to use DDNS.
Steps:
1. Enter the Network Settings interface.
Menu > Configuration > Network
2. Select the DDNS tab to enter the DDNS Settings interface.
3. Check the Enable DDNS checkbox to enable this feature.
4. Select DDNS Type. Five different DDNS types are selectable: IPServer, DynDNS, PeanutHull, NO-IP and
HiDDNS.
• IPServer: Enter Server Address for IPServer.
 Loading...