23
Live View On-screen Display
The Live View mode is automatically started after the DVR boots up. It is also at the very top of the menu
hierarchy, thus hitting the ESC multiple times (depending on which menu you’re on) will bring you to the Live
View mode.
Live View Icons
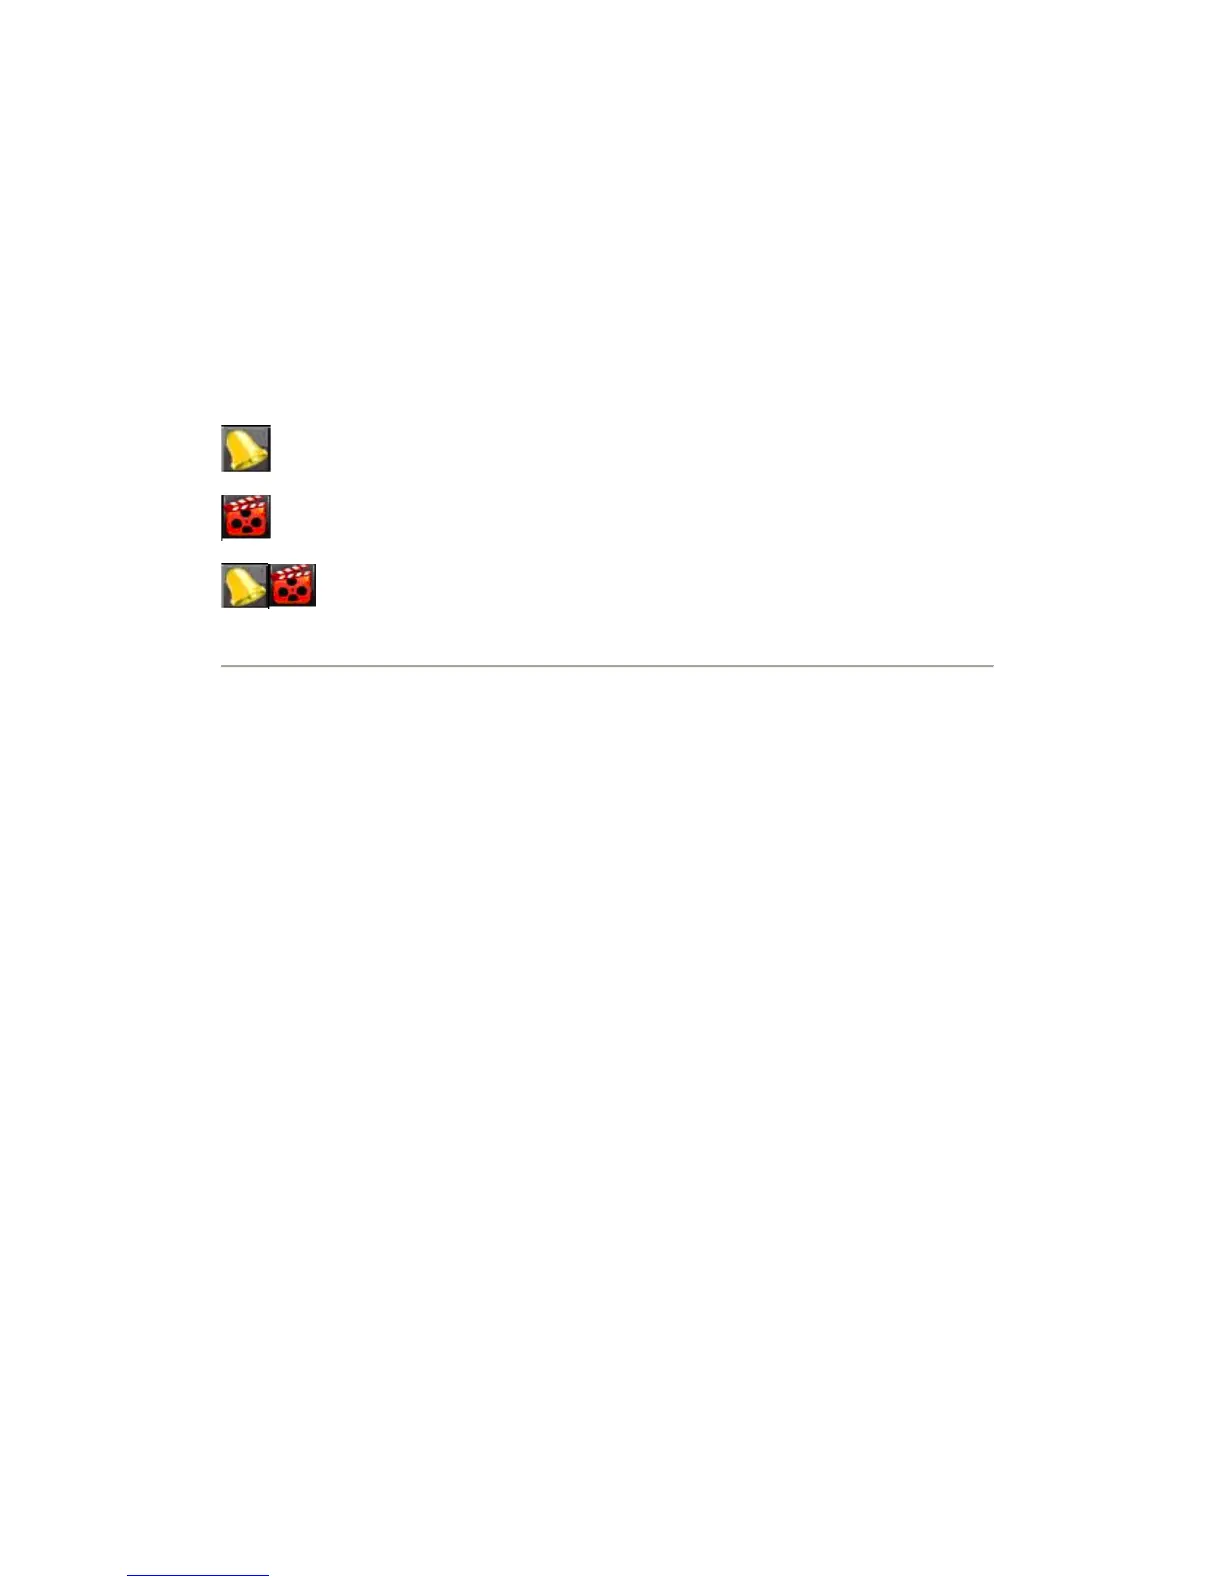
Some icons are provided on screen in Live View mode to indicate different camera status. These icons include:
Event Alarm: Indicates video loss, video tampering, motion detection or relay alarm.
Record: Indicates the current channel is recording. The recording may have been started manually,
from a schedule, and/or triggered from motion or alarm.
Event Alarm & Record
Figure1. Live View Icons
Note: Status for video loss alarm is only valid with analog cameras.
Live View Operation
In Live View mode, you can operate the following functions:
1. Display Single Camera:
• By Front Panel/Remote: Use Alphanumeric buttons.
• By Mouse: Select Single Camera in right-click menu.
2. Multi-camera View:
• By Front Panel/Remote: Press PREV button.
• By Mouse: Select Multi Camera in right-click menu.
3. Manual Switch:
• By Front Panel/ Remote: Press the Left arrow button to access the previous screen; press the
Right arrow button to access next screen.
• By Mouse: Select Next Screen in right-click menu.
4. Auto Sequence:
• By Front Panel/Remote: Press Enter button.
• By Mouse: Select Start Auto-switch in right-click menu.
5. Digital Zoom:
• By Mouse: Select Digital Zoom in right-click menu.
Mouse Operation in Live View
Some functions of the Live View can be quickly accessed by clicking the right-button of the mouse (shown in
Figure 2). These functions include:
• Single Camera: Switch to a full-screen display of the selected camera by drop-down submenu.
• Multi-Camera: Switch between different multi-camera display modes by drop-down submenu.
• Next Screen: When displaying less than the maximum number of cameras in Live View, select
this option to switch to the next camera display.
• Playback: Enter Playback mode of the selected camera.
 Loading...