29
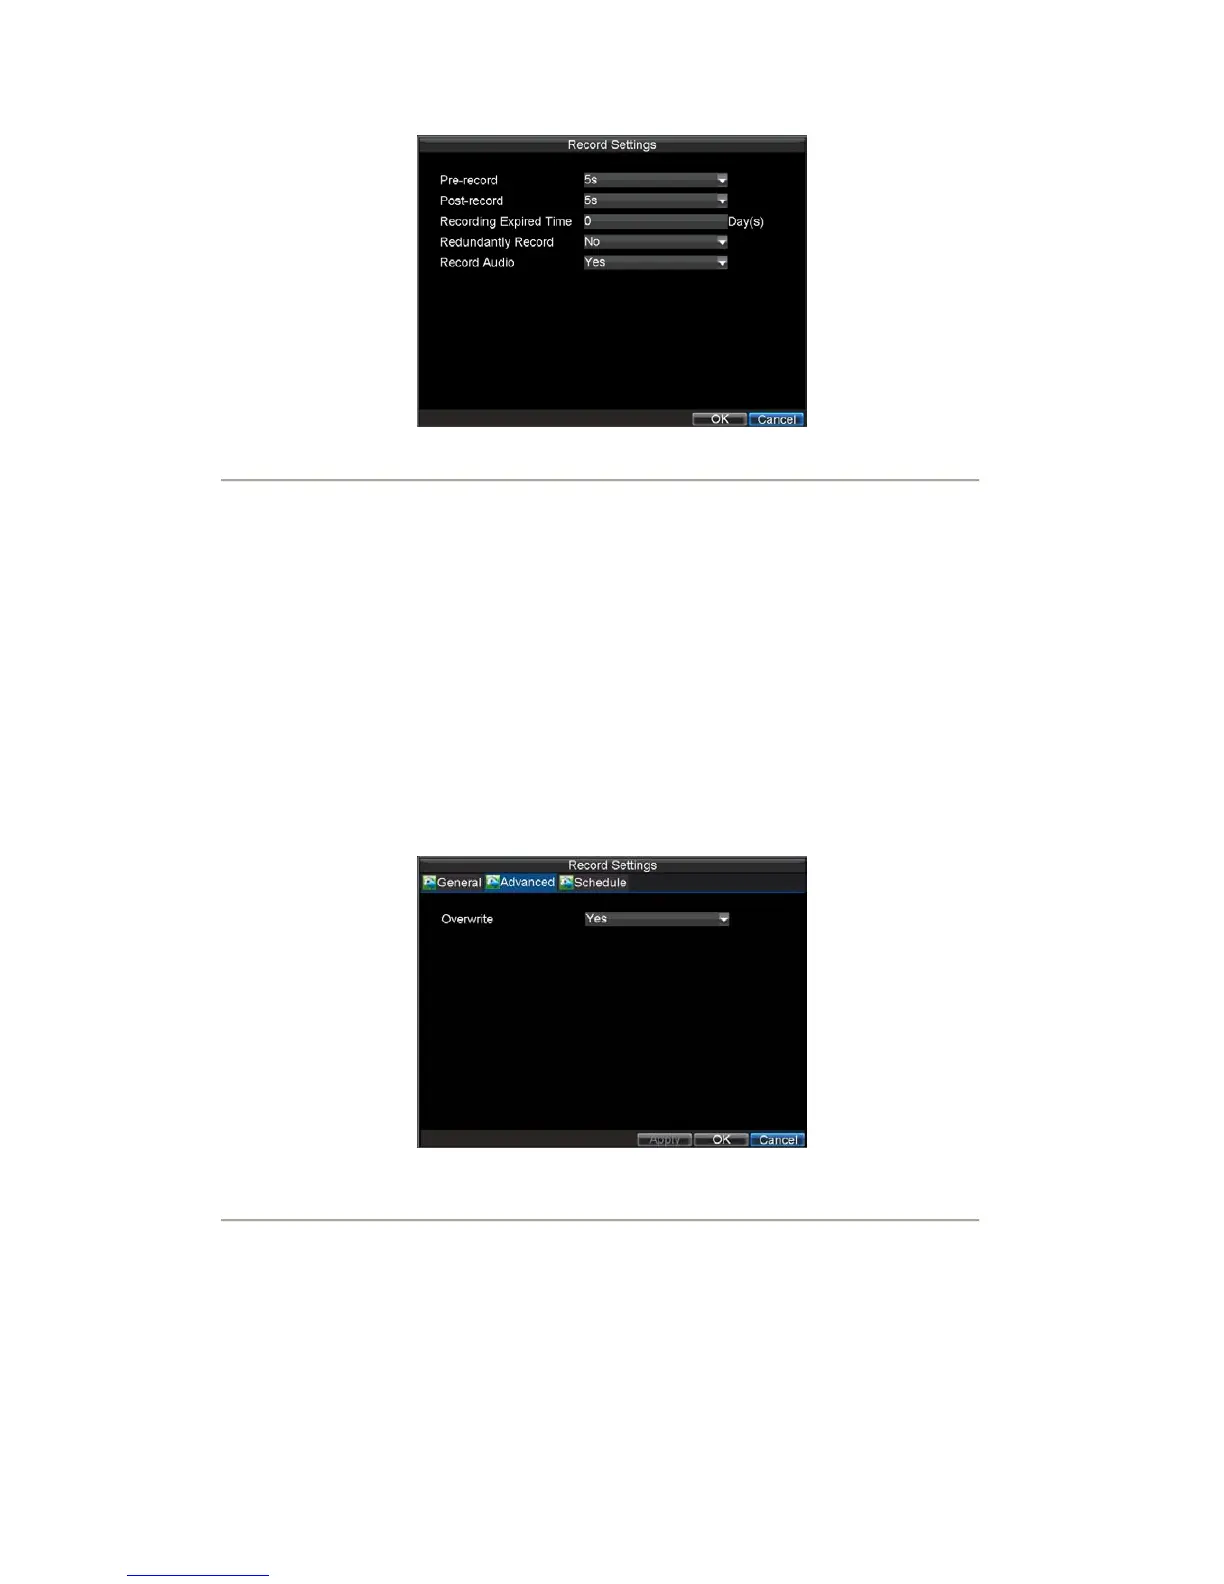
Figure2. More Record Settings
• Pre-Record: Set the time in seconds to pre-record before the actual recording begins.
• Post-Record: Set the time in seconds to post-record after the actual recording has ended.
• Recording Expired Time: Set the expiration time in days for recorded video. Record files after
expiration time will be deleted. If it is set to ‘0,’ record files will not be option would be deleted.
The actual period for record files storage is determined by the available HDD space.
• Redundantly Record: Enable or disable redundant recording of the selected camera on the
redundant
HDD. (Note: the redundant HDD must be configured before enabling the redundant
recording; please refer to Section 12.4 Redundant HDD for specific settings).
• Record Audio: Enable or disable audio record of the selected camera.
Click OK to finish settings and return to the previous menu.
5. Press the 3DEF/F2 button on DVR front panel to select the Advanced tab to access the Advanced
Settings submenu, shown in Figure 3.
6. Enable or disable the Overwrite setting. Enabling the Overwrite setting will cause recorded files
to be overwritten once the HDD is full.
7. Click Apply and then OK to back to the previous menu.
Figure3. Advanced Record Settings
Scheduling a Recording
The Schedule allows you to set up flexible recording schedules for daily or weekly recording.
To set up a recording schedule:
1. Click Menu > Settings > Record to enter the Record Settings menu.
2. Select the Schedule tab to enter the Schedule dialog box, shown in Figure 4.
 Loading...