Quick Operation Guide of DS-9600/8600/7700/7600NI-ST and DS-7700/7600NI-SP Series NVR
1
Thank you for purchasing our product. If there is any question or request, please do not hesitate to contact dealer.
This manual is applicable to DS-7608NI-ST, DS-7616NI-ST, DS-7608NI-SP, DS-7616NI-SP, DS-7708NI-ST,
DS-7716NI-ST, DS-7732NI-ST, DS-7708NI-SP, DS-7716NI-SP, DS-7732NI-SP, DS-8608NI-ST, DS-8616NI-ST,
DS-8632NI-ST; DS-9608NI-ST, DS-9616NI-ST, DS-9632NI-ST series NVR.
Verify Contents
Verify that the package contents are correct by checking the items against the packing list.
Note: Please contact your dealer for damaged or missing items.
NVR Pre-Installation
The DS-9600/8600/7700/7600NI-ST and DS-7700/7600NI-SP series NVR are highly advanced surveillance
equipment that should be installed with care. Please take into consideration the following precautionary steps
before installation of the NVR.
1. Keep all liquids away from the NVR.
2. Install the NVR in a well-ventilated and dust-free area.
3. Ensure environmental conditions meet factory specifications.
4. Install a manufacturer recommended HDD.
NVR Installation
During the installation of the NVR:
1. Use brackets for rack mounting.
2. Ensure there is ample room for audio and video cables.
3. When installing cables, ensure that the bend radius of the cables are no less than five times than its diameter.
4. Connect both the alarm and RS-485 cable.
5. Allow at least 2cm (~0.75-inch) of space between racks mounted devices.
6. Ensure the NVR is grounded.
7. Environmental temperature should be within the range of -10 ºC ~ 55 ºC , 14ºF ~ 131ºF.
8. Environmental humidity should be within the range of 10% ~ 90%.
Hard Disk Installation
Before you start:
Before installing a hard disk drive (HDD), please make sure the power is disconnected from the NVR. A factory
recommended HDD should be used for this installation.
Up to 8 SATA hard disks can be installed on your NVR.
Tools Required: Screwdriver.
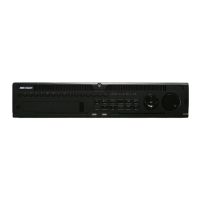
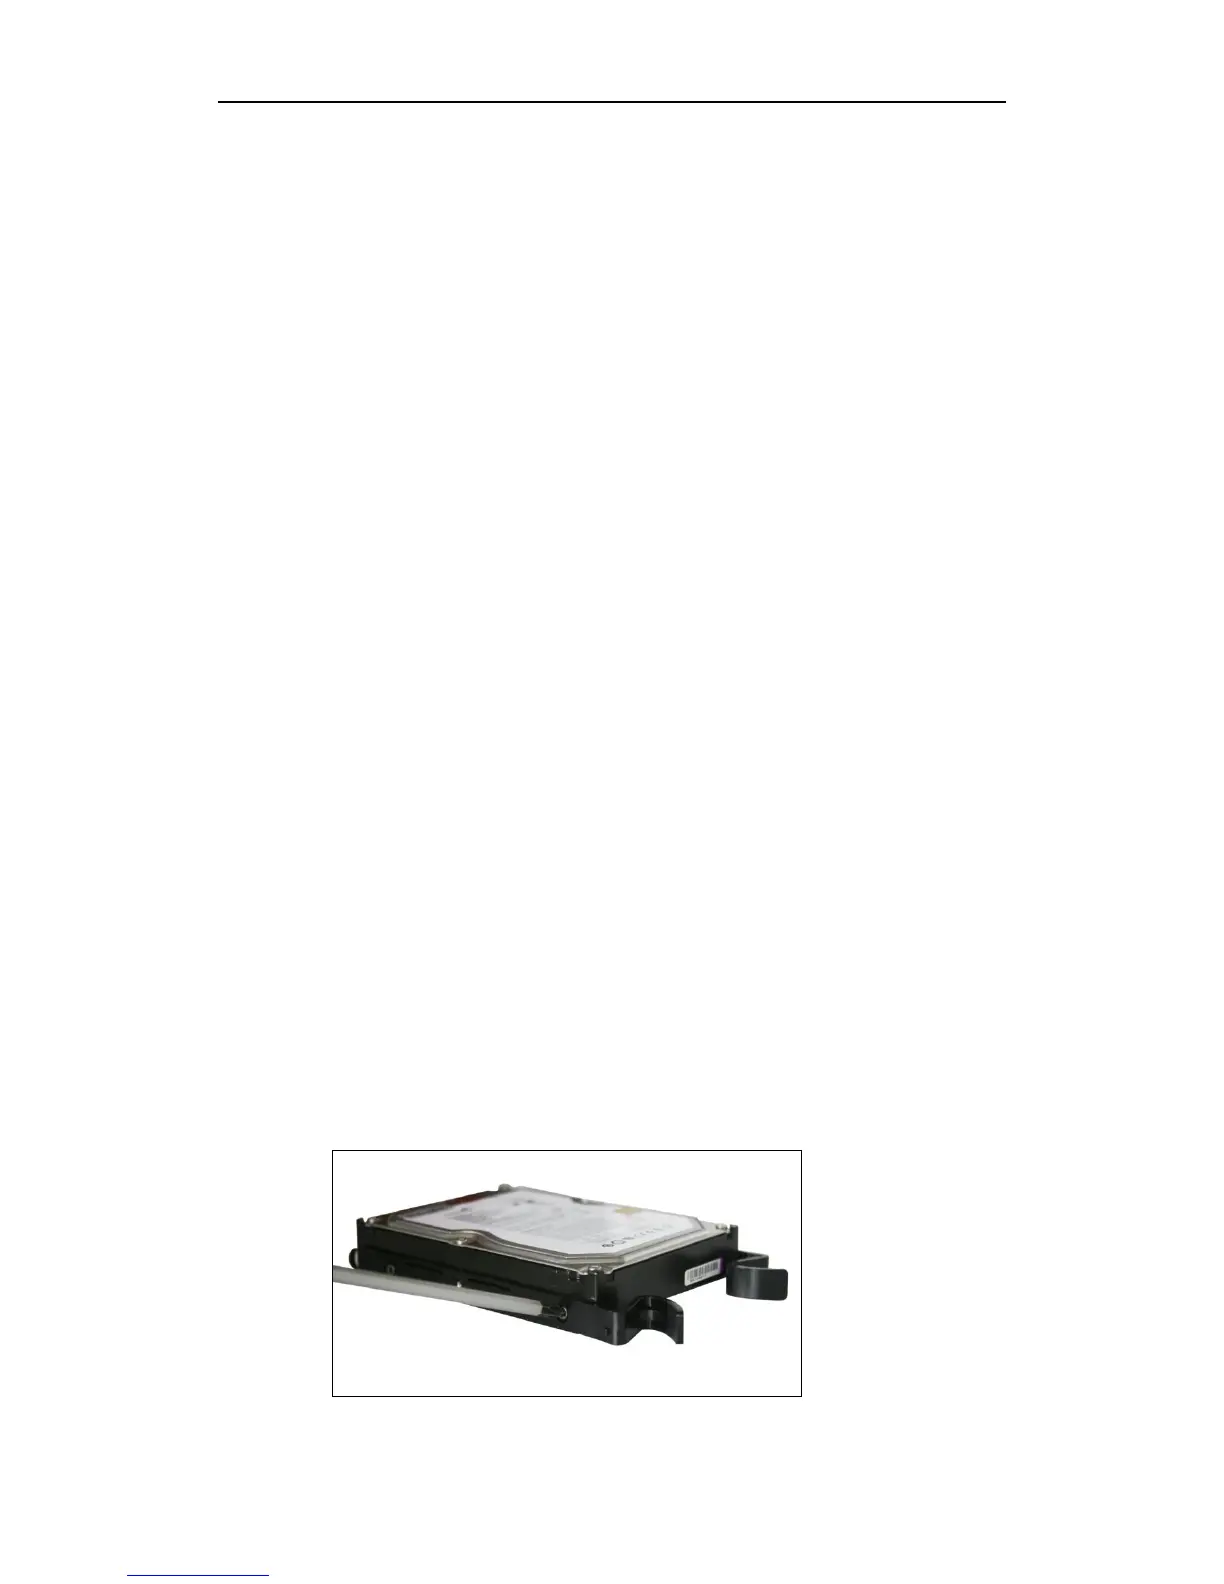
Steps (for DS-9600NI-ST):
1. Fasten the hard disk mounting handle to the hard disk with screws.
2. Insert the key and turn in clockwise direction to open the panel lock.

 Loading...