E Series IR Speed Dome Installation Manual
© Hikvision Digital Technology Co., Ltd. All Rights Reserved.
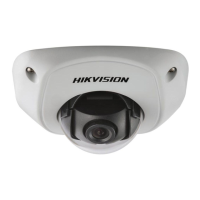
Figure 1-2 Protective Sticker
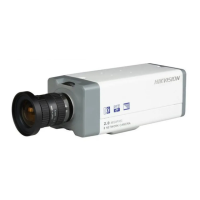
2. Drill 4 screw holes in the wall according to the holes of the mount.
3. Fix the wall mount to the wall with the M8 expansion screws.
Figure 1-3 Fix the Mount
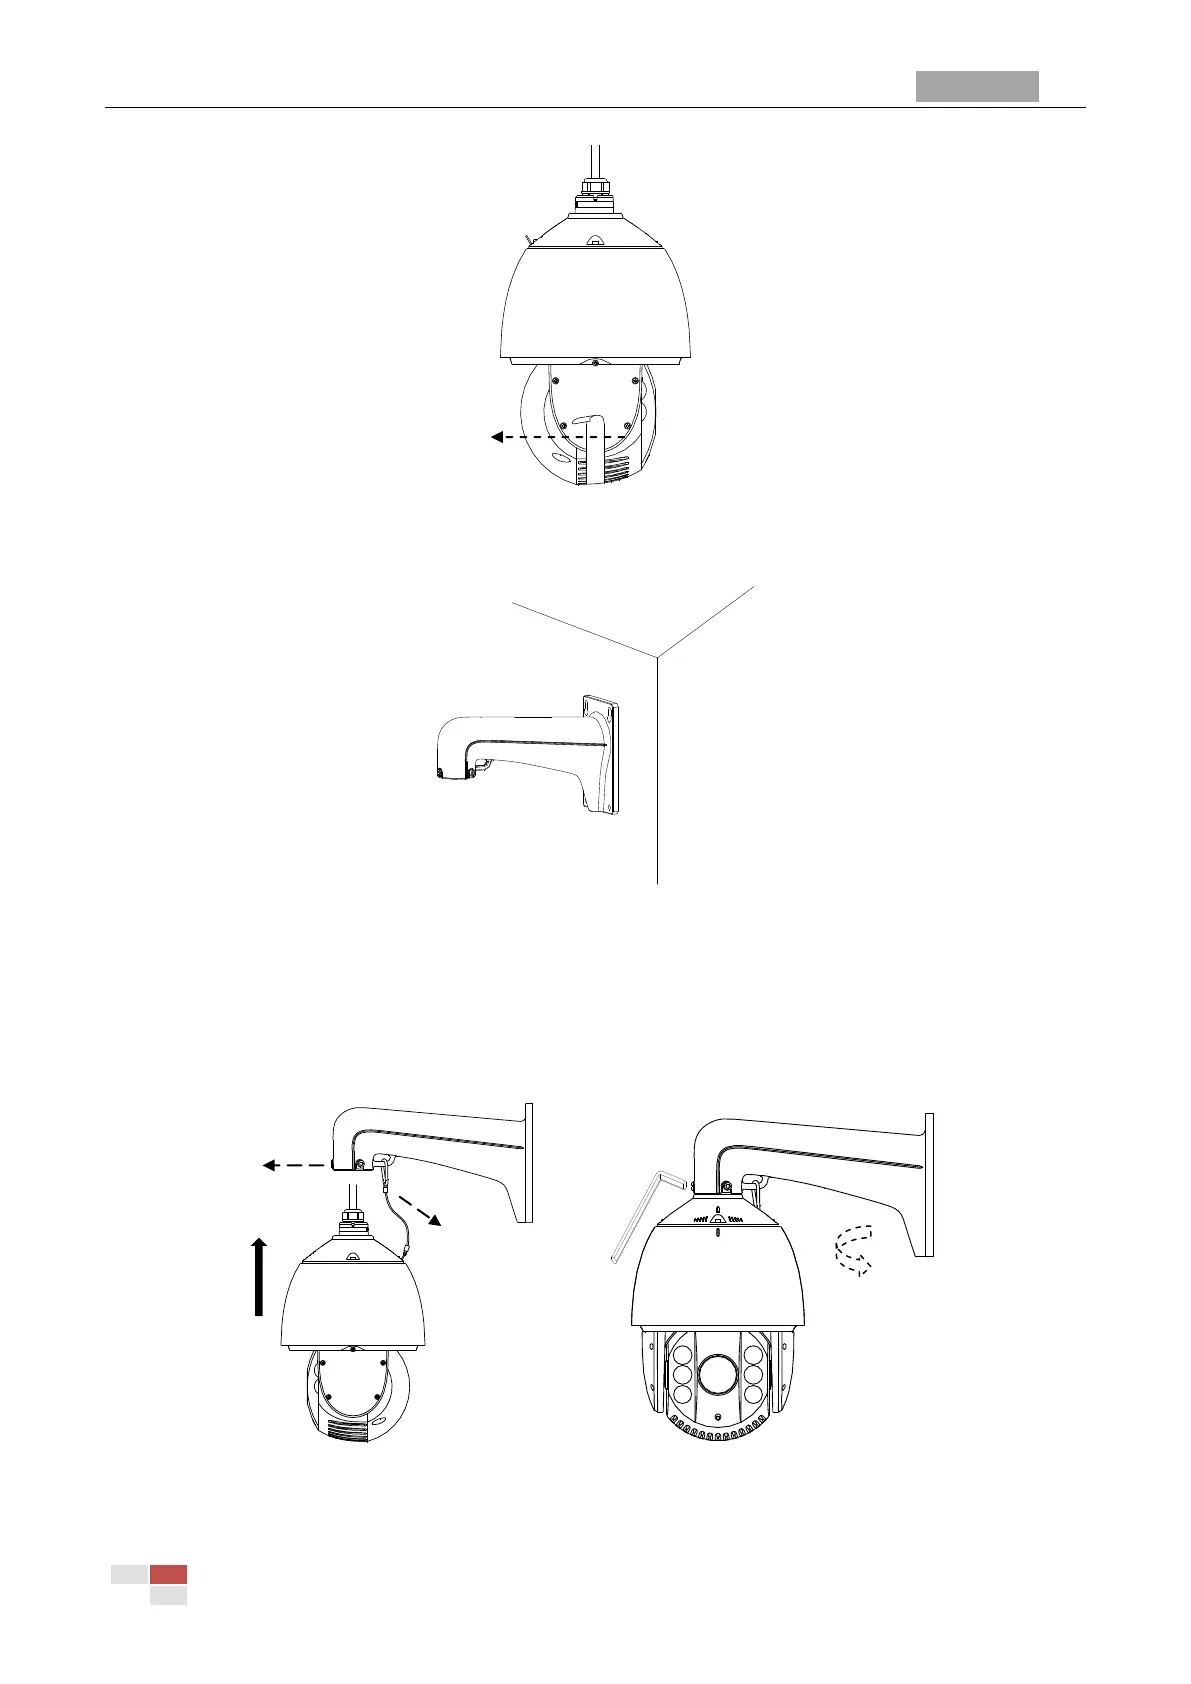
4. Install the speed dome to the mount.
1). Hang the safety rope to the speed dome and then hook to the mount as shown in Figure 1-4.
2). Route the cables of the speed dome through the wall mount.
3). Loosen the two lock screws on the wall mount.
4). Install the speed dome to the mount, and secure the speed dome by rotating the speed dome
clockwise.
5). Fasten the two lock screws with the Allen wrench.
Figure 1-4 Secure the Speed Dome
 Loading...