LIGHT KIT INSTALLATION
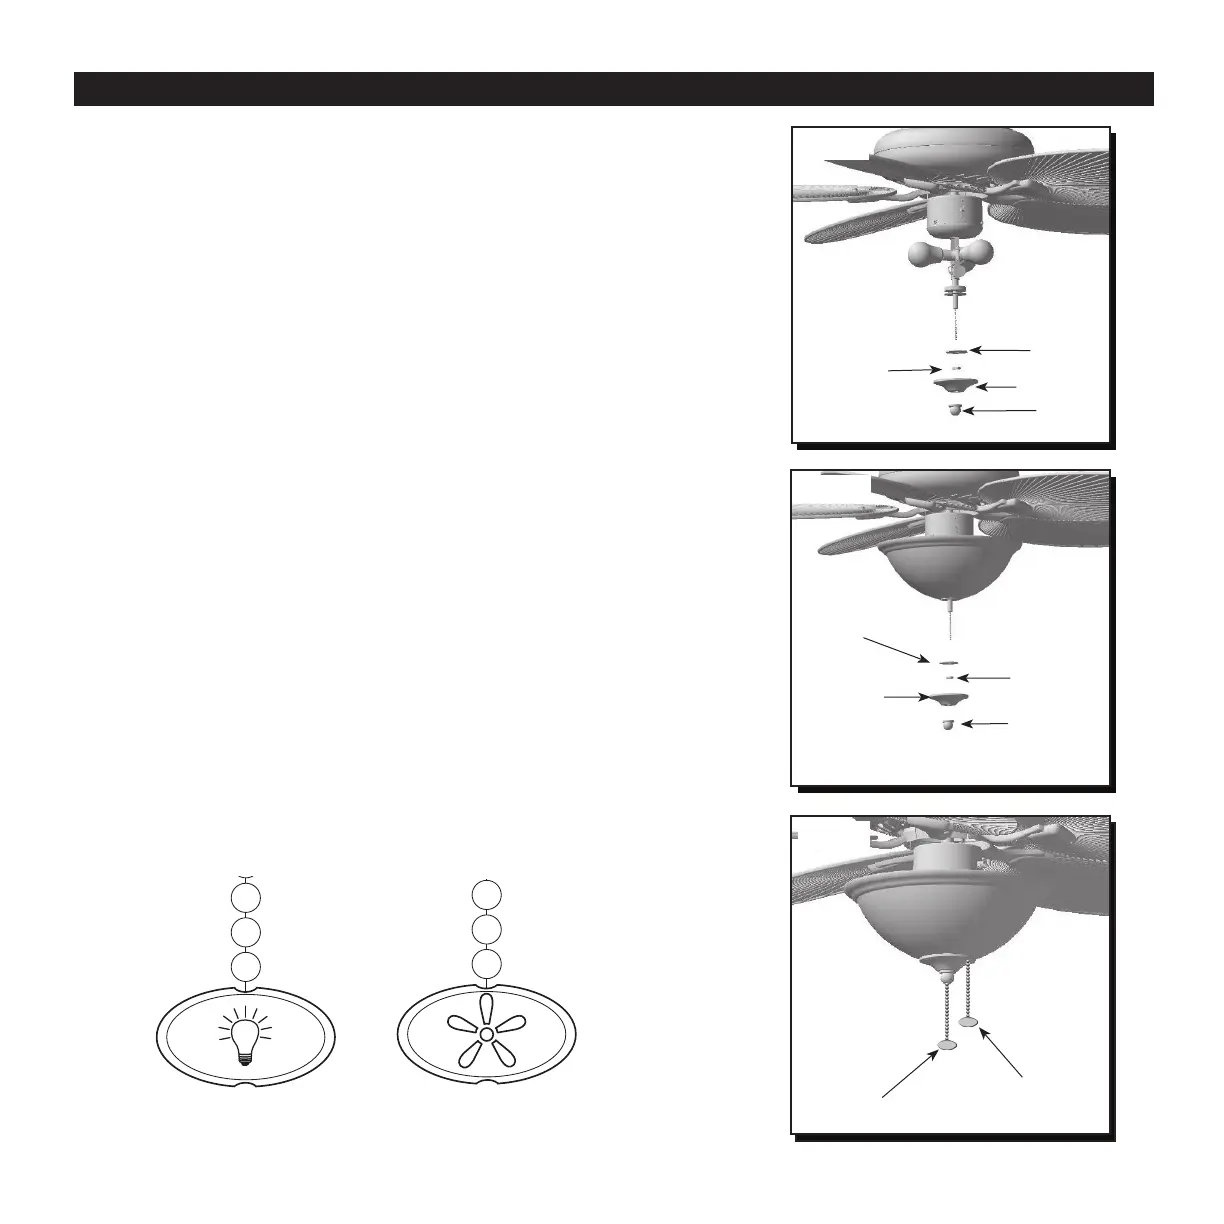
25. Remove the pre-installed rubber washer, nut, nial
cap, and nial from the light kit (Fig. 25).
Nut
Rubber
Washer
Finial Cap
Finial
Fig. 25
15
27. The pull chain extensions or custom pull chains
extensions (sold separately) may be attached to
fan and light pull chains (Fig. 27).
Fig. 27
26. Feed pull chain through the center hole in the
glass globe, rubber washer and nut. Lift the glass
globe and rubber washer over the threaded rod.
Screw the nut onto the threaded rod to temporarily
hold the glass globe in place. Feed the pull chains
through both holes in the nial cap and the center
hole in the nial and lift the nial cap up until it is
ush with the glass globe. Screw the nial onto the
threaded rod to hole the light kit in place (Fig. 26).
Fig. 26
Finial
Finial Cap
Nut
Rubber
Washer
Light Pull Chain
Fan Pull Chain
The installation is complete.
Fan
Pull Chain
Light
Pull Chain
 Loading...