12 Replacement Kit Instruction 43-DR-33-87 3/05
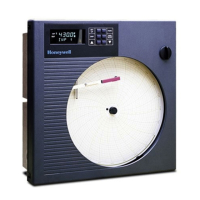
1.6 DR4300 Recorder One Pen Models
Introduction
The procedure in Table 6 lists the steps required to replace the Servo Motor assembly on One Pen
Models of the DR4300 Circular Chart Recorders.
Use the procedure in Table 9 to install the motor on the two pen recorder assembly.
The procedure assumes that the chart door is opened, the chart plate is swung out, and that the
power is removed.
Table 6 Procedure for Replacing the Servo Motor on a One Pen DR4300
Step Action
1
Power down the recorder and open the chart door.
2
Note the location of pen 1 (purple) on the chart. Pull the lifter up to raise the pen from
the chart and remove the ink cartridge.
3
Remove the screw, lockwasher, and flat washer that hold the pen 1 arm to the servo
shaft. Remove the pen arm.
4
Disconnect the pen cable for pen 1 from the P2 connector on the printed circuit
assembly (PCA) on the right. Remove the cable from the clamp in the rear of the
case.
5
The No.1 pen motor is located on the underside of the servo plate. Refer to Figure 7
for the location of the #1 Pen Motor.
6
Remove the three screws that hold the servo assembly to the chart plate. Pull the
servo plate away from the chart plate and remove the two screws that hold the old
servo motor in place.
7
Replace the old motor assembly with the new one and secure with screws.
8
Reinstall the servo plate onto the chart plate.
9
Dress the cable(s) in the clamps and connect the cable plugs to the appropriate
connectors on the PCA.
10
Replace the pen arm, flat washer, lockwasher, and screw, but leave the screw slightly
loose.
11
Raise the pen lifter and replace the ink cartridge on the pen arm.
12
Push down the pen lifter and carefully position the pen to the location noted in Step 2.
Tighten the pen arm screw.
13
Align the pen. Refer to the procedure in
Table 7 for a recorder without a display, or
Table 8 for a recorder with a display.
 Loading...