3/05 Replacement Kit Instruction 43-DR-33-87 3
1.3 DR4501, DR45A1 - One Pen Classic Pen Alignment
Mechanical Alignment
CAUTION
Align the pen mechanically as shown in Table 2 and then electrically as described in
Table 3. Never attempt to manually force the pen arms from the front, since this will damage
the pen mechanism.
Table 2 Procedure for Aligning the Pen Mechanically
Step Action
1
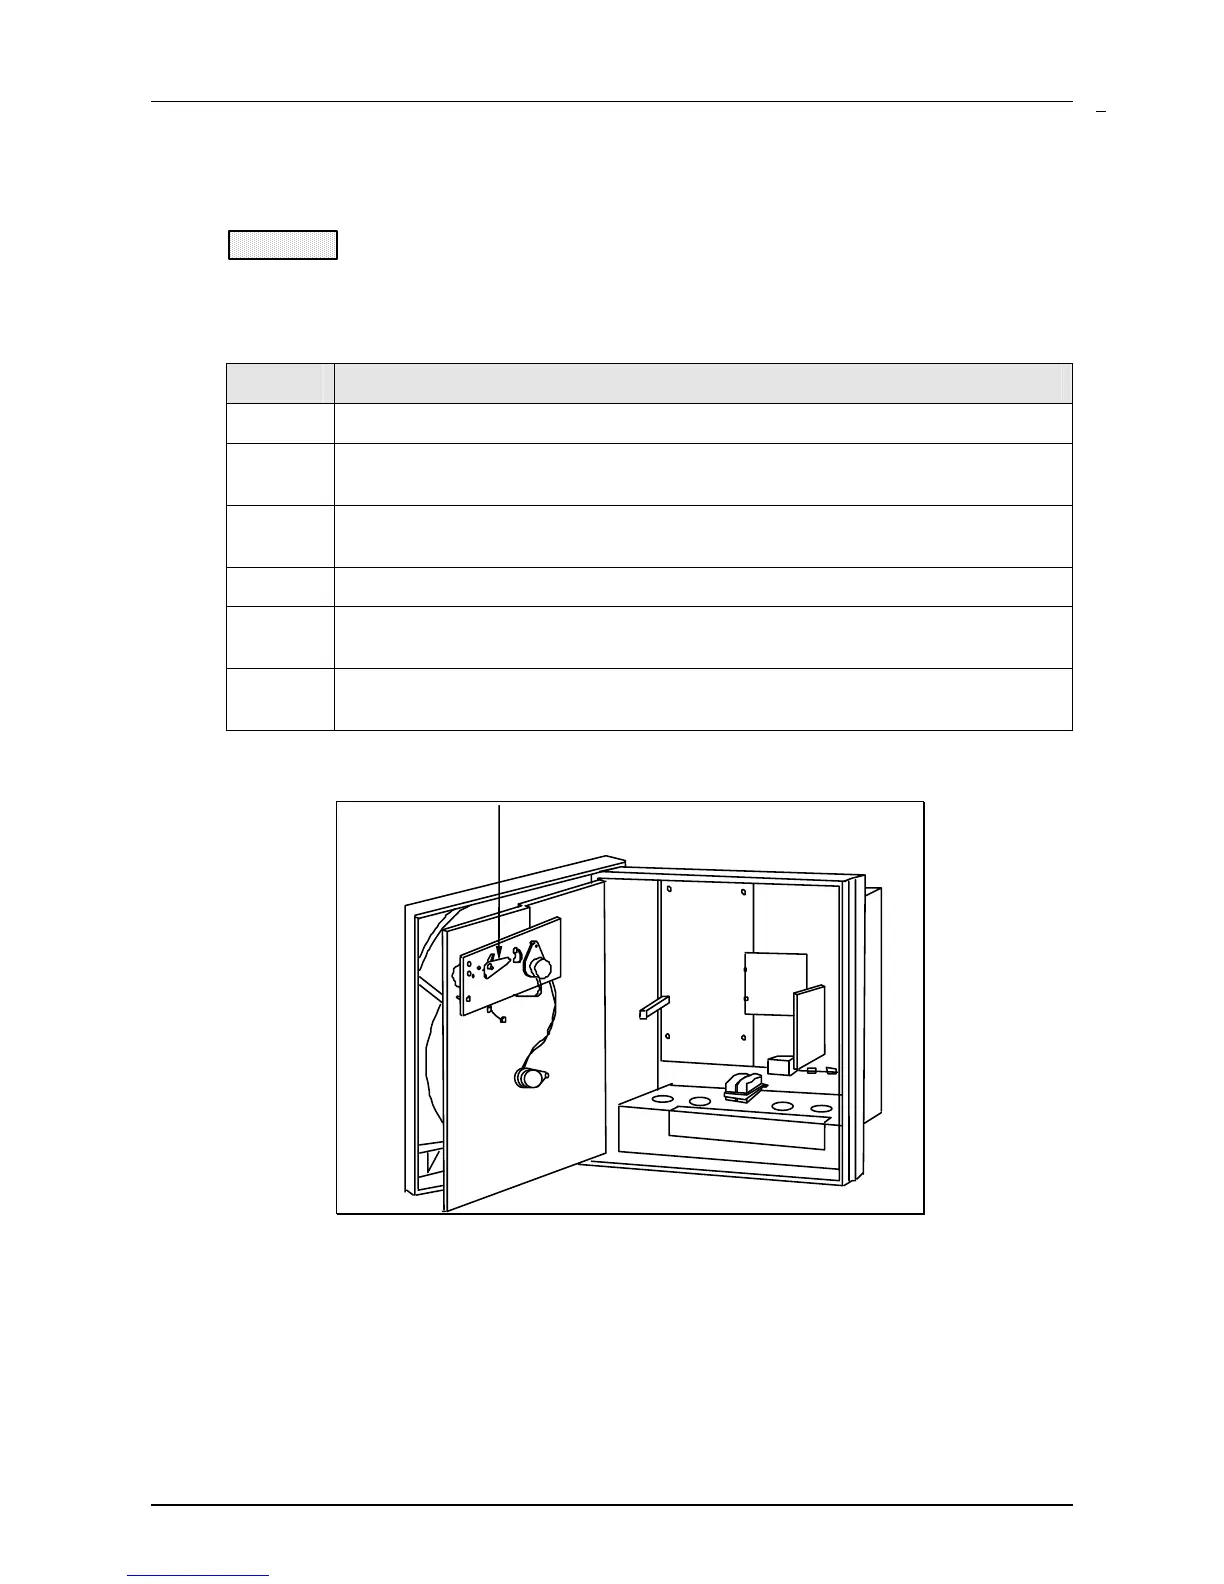
Turn off power, open the door, and lift the pen lifter up. Refer to Figure 1.
2
Unclip and remove the purple ink cartridges from pen 1 arm to provide a better
view of tip of arm.
3
Push the No. 1 pen sector gear down so that its uppermost teeth mesh with
teeth on the motor shaft gear. See Figure 1.
4
Slightly loosen the screw holding the No. 1 pen arm to the servo shaft.
5
Replace the No. 1 pen arm, lockwasher, and screw, but leave the screw slightly
loose.
6
Move the No. 1 pen arm so that its right tip aligns with the inside circumference
of the inner most circle in the center of the chart. Tighten screw.
Push sector gear
pen 1 (top pen)
for zero
Figure 1 Mechanical Alignment of Pen#1
 Loading...