3/05 Replacement Kit Instruction 43-DR-33-87 9
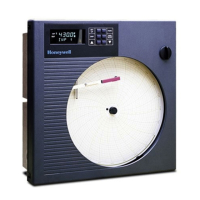
1.5 DR450T, DR450R, DR450W, DR45AT, DR45AR, DR45AW, DR45AH,
DR45AP Truline Recorder
Introduction
The procedure in Table 5 lists the steps required to replace the Servo Motor assembly in Models
DR450T, DR450R, DR450W, DR45AT, DR45AR, DR45AW, DR45AH, DR45AP Truline Recorder
The procedure assumes that the chart door is opened, the chart plate is swung out, and that the
power is removed.
Table 5 Procedure for Replacing the Servo Motor on Truline Recorders
Step Action
1
Refer to Figure 4 (DR450T, DR450R, DR450W, DR450H) or Figure 5(DR45AT,
DR45AR, DR45AW, DR45AH, DR45AP) for the location of the Pen Servo Motor and
Cabling information.
Disconnect the pen motor cable from the connector on the top of the Main printed
circuit board. See below for connector location.
Models Models
DR450T, DR45OR, DR450W DR45AT, DR45AR, DR45AW
DR45AH, DR45AP
J7 J6
Remove the wires from the wire holders on the chart plate and the top of the case.
Very carefully cut the nylon strap surrounding the wires. BE CAREFUL NOT TO CUT
THE WIRES.
Remove the screws holding the motor to the servo plate and remove the motor.
Install the new motor to the servo plate and secure with the screws provided.
Dress the motor cable and the stylus cables with the other wires, using the new
plastic tie wraps provided, and place into the wire holders on the chart plate and top
of case.
Connect the new motor cable plugs into the connector locations on the Main printed
circuit board as indicated in step 2.

 Loading...


