Chapter 3 — How to Set Up Your Printer
8 MP Compact4 Mark III User Guide
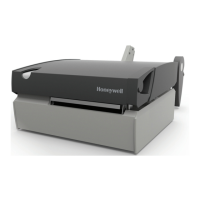
Connect Printer to Power
1 Place the printer on a firm, level surface.
2 Ensure that the power switch on the printer is in the “off” position.
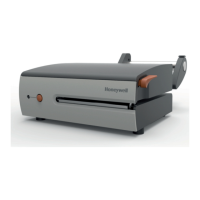
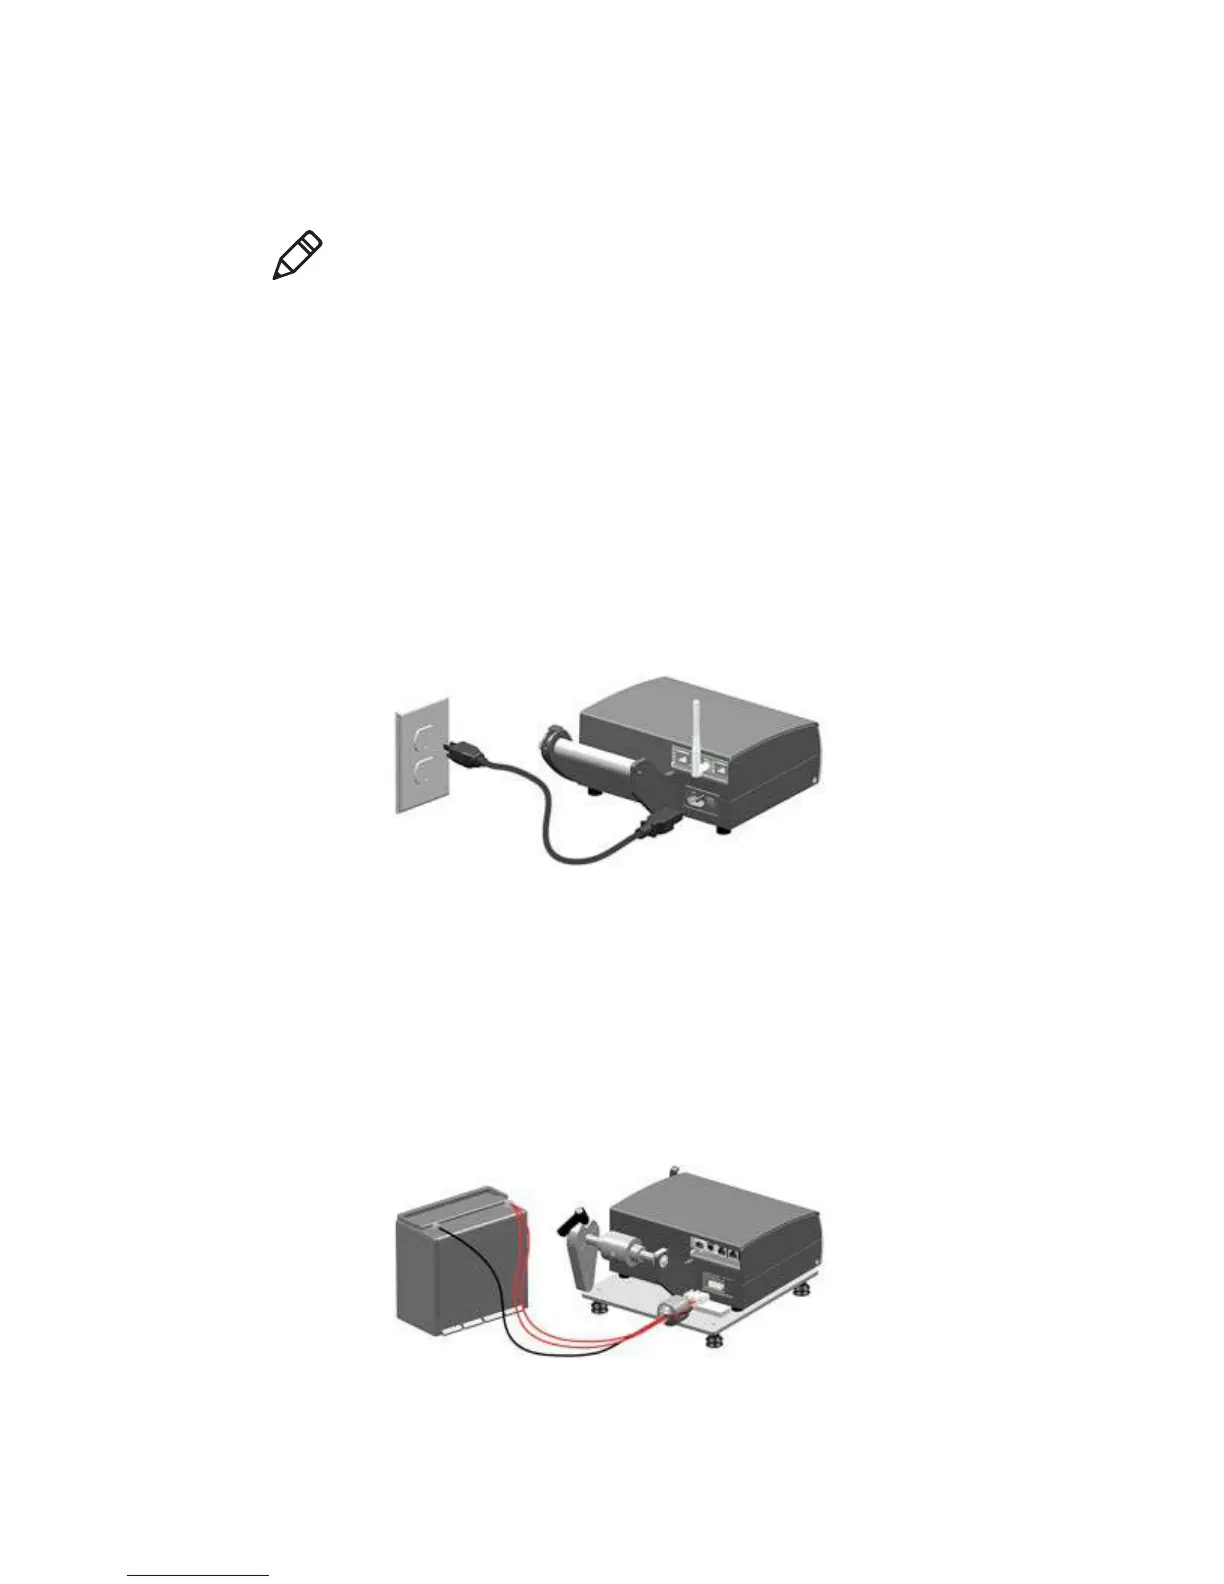
Connect the AC Model
1 Connect the AC power cord to the receptacle on the back of the printer.
2 Next, plug the AC power cord into a properly grounded outlet. (The printer’s
power supply automatically detects and then adjusts to the applied line
voltage; see “Technical Specifications” on page 38 for the acceptable
voltage ranges.
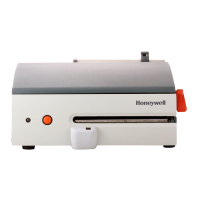
Connect the DC Model (24 VDC to 48 VDC)
1 Connect the black wire to the negative (-) pole of the battery or chassis
ground. Then, connect both red wires to the positive (+) pole of the battery.
2 Connect the white input connector to the rear of the printer as shown. (The
printer’s power supply automatically detects and then adjusts to the applied
voltage; see “Technical Specifications” on page 38 for the acceptable
voltage ranges.)
Before connecting power or interface cables to the printer, ensure the power on/
off switch is in the “off” position.
 Loading...