8.
Assembly
1. Before assembling the cleaner, confirm all parts and components are included.
2. Ensure the cleaner is not connected to the mains power supply when assembling.
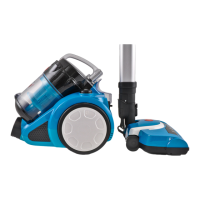
Hose Assembly
Insert the hose into the dust canister inlet in a horizontal
direction. Ensure the two projecting parts align and gently
insert. Turn the hose right when it is fully inserted, it should make
a click sound when correctly inserted.
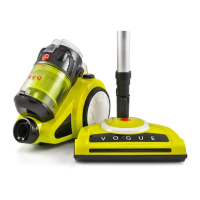
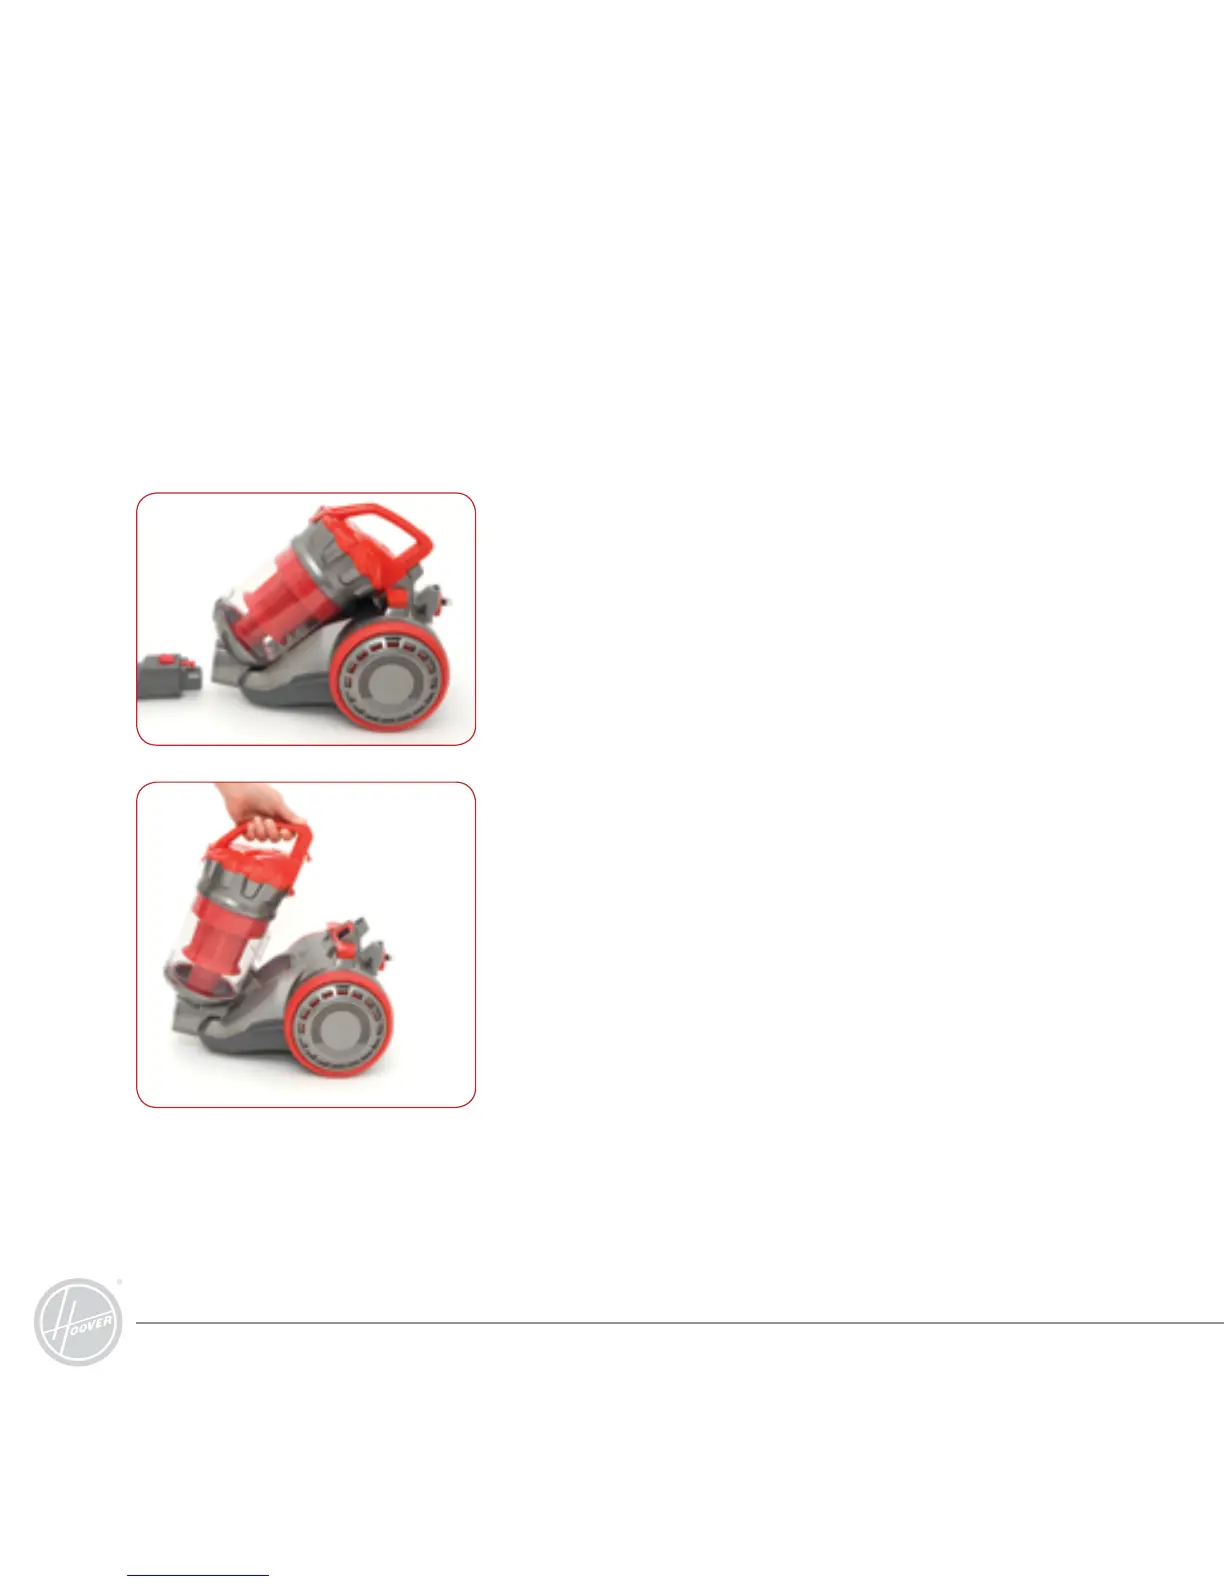
Assembly and Removal of the
Dust Canister
Place the bottom of the dust canister on the projecting part at
the front end of the cleaner, and press down the dust canister.
When the front-end hook is entered into the corresponding part
of the cleaner completely, and a click sound is heard, the dust
canister is correctly inserted.
To remove the dust canister, press down on
the dust canister release button and then lift off the cleaner.
 Loading...