Mounting the computer
HP recommends mounting the computer in the vertical (tower) orientation, with the power button up.
IMPORTANT: Do not mount the computer with the I/O ports oriented towards the ground.
This computer incorporates four mounting points on the bottom side of the computer. These mounting points
follow the VESA (Video Electronics Standards Association) standard, which provides industry-standard
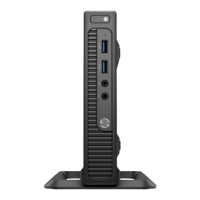
mounting interfaces for Flat Displays (FDs), such as at-panel monitors, at displays, and at TVs. The HP
Quick Release connects to the VESA-standard mounting points, allowing you to mount the computer in a
variety of orientations.
NOTE: When mounting to the computer, use the 15 mm screws supplied with the HP Quick Release.
To use the HP Quick Release:
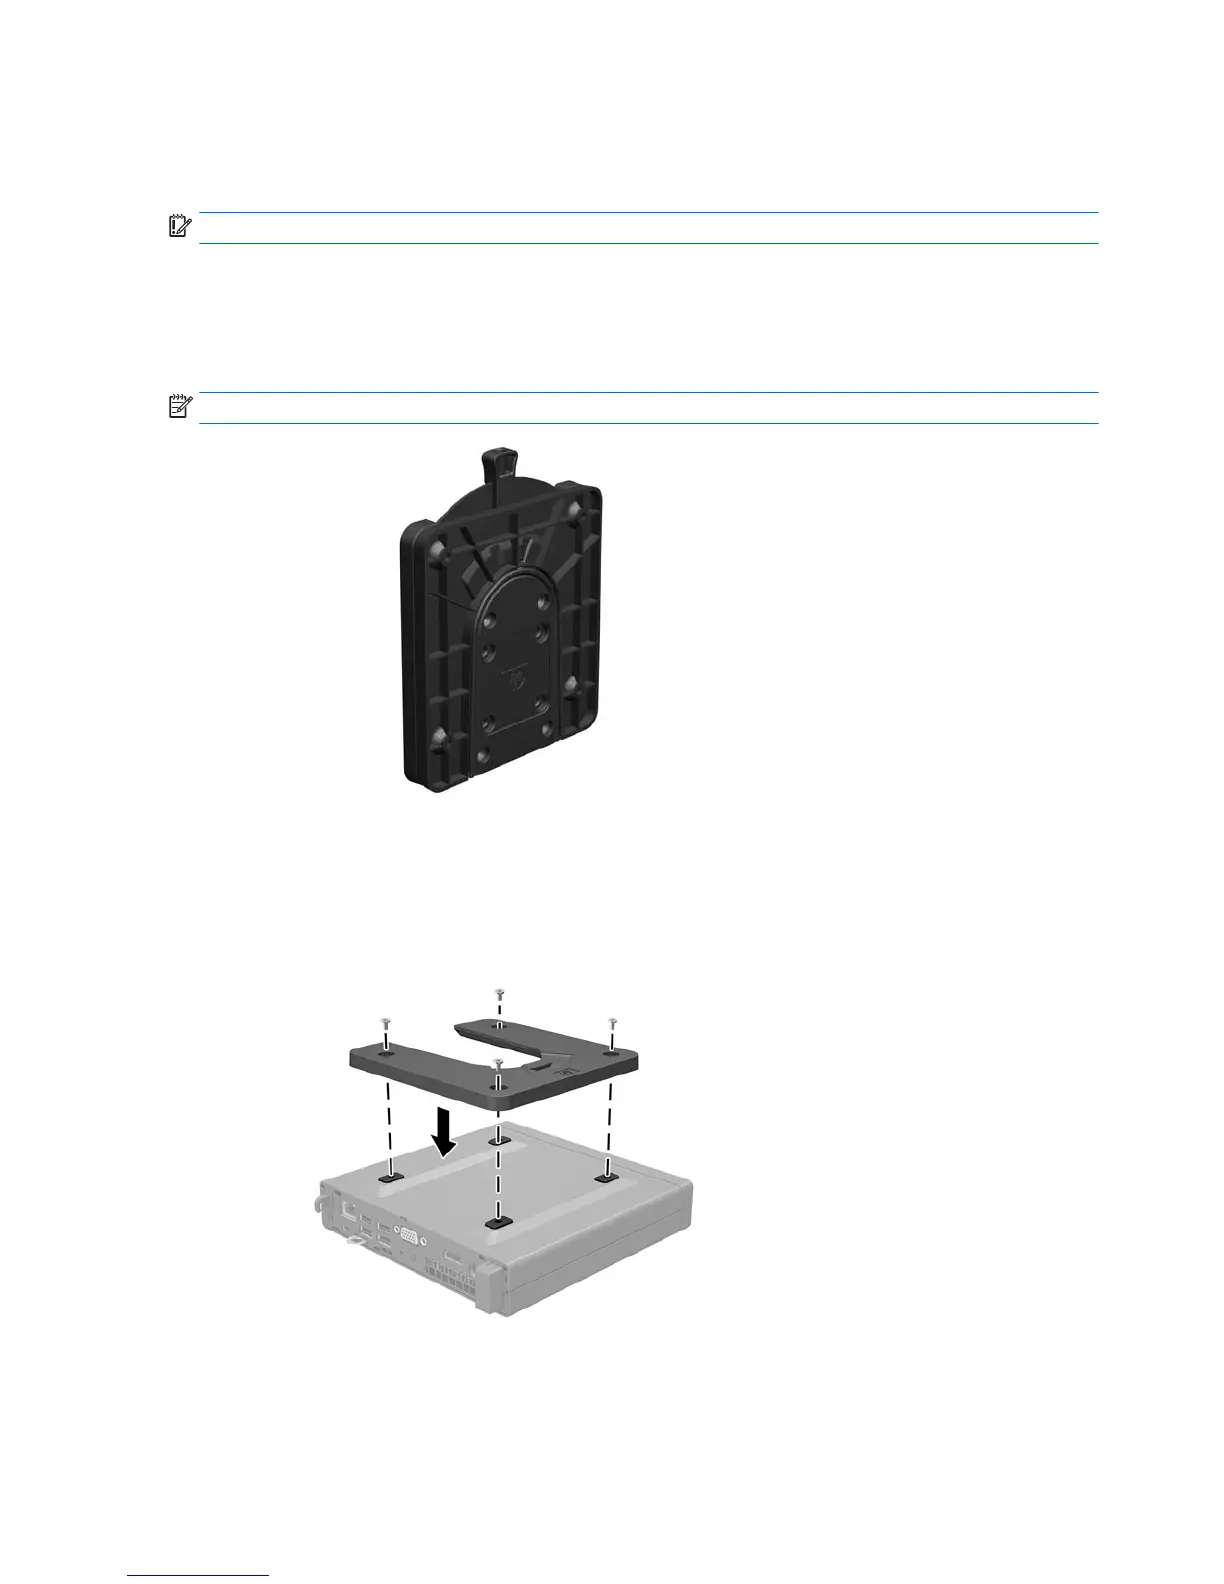
1. Remove four screws from the bottom side of the computer if they are installed.
2. Using four 15 mm screws included in the mounting device kit, attach one side of the HP Quick Release to
the computer as shown in the following illustration.
20 Chapter 2 Hardware upgrades
 Loading...