Using the touch function
NOTE: Before using the touch function, make sure the USB cable is connected and the Windows
operating system is started.
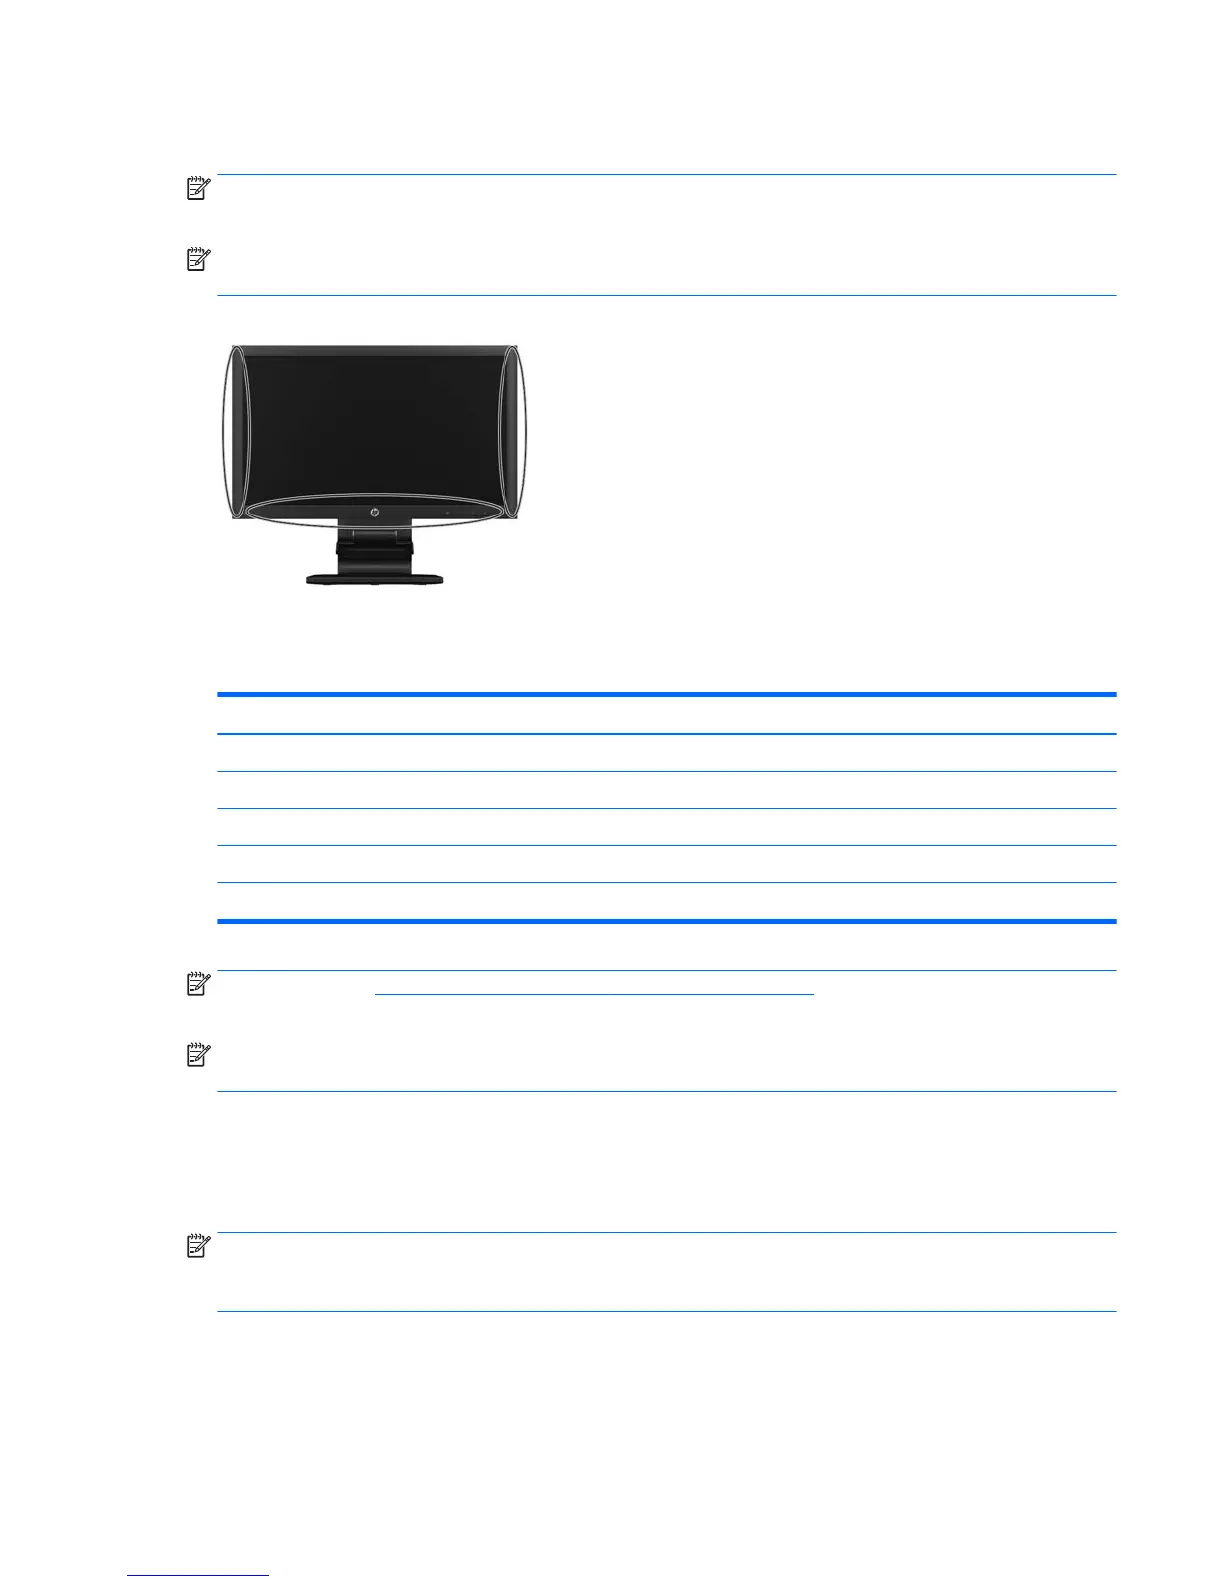
NOTE: When the touch function is active, make sure there are no foreign objects in the areas
encircled in the figure below.
Figure 4-2 Make sure there are no foreign objects in the encircled areas
The touch function may replace the mouse after you start the Windows operating system. Use your
finger or the provided stylus for touch applications. Gesture compatibility is listed below:
Table 4-1 Gesture compatiblity
Finger operation Windows 7 Windows Vista Windows XP Tablet Windows XP
Drag √ √ √ √
Click √ √ √ √
Double-click √ √ √ √
Single-touch digitizer √ √ √
Multi-touch gestures √
NOTE: Refer to http://msdn.microsoft.com/en-us/library/dd371585 for topics on various gestures
that are supported in Windows 7.
NOTE: Windows multi-touch gestures are not supported in Windows 7 Home Basic or Starter
editions.
Using an extended display (Windows 7 only)
Windows 7 Home Premium, Professional, Enterprise, and Ultimate editions support extended display
touch screen functions for two monitors connected to one system.
NOTE: Windows 7 Home Basic and Starter editions, Windows Vista, and Windows XP do not
support extended display touch functionality. They support single-touch functions on the primary
monitor only, not the secondary monitor (extended or cloned desktop).
1. Make sure a USB cable is connected from the computer to each monitor.
2. Select Start > Control Panel.
3. Select the View by drop-down list, and then select either Large icons or Small icons.
Using the touch function 19
 Loading...