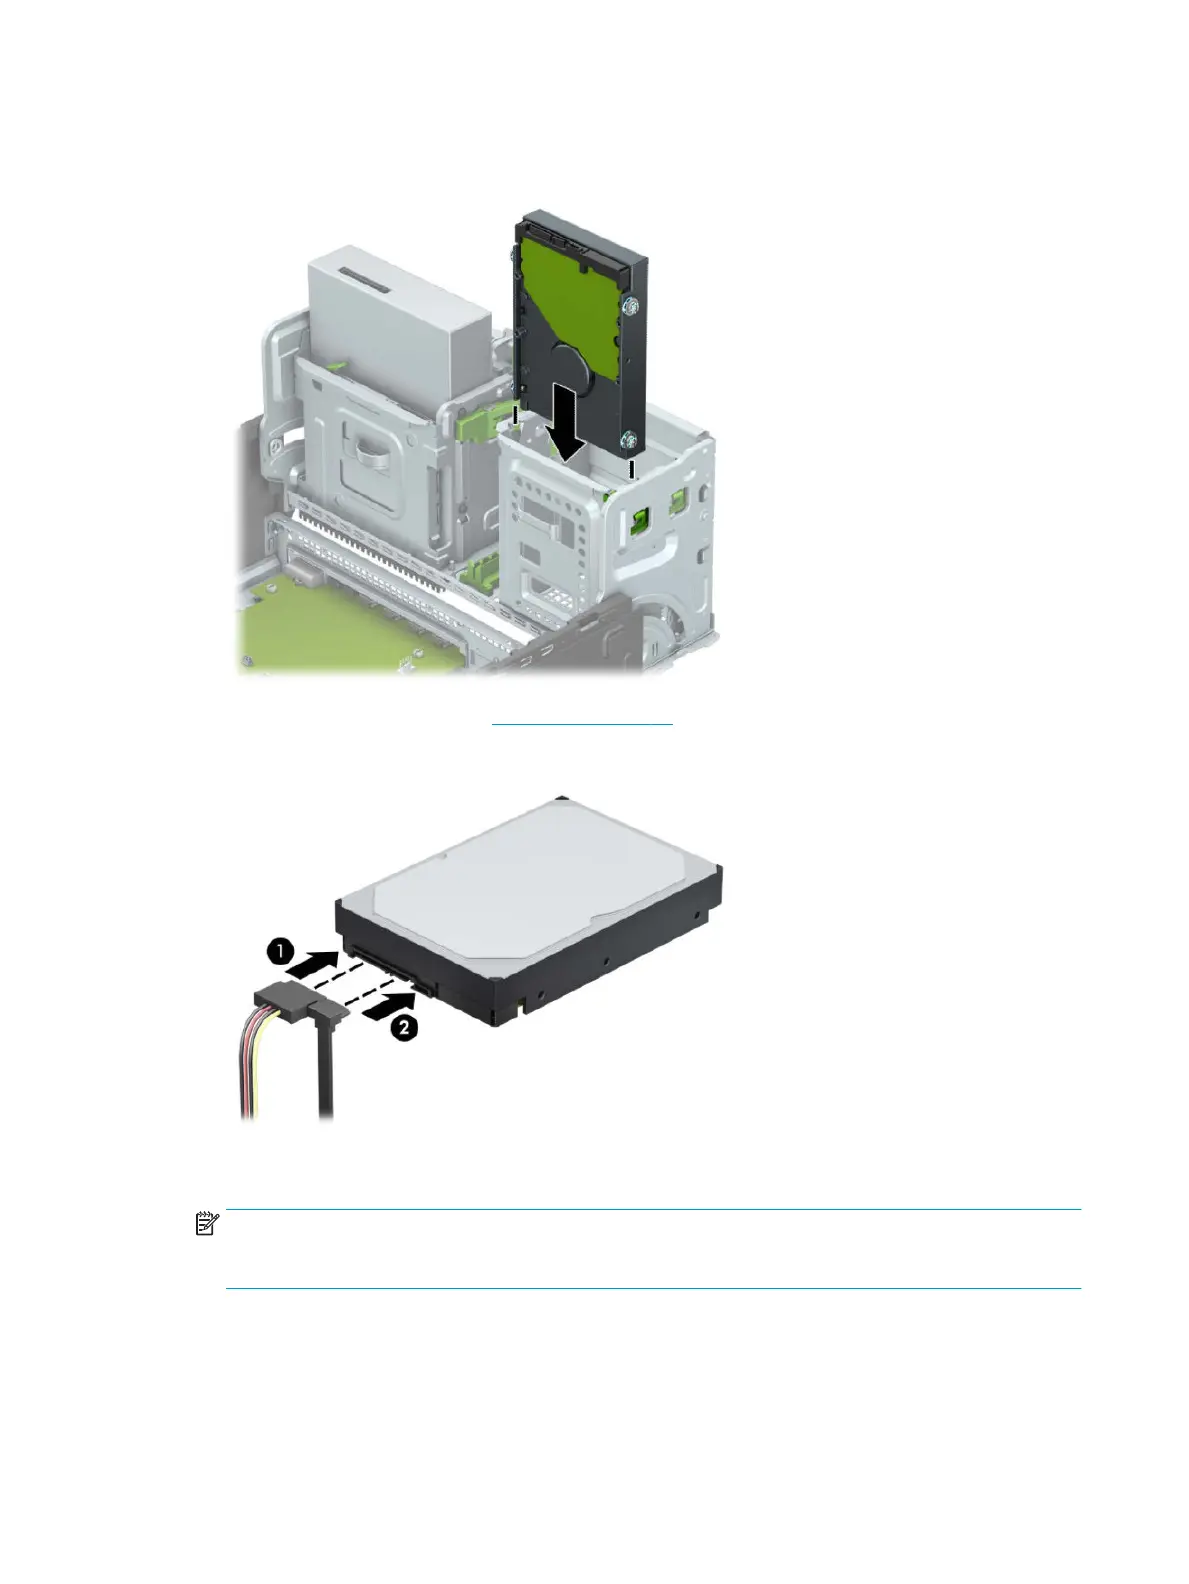
6. Slide the drive into the drive bay, making sure to align the mounting screws with the mounting slots,
until the drive snaps into place.
7. Rotate the drive cage down (see Drive cage on page 29)
8. Connect the power cable (1) and data cable (2) to the rear of the hard drive.
9. If installing a new drive, connect the opposite end of the data cable to the appropriate system board
connector.
NOTE: You must connect the primary hard drive data cable to the dark-blue connector labeled SATA0
to avoid any hard drive performance problems. If you are adding a second hard drive, connect the data
cable to one of the light-blue SATA connectors.
10. Reassemble the computer.
42 Chapter 4 Removal and replacement procedures
 Loading...