5. To configure the UPS for the number of connected ERMs,
press the On button to advance the cursor to the load
LED associated with the number of ERMs attached to the
UPS.
6. Press the Standby button to select the appropriate ERM
configuration. The associated LED illuminates solid
green.
7. To save the configuration settings and exit Configure
mode, press the Test/Alarm Reset button.
NOTE: Configure mode times out after 2 minutes. If
the Test/Alarm Reset button has not been pressed, any
new selections are not saved.
For the location of buttons, see "UPS front panel controls (on
page 6)."
For the location of LEDs, see "UPS front panel LED indicators
(on page 6)."
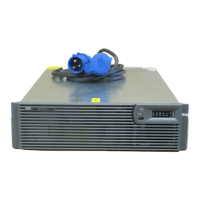
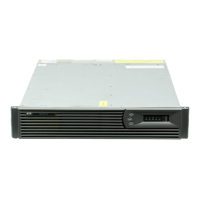
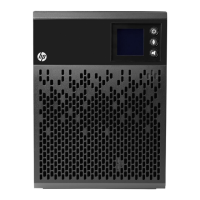
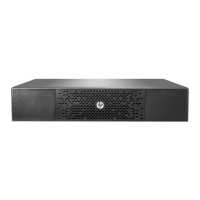
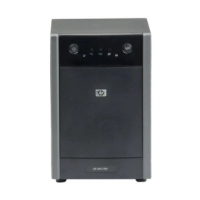
UPS front panel controls
The front panel is shown with the bezel removed.
Item Description Function
1 On button Powers up the UPS
2 Standby button Places the UPS in Standby mode
3
Test/Alarm Reset
button
Silences UPS alarms
Initiates a self-test
4 Configure button Places the UPS in Configure mode
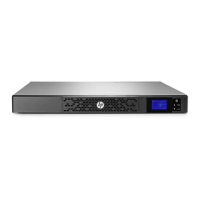
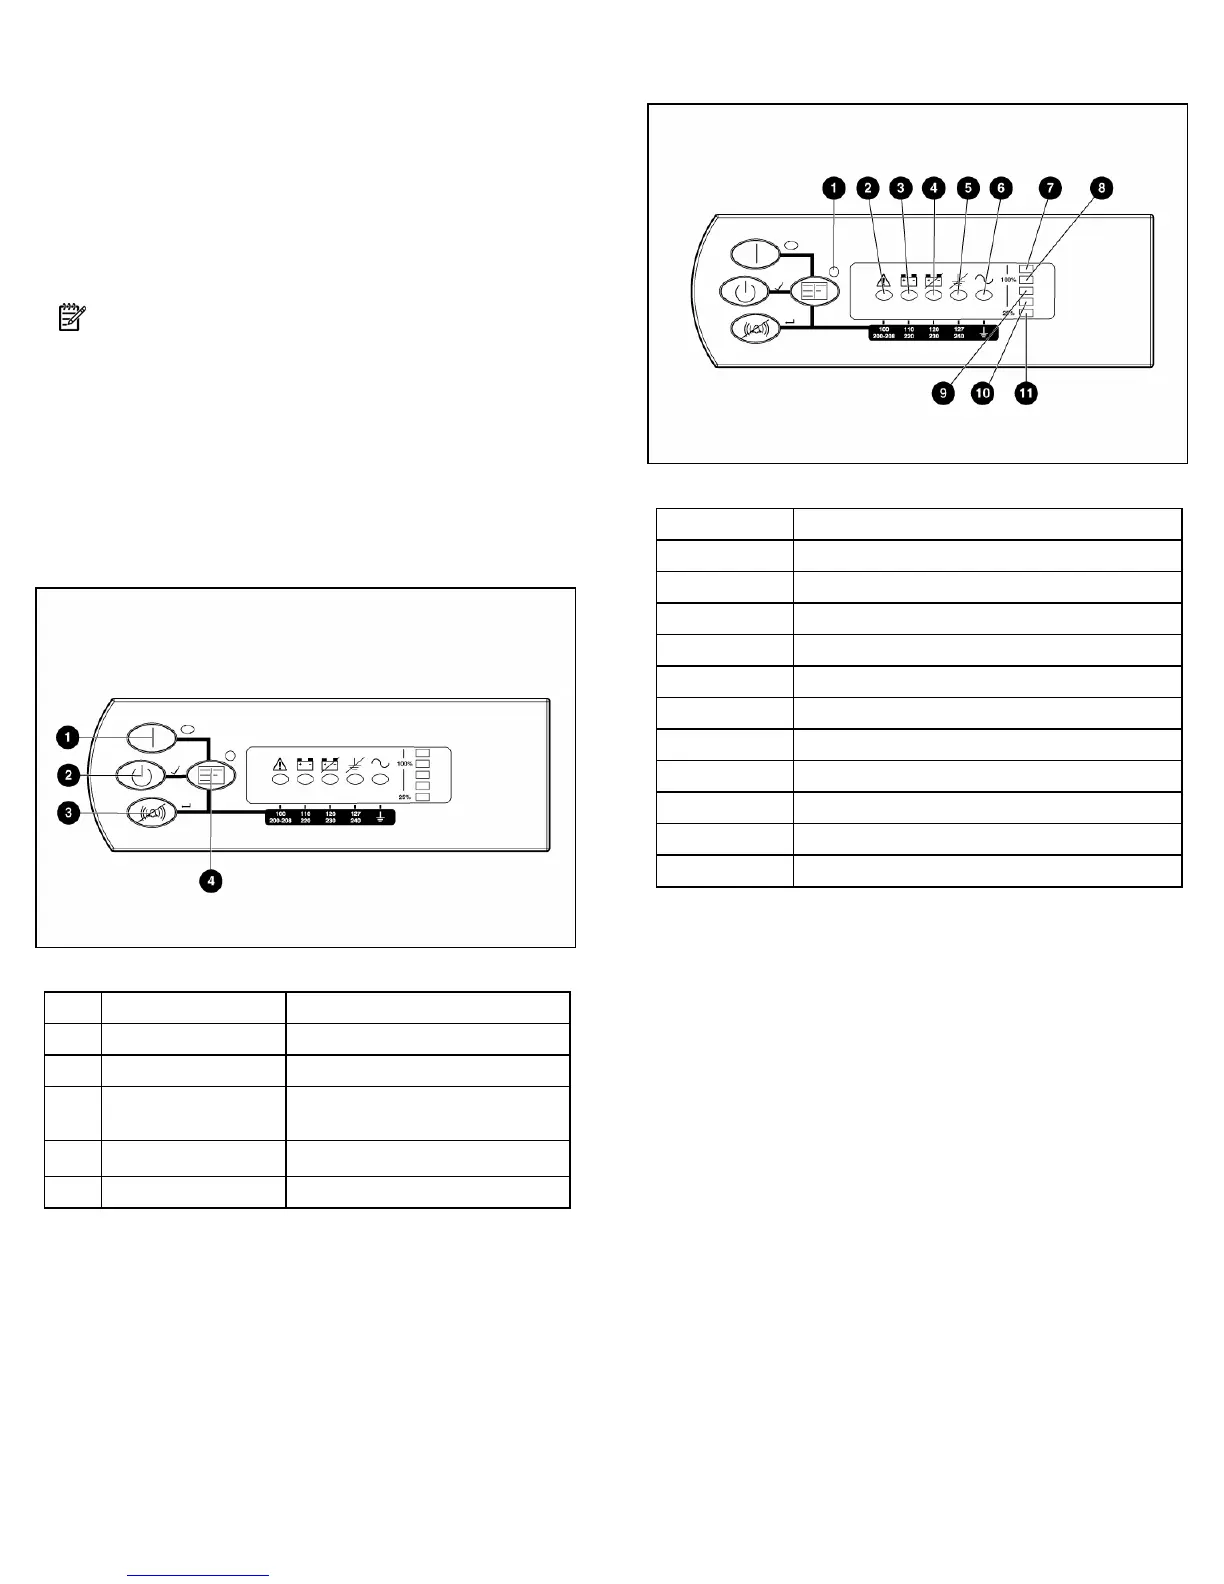
UPS front panel LED indicators
The front panel is shown with the bezel removed.
Item LED description
1 Configure Mode On
2 General Alarm
3 On Battery
4 Battery Fault
5 Site Wiring Fault
6 Utility
7 Overload
8 76% to 100% load
9 51% to 75% load
10 26% to 50% load
11 0% to 25% load
For more information, see "LED and audible alarm
troubleshooting" in the user guide.
 Loading...