170 Getting Started (features vary by model)
Adding pictures
To add still-image picture files to the movie project:
1 Click the Add pictures button in the Video/Pictures area. The Add Pictures
window opens.
2 Browse the folders on the hard disk drive to select existing still-image files for
the movie:
Add up to 50 picture files.
Select multiple picture files by pressing and holding the Ctrl key on the keyboard
while you select the files.
Click Open to add pictures to the Video/Pictures area.
3 Adjust the order of the picture files by dragging and dropping them.
4 Click the Rotate Image Clockwise button to rotate a picture.
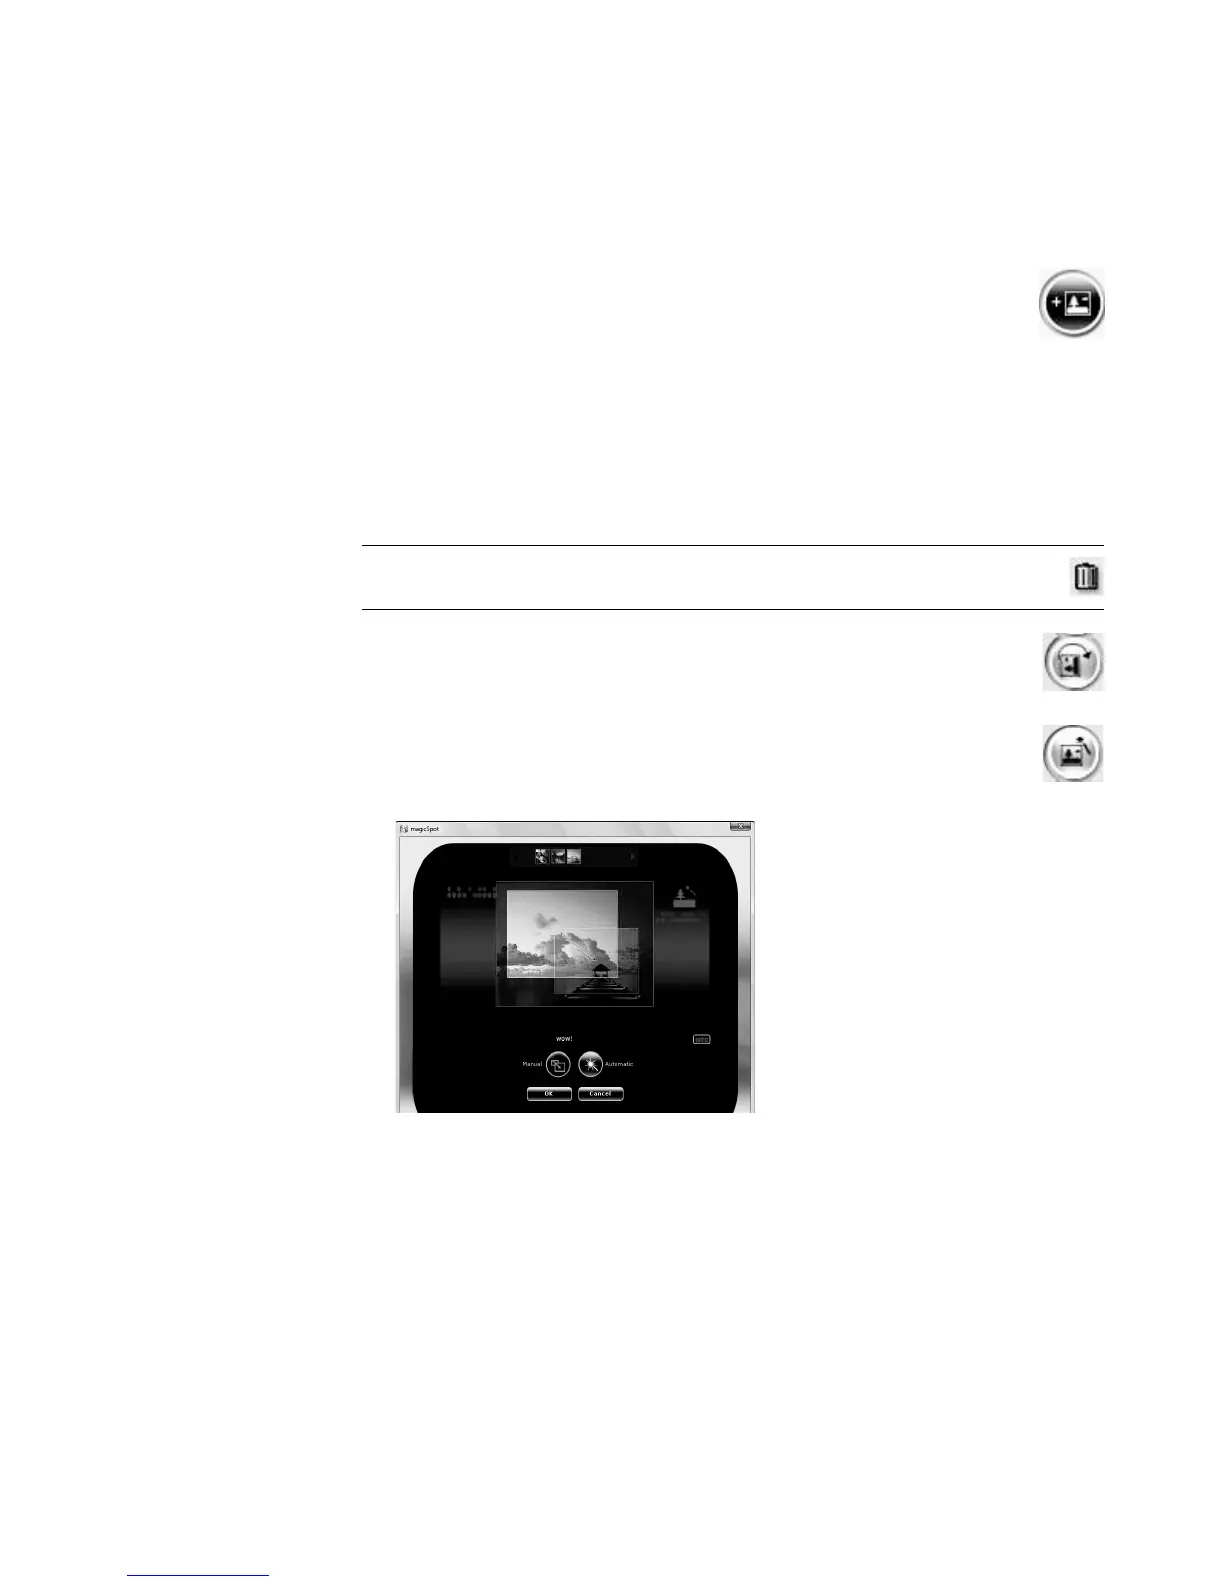
5 You can use the magicSpot feature in muvee autoProducer to control the pan
and zoom motion that is applied to the picture:
a Click the magicSpot button to open the magicSpot window.
b Click the Manual button to display two overlapping frames over the
picture.
c Move the frames around to set the start and end points for motion. The arrow in
the frames shows the direction of motion.
d When you are done, click OK.
NOTE: To remove a picture from the project, select it, and then click the
trash can icon.
 Loading...