Contents 3
Contents
Component identification ............................................................................................................... 7
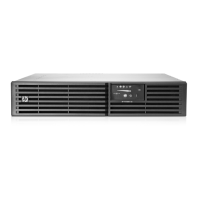
UPS R/T3000 G2 overview ........................................................................................................................ 7
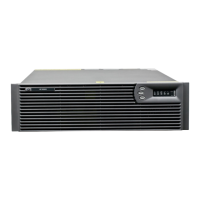
UPS front panel ......................................................................................................................................... 7
UPS front panel controls ............................................................................................................................. 8
UPS front panel LED indicators .................................................................................................................... 8
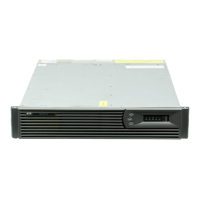
HP UPS R/T3000 models ........................................................................................................................... 9
R/T3000 NA and R/T3000j JPN rear panel ................................................................................................ 9
R/T3000h NA and R/T3000h JPN rear panel ............................................................................................ 10
R/T3000 INT rear panel .......................................................................................................................... 11
REPO port .............................................................................................................................................. 11
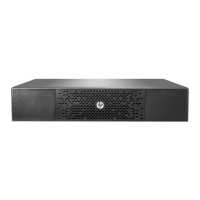
ERM rear panel ....................................................................................................................................... 12
Installation ................................................................................................................................. 13
Precautions ............................................................................................................................................. 13
Preparing to install the hardware ............................................................................................................... 13
Tools and materials ........................................................................................................................ 13
Selecting a site .............................................................................................................................. 14
Readying the equipment ................................................................................................................. 14
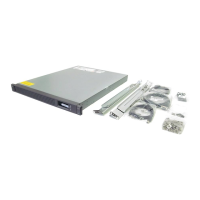
Installing the mounting rails ...................................................................................................................... 14
Installing the UPS in a rack ....................................................................................................................... 17
Connecting the battery leads ........................................................................................................... 18
Attaching the UPS front bezel .......................................................................................................... 20
Connecting the host computer ......................................................................................................... 20
Connecting the REPO port .............................................................................................................. 21
Connecting the ground bonding cable ............................................................................................. 23
Connecting the UPS to utility power ................................................................................................. 24
Connecting devices to the UPS ........................................................................................................ 24
Connecting the UPS cord retention clips ........................................................................................... 25
Charging the UPS batteries ............................................................................................................. 25
Starting power to the load .............................................................................................................. 26
Installing the ERM in a rack ...................................................................................................................... 26
Connecting the battery leads ........................................................................................................... 27
Attaching the ERM front bezel ......................................................................................................... 28
Connecting the ERM to the UPS ....................................................................................................... 29
Switching on the ERM circuit breaker ............................................................................................... 30
Charging the ERM batteries ............................................................................................................ 30
Installing the optional UPS Network Module ............................................................................................... 31
Connecting the UPS Network Module .............................................................................................. 32
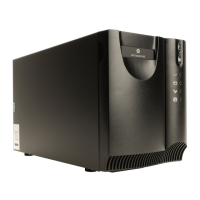
Installing the UPS as a tower ..................................................................................................................... 32
Connecting the battery leads ........................................................................................................... 33
Rotating the logo badge ................................................................................................................. 33
Attaching the UPS front bezel .......................................................................................................... 34
Attaching the tower conversion stands .............................................................................................. 34
Continuing the installation .............................................................................................................. 34
Installing the ERM as a tower .................................................................................................................... 35
Rotating the logo badge ................................................................................................................. 35
Attaching the ERM front bezel ......................................................................................................... 35