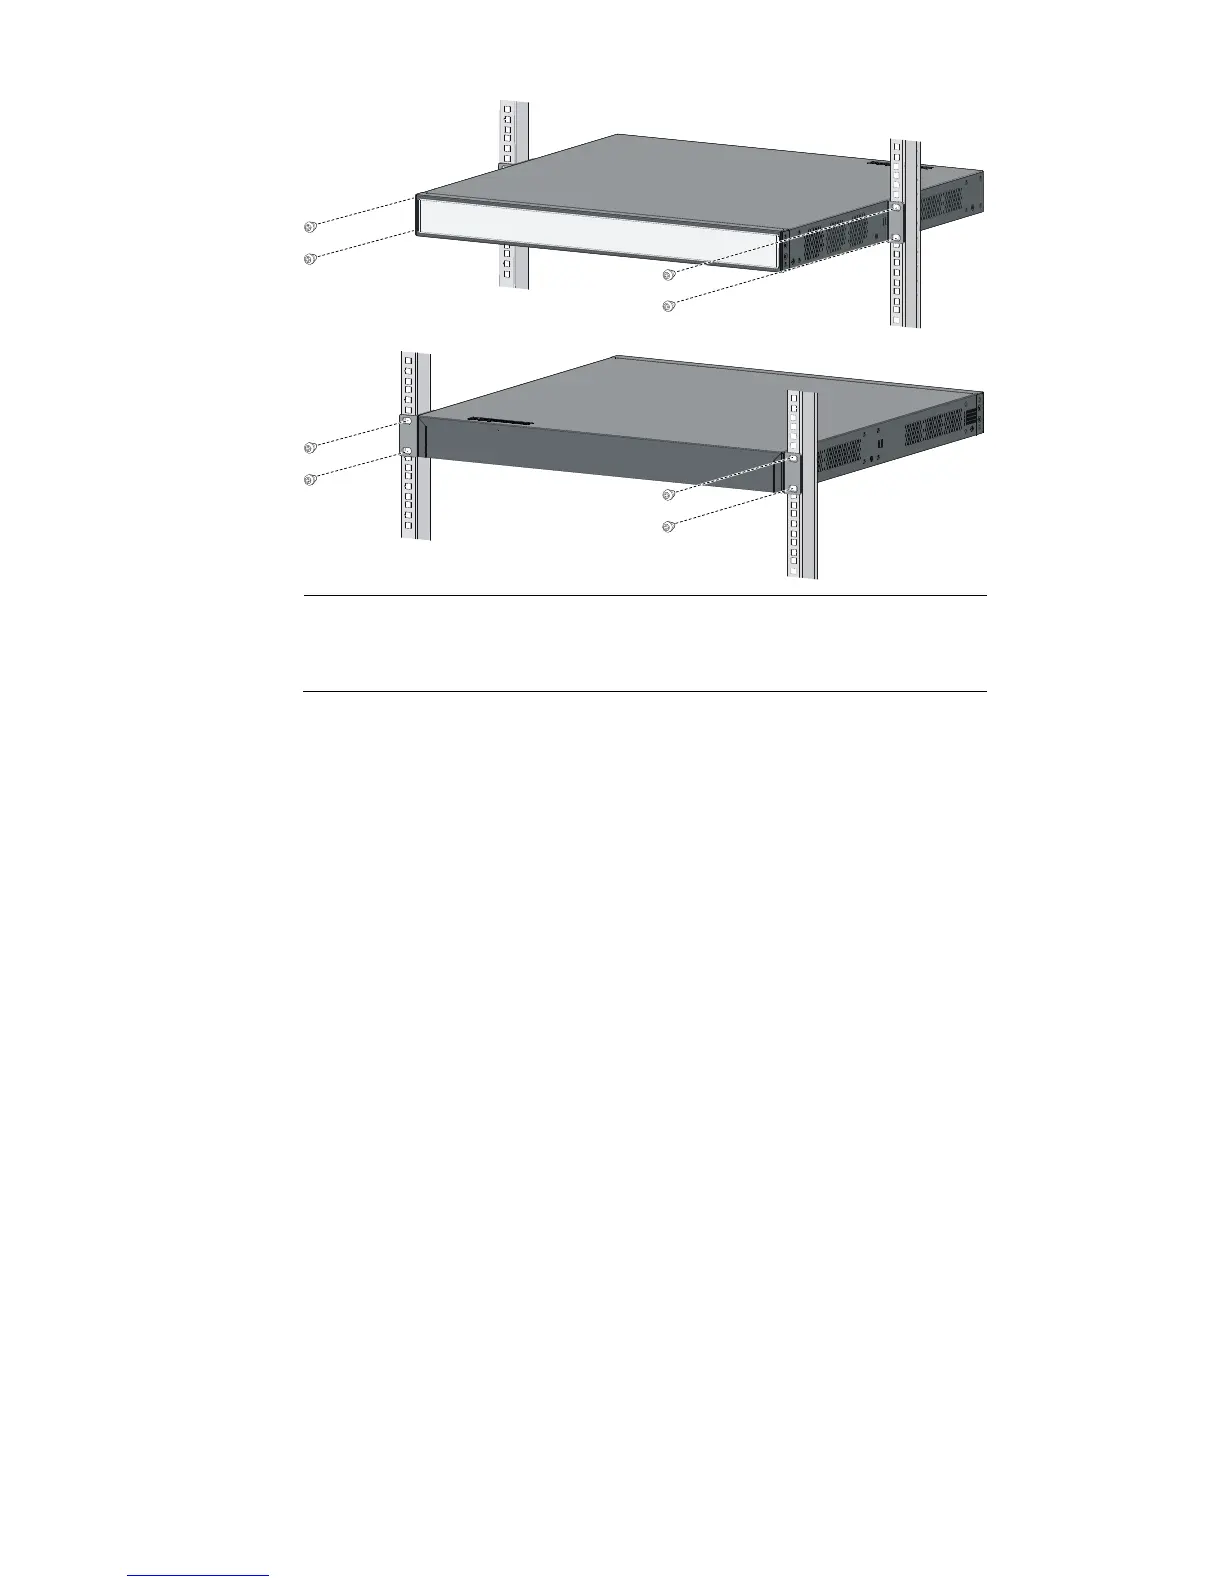
brackets and
trays. To do so, put the switch on the support tray and slide the switch to an appropriate location, and then
fix the mounting brackets.
Mounting the switch on a workbench
In many cases, standard 19-inch racks are not available. Switches are often placed on clean
workbenches. To place the switch on a workbench, follow these steps:
Step1 Place the switch with bottom up carefully, and then clean the round holes on the chassis bottom with dry
cloth.
Step2 Attach the rubber feet to the four round holes on the chassis bottom.
Step3 Place the switch with upside up on the workbench.
During the operation, you simply need to follow these guidelines:
Make sure that the workbench is flat and sturdy.
Ensure good ventilation and a space of 10 cm (3.94 in) around the chassis for heat dissipation.
Avoid heavy objects on the switch.
Grounding the switch
 Loading...