10
Setting up a Wi-Fi connection through WPS
If the client supports WPS, you can set up a WPS connection as follows:
1. Ensure that Wi-Fi is enabled on the client.
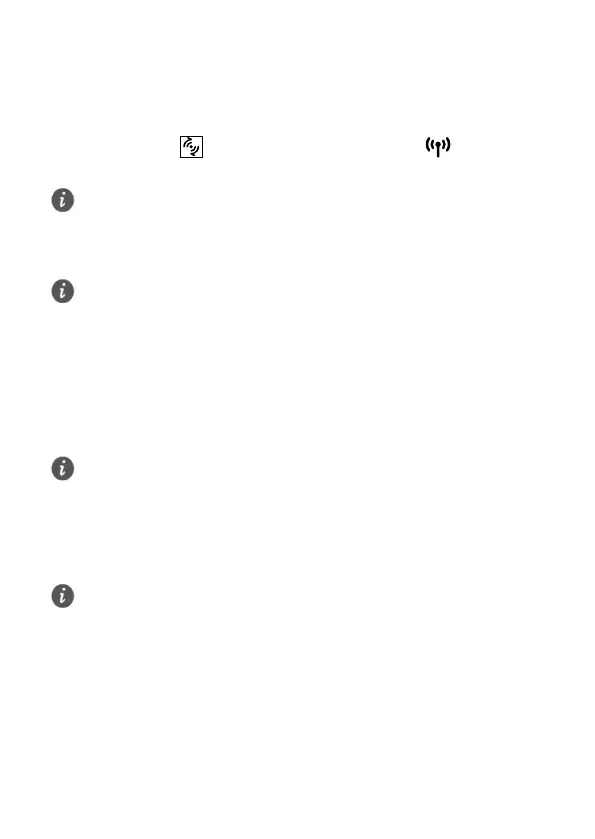
2. Press and hold the
button for 3 or more seconds. The indicator then
starts blinking.
3. Activate the WPS connection on the client in 2 minutes.
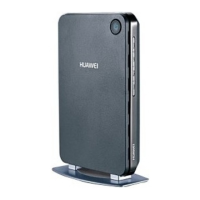
4 Configuring your B68A
1. After a client is connected to the B68A through Wi-Fi or LAN port, launch a
browser on the client and visit http://192.168.1.1.
2. Enter the password (admin by default) to log in to the web management page.
3. Follow the Start Wizard to quickly configure basic parameters, such as SSID and
Wi-Fi key.
After finish the configuration, you can then access the Internet.
If you cannot active WPS connection by WPS button, log in to the web management
page (default address: http://192.168.1.1, default password: admin), and choose
Home Network > WLAN Access. On the displayed page, select Enable WPS, click
WPS by push button (PBC) and then click Start WPS.
For instructions about how to enable a WPS connection on the client, see the client's
user guide.
For security reasons, only one user can log in to the web management page at a
time.
To protect your account, change the default password after your first login. Click
Modify Login Password on the displayed Notice dialog or choose Maintain >
Account Management, and click Edit to change the password.
If you modify the SSID and Wi-Fi key, you must set up the Wi-Fi connection on the
client again.
 Loading...