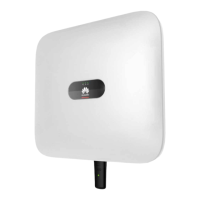
9. Powering on the SUN2000
Step 1 Check that the SUN2000 is installed on the wall correctly and securely.
For details, see 4 Installing the SUN2000.
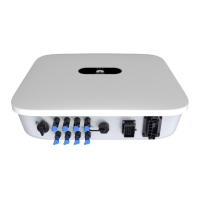
Step 2 Check that all AC output power cables are properly connected.
For details, see 6 Connecting AC Output Power Cables.
Step 3 Check that all DC input power cables are properly connected.
For details, see 7 Connecting DC Input Power Cables.
Step 4 Ensure that unused DC input terminals are sealed.
Step 5 Switch on the AC circuit breaker between the SUN2000 and the power grid.
If you perform Step 6 before Step 5, the SUN2000 generates an abnormal shutdown alarm.
You can start the SUN2000 only after faults are automatically rectified. The default alarm
clearance time is 5 minutes. You can modify the time over the EMS software of the PC
terminal.
The monitoring panel can be activated only after power is supplied to the DC or AC side.
Step 6 Ensure that the DC SWITCH at the bottom of the SUN2000 is ON.
----End
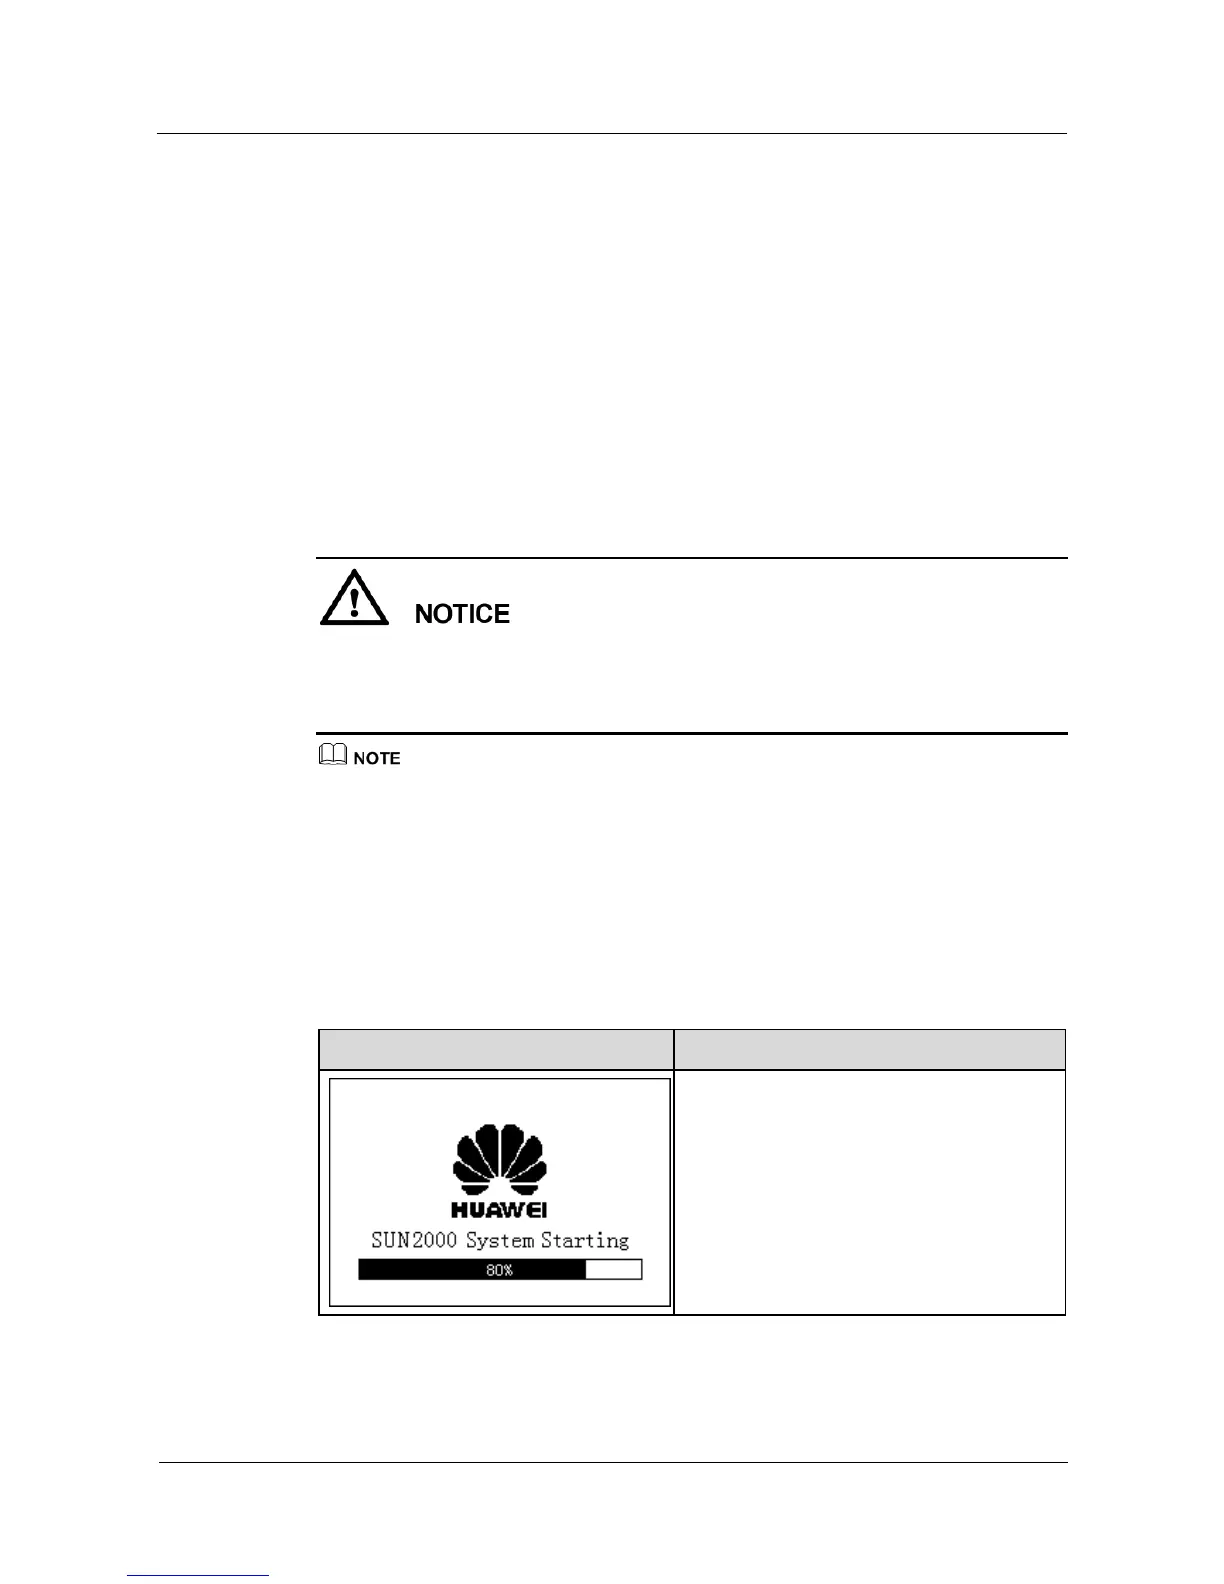
10. Setting Initialization Parameters
The following table describes the process for setting initialization parameters. The
parameter values in the figures are for reference only.
 Loading...