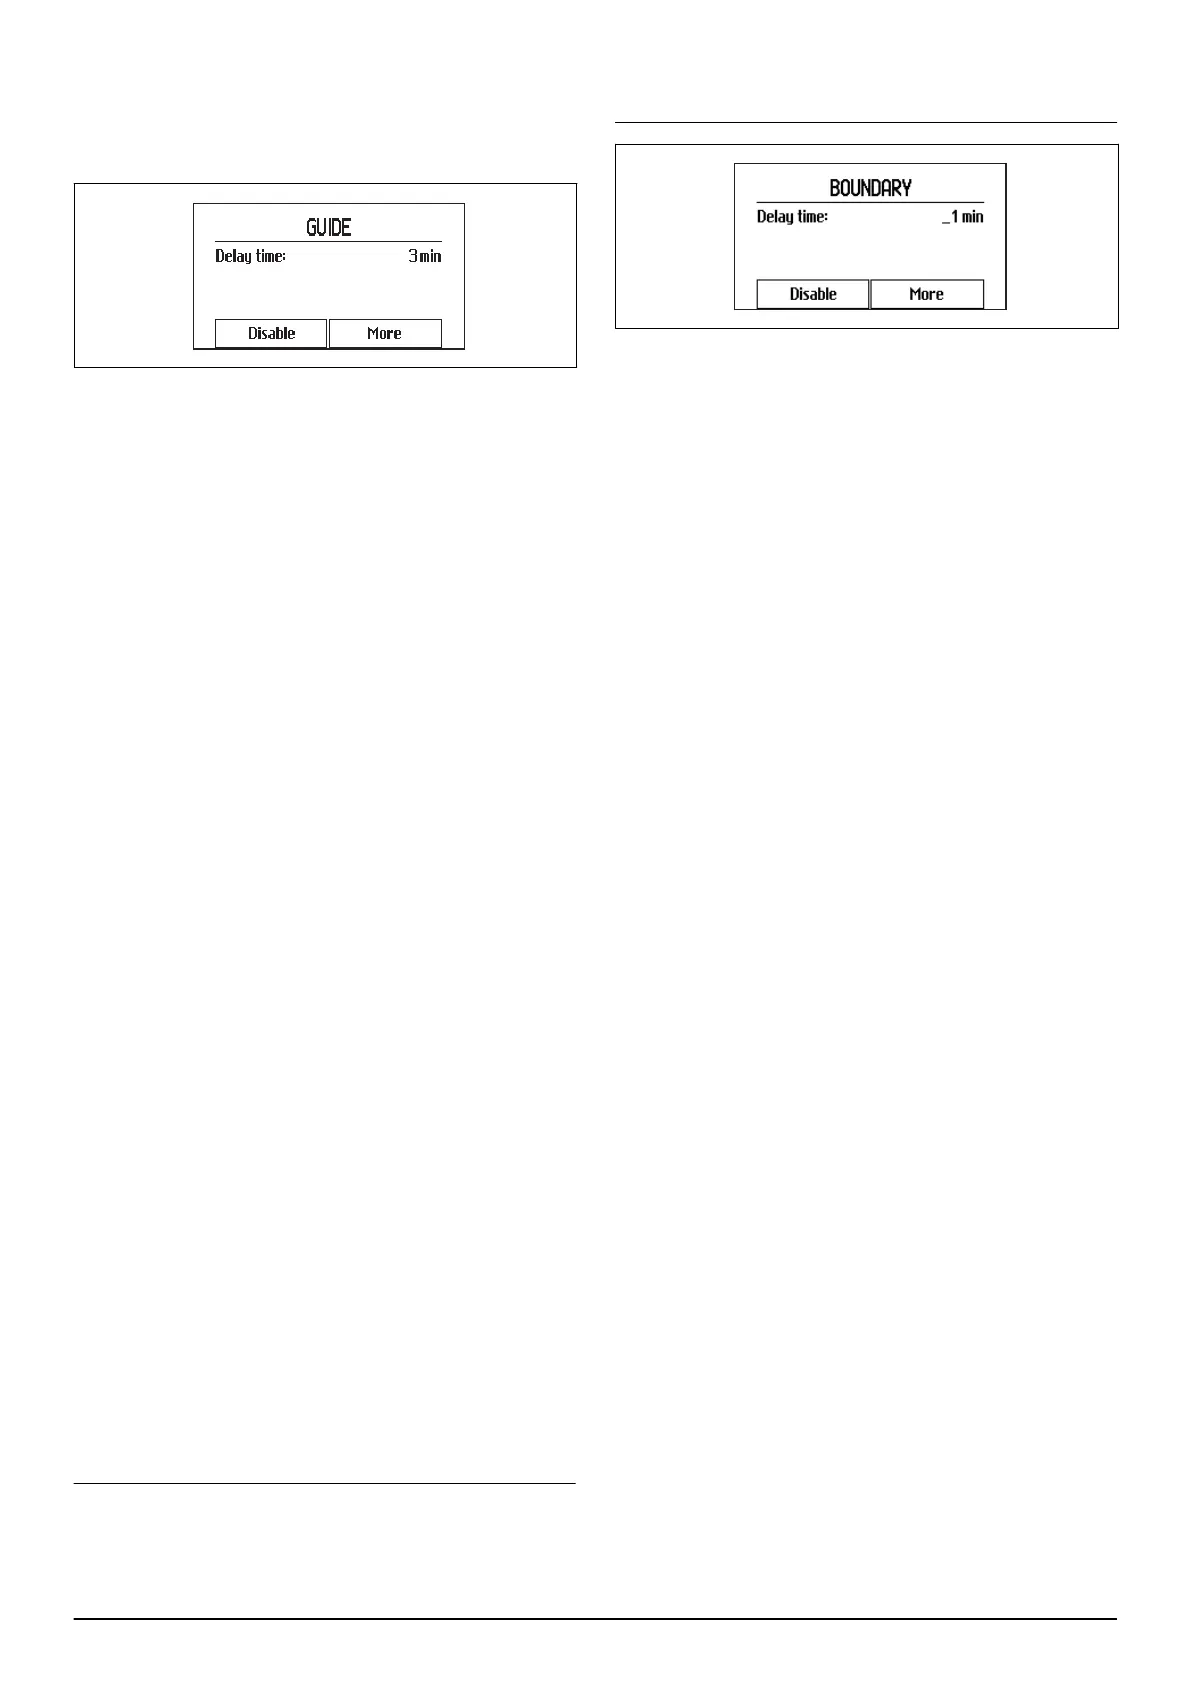
3.20.3.2 Guide
Use the number keys to enter the delay time.
The delay time is normally specified as a figure between
0 and 10 minutes.
3.20.3.3 Guide > Disable / Enable
Normally the Guide method does not need to be
deactivated even if there is no guide wire installed.
However, to disable the Guide method, select
Disable
and press OK.
3.20.3.4 Guide > More > Test guide
Testing selected settings can be seen as a natural part
of the installation.
1. Place the robotic lawnmower about 3 m from the
guide wire, facing the wire.
2. The test function is found in
Installation
>
Find
charging station
>
Guide
.
3. Select
More
and press OK.
4. Select
Test Guide
, and press OK.
5. Press START and close the hatch.
6. Check that the robotic lawnmower follows the guide
wire all the way to the charging station and that it
docks with the charging station. The test is approved
only if the robotic lawnmower is able to follow the
guide wire the entire distance to the charging station
and docks at the first attempt. If the robotic
lawnmower is unable to dock on the first attempt, it
will automatically try again. The installation is not
approved if the robotic lawnmower needs two or
more attempts to dock with the charging station.
3.20.3.5 Guide > More > Reset
The specific settings for each method,
Guide
can be
reset to factory settings.
1. To reset, select the method using the left and right
arrow keys followed by OK.
2. Select
More
, then
Reset
and press OK.
3.20.3.6 Boundary loop
Use the number keys to enter the delay time.
This time is normally longer than for
Guide
as it is
normally better if the robotic lawnmower follows the
guide wire home to the charging station. The delay time
is normally specified as a figure between 10 and 20
minutes but can be shorter if the guide wire is not
installed and it is unlikely that the robotic lawnmower
can find the charging station through an irregular search.
Note: If the robotic lawnmower passes a guide wire
while following the boundary wire, it will stop searching
along the boundary wire and instead start to follow the
guide wire into the charging station.
3.20.3.7 Boundary loop > Disable / Enable
If it is very inappropriate in the installation to follow the
boundary loop, the Boundary method checkbox has to
be deactivated. To disable the boundary method, select
Disable
and press OK.
3.20.3.8 Boundary > More > Test right / Test left
Testing selected settings can be seen as a natural part
of the installation. Using the Test function, the robotic
lawnmower travels the maximum distance from the wire
defined by the selected corridor width.
1. Place the robotic lawnmower about 3 m from the
boundary wire, facing the wire.
2. The test function is found in
Installation
>
Find
charging station
>
Boundary
.
3. Select
More
and press OK.
4. Select
Test right/Test left
, and press OK.
5. Press START and close the hatch.
6. Check that the robotic lawnmower follows the guide
wire all the way to the charging station and that it
docks with the charging station. The test is approved
only if the robotic lawnmower is able to follow the
guide wire the entire distance to the charging station
and docks at the first attempt. If the robotic
lawnmower is unable to dock on the first attempt, it
will automatically try again. The installation is not
approved if the robotic lawnmower needs two or
more attempts to dock with the charging station.
Normal causes as to why the robotic lawnmower cannot
follow the wire are that obstacles close to the wire have
not been isolated or that the guide wire has not been
laid at an angle on a steep slope. Check that the
charging station, the boundary wire and the guide wire
are installed in accordance with the instructions in
Laying the boundary wire on page 16
, in
Plan where to
lay the boundary wire on page 13
and in
Laying and
connecting the guide wire on page 18
.
3.20.3.9 Boundary > More > Reset
The specific settings for each method,
Boundary
can be
reset to factory settings.
1. To reset, select the method using the left and right
arrow keys followed by OK.
2. Select
More
, then
Reset
and press OK.
3.20.3.10 Charging station range
There may be reasons to reduce the range of the
charging station in rare cases. It may be necessary if for
instance the charging station is placed close to a bush
30 - Installation 840 - 001 -

 Loading...