English – 9
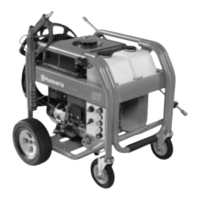
2.5 To disassemble/assemble the
switch box and cover
1. Remove the 2 screws (A).
2. Release the snap on the switch box to remove the
switch box cover.
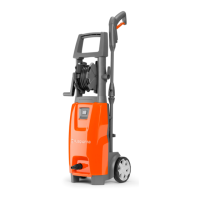
3. Release the hook on the switch box from the snap on
the switch box cover. Use a small screw driver. Remove
the switch box cover.
4. Assembly: Make sure that the cover/gasket on the on/
off switch is correctly installed in the hole of the front part.
Make sure that the taps on the switchbox are xed in the
slots of the ribs.
5. Click on the switch box cover on the switch box and
install the 2 screws.
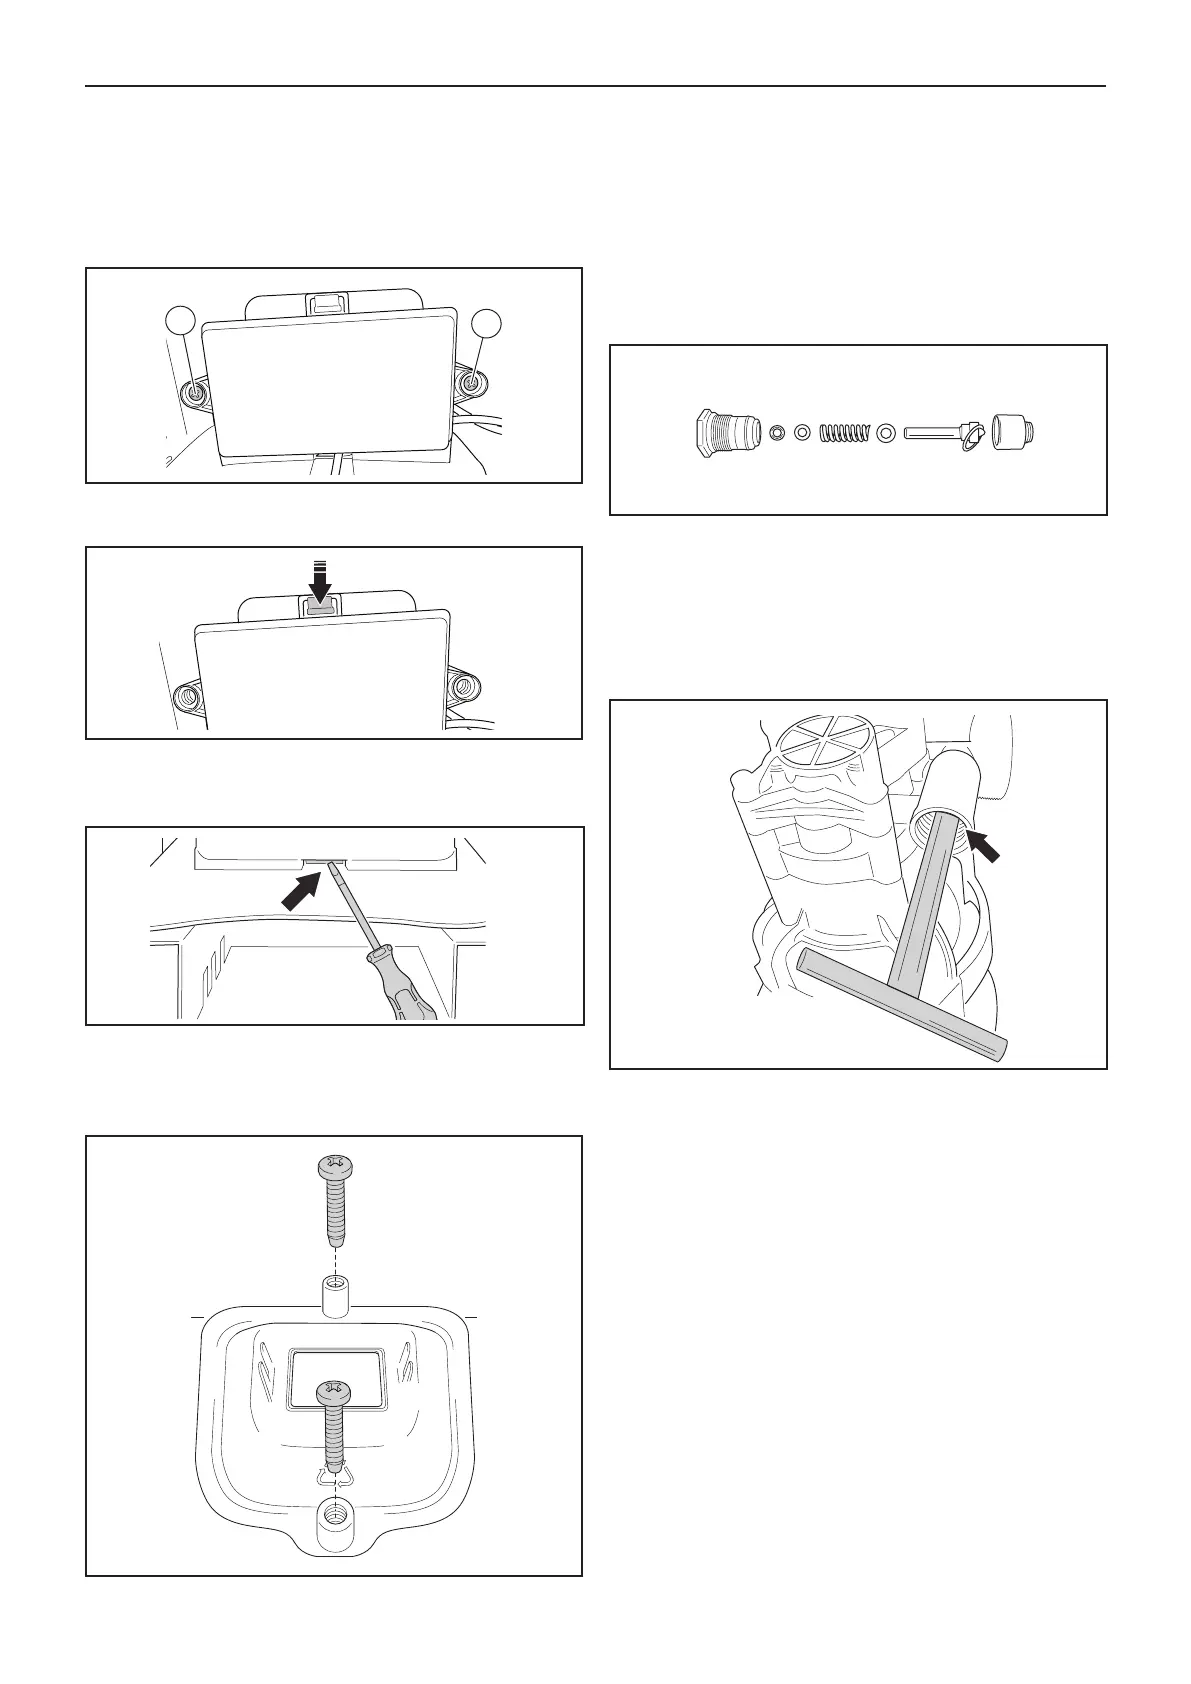
2.6 To disassemble/assemble the
start/stop valve
1. Assemble the start/stop valve, see gure below.
2. Use a special tool to remove the seat of the start/stop
valve. Use “Puller for valve seat M4” part number 592 94
50-01.
NOTE: The seat of the start/stop valve is no longer
usable after using the puller.
Repair instructions
 Loading...