3-8 601156_0110
means using a pattern utilizing left turns because side discharge
is to right. In any case, avoid throwing grass discharge onto
unmowed area because grass is then mowed “twice”. Mowing
twice puts an unnecessary load on the unit and reduces mowing
efficiency.
When mowing a lawn for the first time cut grass slightly
longer than normal to avoid scalping uneven terrain. When
possible, it is best to use the cutting height that was used in the
past. When cutting grass taller than six inches, you may want to
mow the lawn twice to achieve a better quality of cut.
During normal mowing cut only about 1/3 of the grass
blade. Cutting more than that is not recommended unless grass
is sparse or it is the end of the mowing season.
Alternate mowing direction to keep the grass growing
straight and better dispersion of the clippings.
Remember, grass grows at different rates at different time
of the year. Mow more often in the early spring to maintain the
same cutting height. As the growth rate slows in mid summer,
mow less frequently. If you cannot mow at a regular interval,
mow at a high cutting height; then mow again two days later at a
lower cutting height.
Raise the cutting height of the mower if the cutting width of
the mower is wider than the previous mower. This ensures that
uneven turf is not cut too short.
Raise the cutting height of the mower if the grass if slightly
taller than normal or if it contains a high degree of moisture.
Then mow it again with the cutting height set lower.
If the machine’s forward motion must be stopped while
mowing, a clump of grass clippings may drop onto your lawn.
To avoid this, move onto a previously cut area with the blades
engaged.
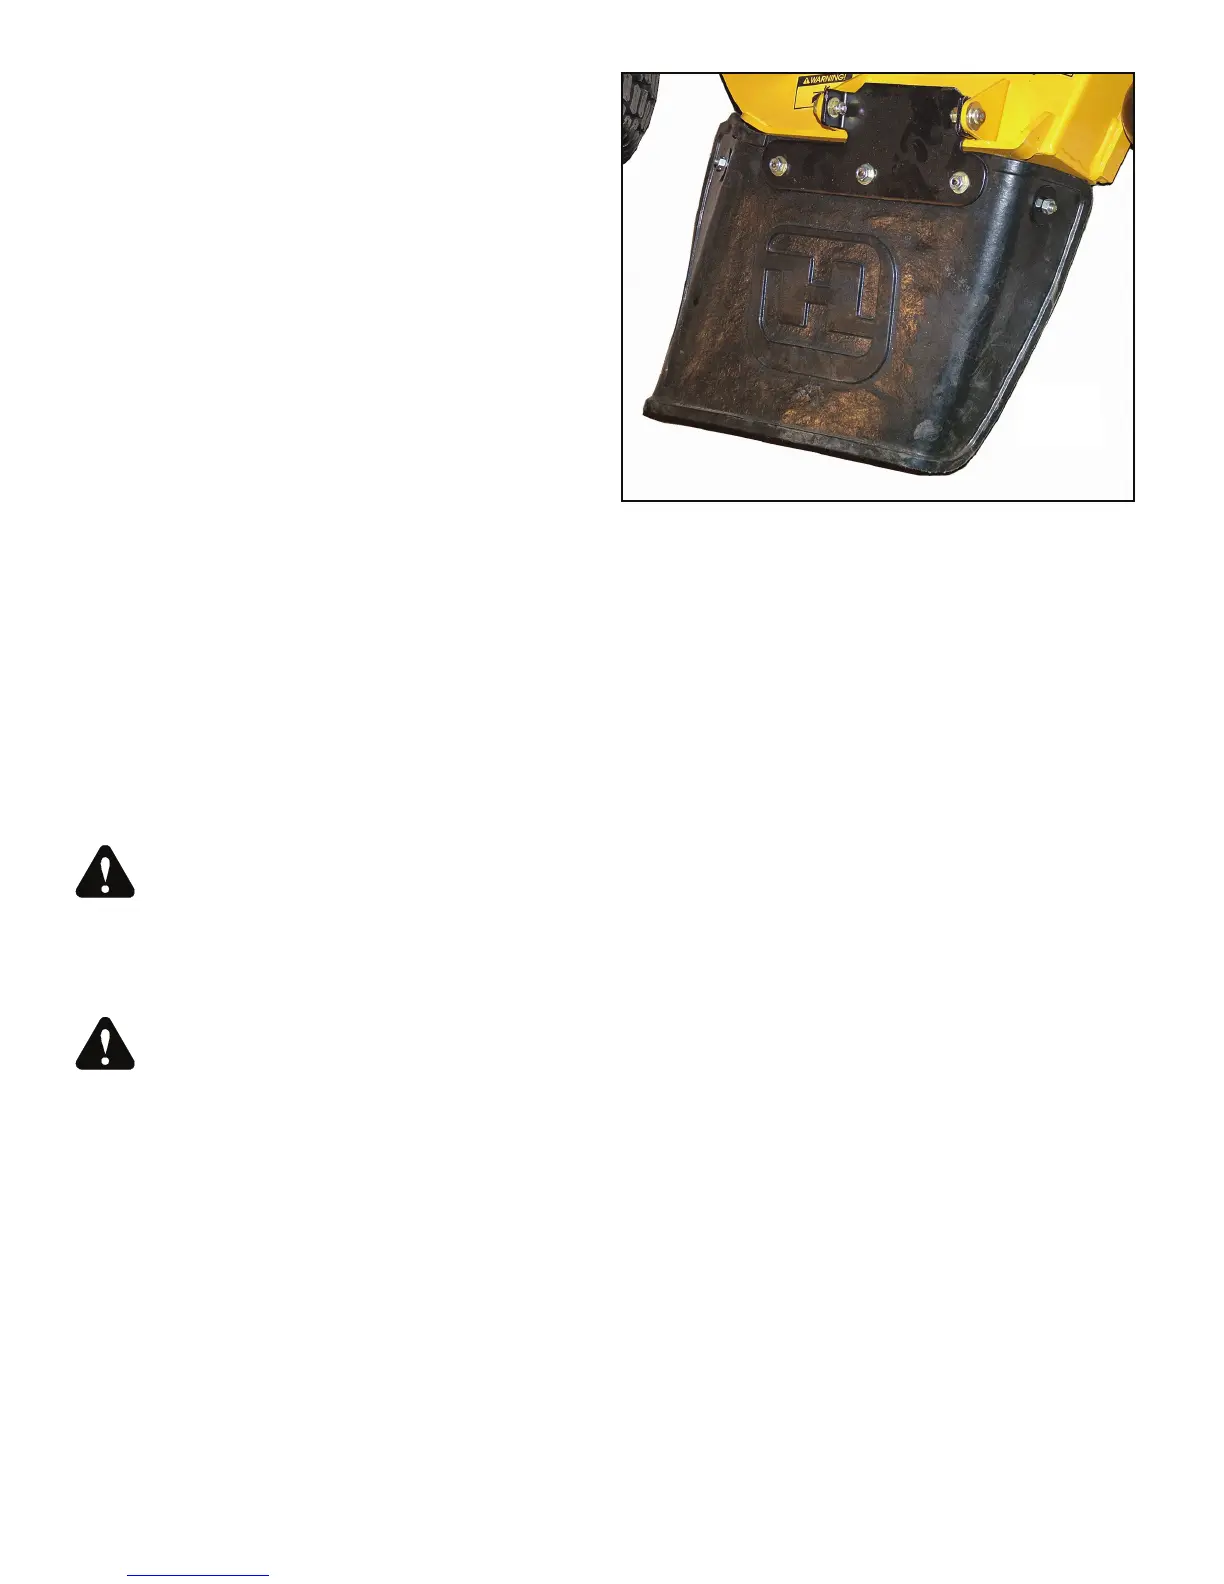
WARNING: Never direct discharge of material from
mower deck towards bystanders. Do not operate the
mower without either the discharge chute or the entire
grass collection system in place. Fig. 3-8
Mower deck operation
DANGER: Never attempt to make any adjustments to
the mower deck while the engine is running or with
the deck drive clutch engaged. Mower blades cannot
be seen and are located very close to deck housing.
Fingers and toes can be cut off instantly.
With the engine running, engage the deck clutch switch
(Fig. 3-1) and advance engine throttle to full rpm.
Engaging the deck clutch at high engine rpm or when under
heavy load (in tall grass for example) can cause belts and/or
electric clutch to slip, resulting in premature wear or possible
damage.
Deck cutting height adjustment
Deck height is adjustable from 1-1/2”- 4-1/2” (3.81 cm -
11.43 cm) in 1/4” (.64 cm) increments. The holes in the height
adjusting bar are spaced at 1/2” (1.27 cm) intervals. By turning
the height adjusting stop around, 1/4” (.64 cm) increments can
be attained due to the 1/4” (.64 cm) plate that is part of the stop.
Fig. 3-10
EXAMPLE: When the height adjusting stop is placed in the
1-1/2” (3.81 cm) hole, with the 1/4” (.64 cm) plate facing to
the front of the unit, the cutting height is at 1-1/2” (3.81 cm).
When the height adjusting stop is placed in the 1-1/2” (3.81 cm)
hole, with the 1/4” (.64 cm) plate on the operator’s side of the
hole, the cutting height is at 1-3/4” (4.45 cm).
The notch located at the rear of the height adjusting bar is to
be used when the deck is placed in the transport mode.
Anti-scalp wheels
Anti-scalp wheel kits are standard on FasTrak units. These
anti-scalp wheels are designed to minimize scalping when
mowing on rough uneven terrain.
After setting the cutting height, adjust the anti-scalp wheels so
they extend below the deck but do not contact the ground.
They should always be at least 1/4” to 3/4” (6.35mm to
19.05mm) below the deck. With the unit sitting on a flat level
surface, the wheel position can be adjusted up or down as
needed from 3/4” to 1-3/4” (19.05mm to 44.45mm) below the
blade surface. Move the wheels up or down, in 1/2” (12.70mm)
increments, using the different axle mount holes in the wheel
mount bracket. Fig. 3-11
When adjusting the rear anti-scalp wheels, the wheel should
be in the same axle mount hole as the front anti-scalp wheels.
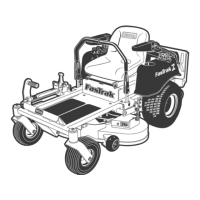
Fig. 3-9
 Loading...