Note
The piping drawings in this manual are simple schematic guides to a successful
installation. For further information and details, consult our concept drawings –
which provide details on specific applications (available in IBC's Technical Portal).
There are many necessary components not shown, and details such as thermal
traps are left out so the drawings have greater clarity. Our hydronic heat pumps
must be installed by licensed and experienced heating professionals familiar with
the applicable local and national codes. System design is to be completed by an
experienced hydronic designer or engineer. You should carefully read and follow
the installation instructions along with the application drawing that fits your system.
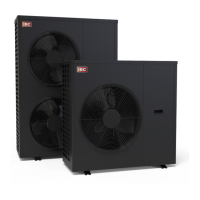
System piping is connected to the hydronic heat pump using 1" (HPX 3) or 1¼" (HPX 5) NPT-
Male threaded fittings. To simplify servicing, we recommend using unions at the hydronic
heat pump's supply and return water connections.
Fluid fill is most often accomplished by using a regulator and fill valve set at 12 psig or more,
with the appropriate backflow prevention device as required by local code. This is acceptable
in areas where municipal water or well water has been treated and filtered to remove
excessive minerals and sediment, and water chemistry is known to be suitable for closed loop
hydronic systems. Follow the applicable codes and good piping practice.
 Loading...