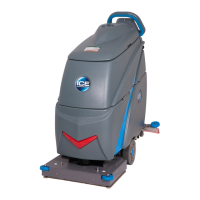
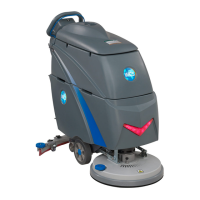
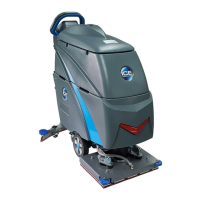
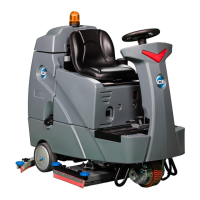
9 ICE i20NB / i20NBT / i20NBT-OB / i24BT
OPERATOR MANUAL
CIRCUIT BREAKER
The machine is equipped with a resettable circuit
breaker(see machine components, item #21) to
protect the Main controller. If the circuit breaker
should trip, it can't be reset immediately. You must
rst determine what caused the breaker to trip, and
allow the Controller to cool down and then you can
manually reset the circuit breakers.
NOTE: Contact an Authorized Service center for
machine repairs.
HOUR METER
The hour meter (see Panel components, item
#12) records the number of total hours the brush
motor has been powered on. Use the hour meter
to determine when to perform recommended
maintenance procedures and to record service
history.
TANK DRAINING
1. Turn the machine off on.
2. With the squeegee and scrub head in their "up"
position, transport machine to approved area for
draining tank(s).
DRAINING THE RECOVERY TANK
Any time scrubbing is completed, or when relling
solution tank, the recovery tank should be drained
and cleaned.
WARNING: If the recovery tank is not
drained when the solution tank has been
relled, foam or water may enter the oat shut-
off screen and cause damage to the vacuum
motor.
1. While holding the drain hose (see machine
components, item #25) upward, remove the cap
and lower hose to drain.
2. Open the recovery tank cover and rinse out the
tank. Use a rag to remove any excess dirt.
3. Clean the oat shut-off screen and debris tray
located in the recovery tank .
DRAINING THE SOLUTION TANK
Any time scrubbing operation is completed, the
solution tank should be drained and cleaned.
1. Pull the solution tank level hose(see machine
components, item #23) off the hose tting, this
will allow the solution to ow freely into a bucket
or oor drain.
2. Remove the cover of the lter assembly(see
machine components, item #29) to drain the
solution tank, check the lter screen and clean
up it if necessary.
3. Rinse the solution tank with clean water after
every use. This will help prevent chemical
buildup and clogging of the solution lines.
4. After rinsing out the tank, securely reconnect
the tank level hose to the hose tting, replace
the lter assembly cover and be sure the
lter screen and the "O" ring is in the correct
position.
WARNING: Fire Or Explosion Hazard.
Batteries Emit Hydrogen Gas. Keep Sparks and
Open Flame Away. Keep Battery Compartment
Propped Open When Charging.
NOTE: Use only apprved chargers with the
following specications:
• Automatic shut off circuit
• Deep cycle charging
• Output current of 10-20 Amps
• Output voltage of 24 volts
1. Place machine in a well ventilated area.
2. Turn the machine off.
3. If charging wet (lead acid) batteries check the
uid level before charging.
4. Connect the charger's AC power supply cord
(see machine components, item #33)to a
properly grounded receptable.
5. Prop up the recovery tank by the support
stand (see machine components, item #3) for
ventilation when charging.
6. The charger will automatically begin to charge
and will automatically shut off once the batteries
are fully charged.
7. Upon completion of charging, disconnect the
AC power supply cord.
WARNING: Before performing any
maintenance on the machine, be sure that
the power is turned off, or the batteries are
disconnected!
WARING: Repairs are to be completed
by Authorized service centers only. Any repairs
completed by unauthorized persons will avoid
the warrenty.
BATTERY CHARGING
PREVENTATIVE MAINTENANCE
 Loading...