8
Setting a frequency
■
Using keypad ï
q Push [PWR] for 2 seconds to turn power ON, then push
[CLR•DEL] to select the frequency mode when memory
CH number or WX CH number appears on the function
display.
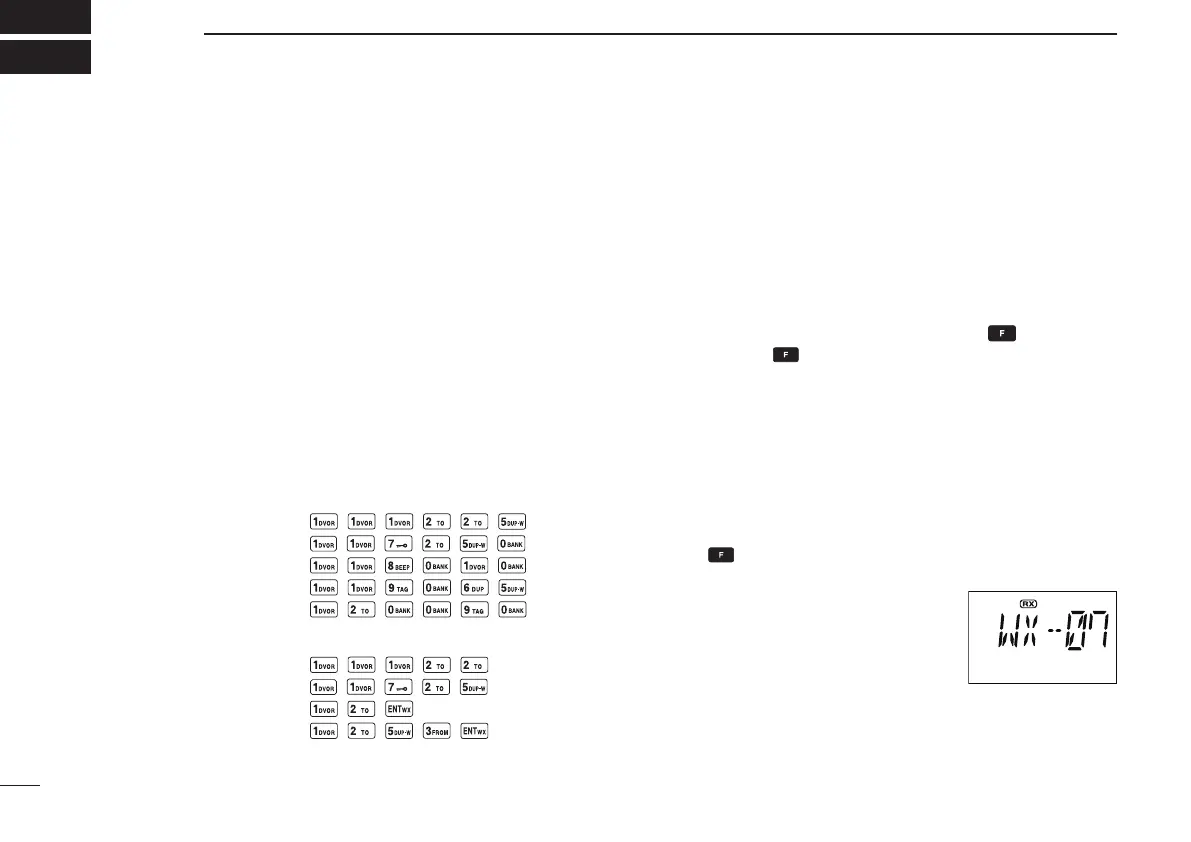
w Push 6 appropriate digit keys to input the frequency.
• When operating on only 25 kHz channel spacing, push
5 appropriate digit keys to input the frequency.
• Push [ENT•WX] to enter remaining zero digits.
• When a wrong digit is input, push [CLR•DEL] to clear,
then repeat step w again.
[EXAMPLE]
When operating on either only 8.33 kHz channel spacing
or 8.33 kHz/25 kHz channel spacing.
• 111.225 MHz: Push
• 117.250 MHz: Push
• 118.0083 MHz: Push
• 119.0667 MHz: Push
• 120.0917 MHz: Push
When operating on only 25 kHz channel spacing.
• 111.225 MHz: Push
• 117.250 MHz: Push
• 120.000 MHz: Push
• 125.300 MHz: Push
Using the tuning dial ï
q Push [PWR] for 2 seconds to turn power ON, then push
[CLR•DEL] to select the frequency mode when memory
CH number or WX CH number appears on the function
display.
w Rotate [DIAL] to set the desired frequency.
• To select the 1 MHz tuning step, push
,
then rotate
[DIAL]. Push again to return to the normal tuning.
Selecting a weather channel
■
(U.S.A. version only)
The U.S.A. version has VHF marine WX (weather) channel
receiving capability for flight planning.
q Push
,
then push [ENT•WX] to select WX channel
mode.
• “WX--” and the previously selected
channel number appears.
w Rotate [DIAL] to select the de-
sired WX channel.
e Push [CLR•DEL] to exit the WX
channel mode and return to fre-
quency mode.
3
BASIC OPERATION
 Loading...