28
8
BATTERY PACKS
Optional battery chargers
■
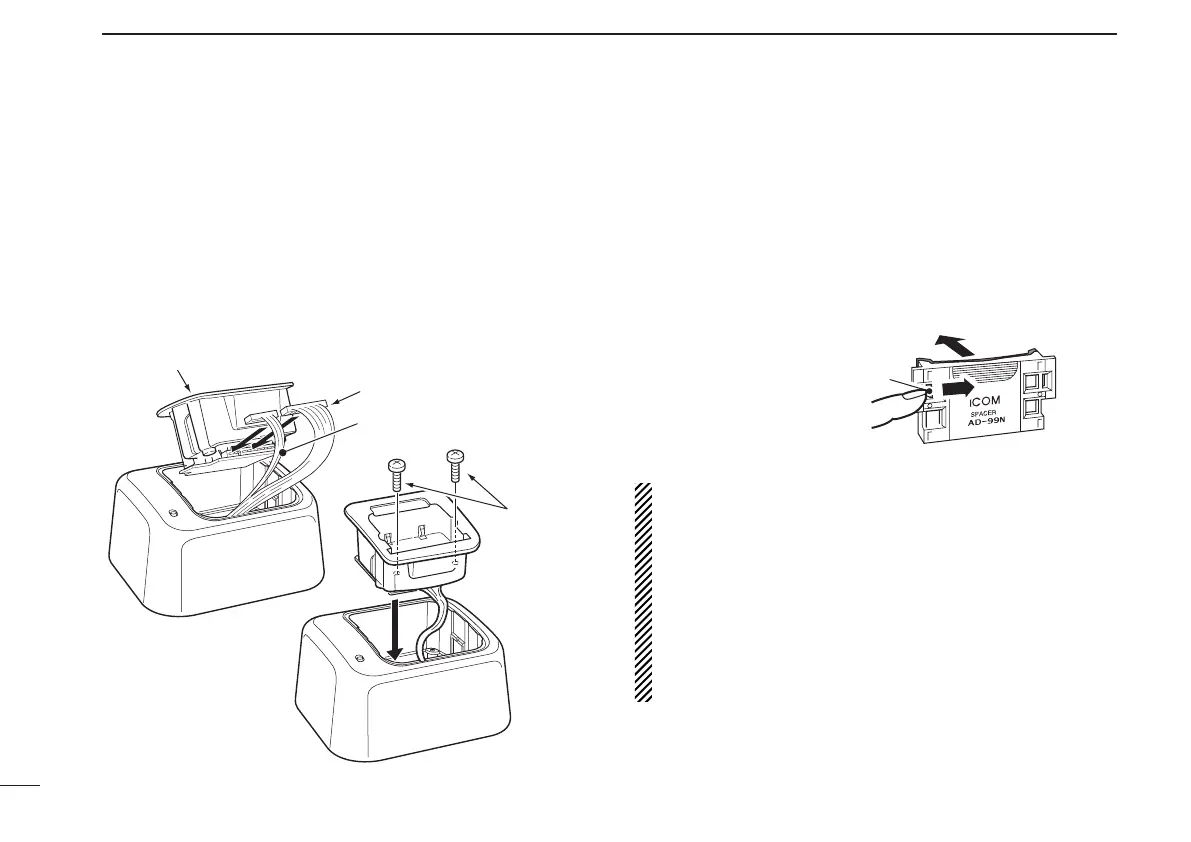
AD-101 installation ï
The AD-101 c H a r g e r a d a P t e r must be installed into the
BC-119N or BC-121N before battery charging.
Connect the AD-101 c H a r g e r a d a P t e r and the BC-119N/
BC-121N as below (q), then install the AD-101 into the
holder space of the BC-119N or BC-121N with the supplied
screws (w).
About AD-99N ï
The adapter (Spacer A) only is required for IC-A24/A6.
When removing the spacer (Spacer B/C), push the latch
carefully with your finger to remove the spacer (Spacer B/C)
from the adapter (Spacer A).
CAUTION:
• DO NOT push or force the latch with a screw driver, etc.,
to remove it.
• DO NOT bend the latch when the adapter and spacer
are not joined together. This will cause weakening of the
latch plastic.
• Both cases may break the latch and it may not be able
to be reattached.
• BE CAREFUL not to lose the spacer (Spacer B/C) after
removing it from the adapter (Spacer A).
Push the latch
carefully.
Remove the spacer (Spacer B/C)
from the adapter.
Desktop charger adapter
q
w
10-pin connector
3-pin connector
Supplied
screws
 Loading...