DGX-IP1000C/IP100H -V1.0
21
BEFORE you enter a message, you must first complete the steps in 2-1 STAND ALONE NETWORK
CONNECTION AND IP ADDRESS or 2-2 IP NETWORK CONNECTIONS AND SETTING EXAMPLES.
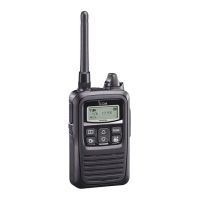
IP1000C has a message function. The message function is convenient to send messages by only pushing
[PTT], without speaking.
STEP 1: GROUP ID SETTINGS (IF REQUIRED)
NOTE: If you want to use the IP ADVANCED SYSTEM to make only individual calls, skip this step and go to
STEP 2.
Set the ID list group to make group calls.
Enter the group call number and select the group members into this step.
(Setting example)
• Group name: Group1
• Group number: 0001
• Group member: 0001 (Sales1), 0002 (Sales2)
2-4 HOW TO ENTER AND SEND
MESSAGE
Confirm
Click
Enter the Group call number
Select the Group member
Click
Select
Enter the Group name
STEP 1: GROUP ID SETTINGS (IF REQUIRED)
STEP 2: ENTER THE DESTINATION ID
STEP 3: SELECT THE MESSAGE GROUP NUMBER AND ENTER THE MESSAGE
STEP 4: SELECT THE ID AND MESSAGE LIST
STEP 6: DEMONSTRATION
STEP 5: USE ID LIST AND MESSAGE SETTING
STEP 1 STEP 2 STEP 3 STEP 4 STEP 5 STEP 6

 Loading...