13
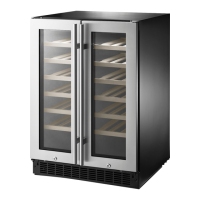
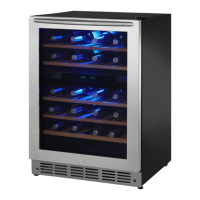
61-Bottle Built-In Wine Cooler
www.insigniaproducts.com
If you are installing your cooler between frameless cabinets, a 0.5 in.(1.3 cm)
wide filler strip or side panel may be needed on both sides of your cooler. The
filler strip provides a space between the appliance case and the adjacent
cabinet door swing. The width of the opening must include the filler panels.
The door should extend at least 1 in. (2.6 cm) beyond the surrounding
cabinets.
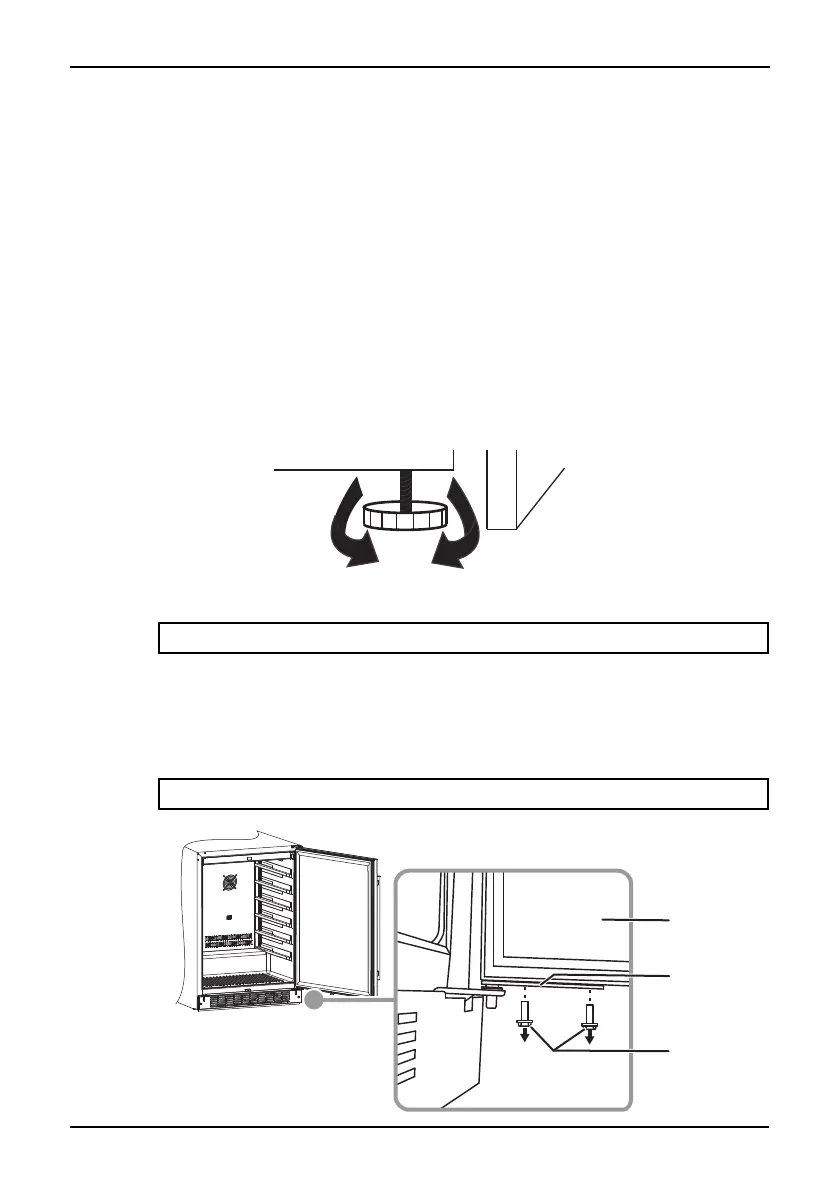
Leveling your cooler
It is very important for your cooler to be level in order to function properly. If
your cooler is not leveled during installation, the door may not close or seal
properly, causing cooling, frost, or moisture problems.
1 Move your cooler to its final location.
2 Turn the leveling foot counter-clockwise until it touches the bottom of
the cabinet.
3 Slowly turn the leveling foot clockwise until your cooler is level.
Reversing the door
1 Remove all bottles from the cooler.
2 Remove the parts from the hardware bag.
3 Open the door, then use a Phillips screwdriver to remove the pivot pin
bracket screws from the bottom of the door.
Note: We recommend having at least two people complete the installation.
Note: Lean the cooler back slightly for better access to the screws.
Pivot pin
bracket screws
Pivot pin
bracket
Door
 Loading...