Installing and Replacing Desktop Board Components
27
Installing and Removing a Processor
Instructions on how to install the processor to the desktop board are given below.
Installing a Processor
CAUTION
Before installing or removing the processor, make sure the AC power has been removed by
unplugging the power cord from the computer; the standby power LED should not be lit (see
Figure 3 on page 20). Failure to do so could damage the processor and the board.
To install a processor, follow these instructions:
1. Observe the precautions in "Before You Begin" on page 23.
2. Open the socket lever by pushing the lever down and away from the socket
(Figure 6, A and B).
OM19077
A
B
Figure 6. Lift Socket Lever
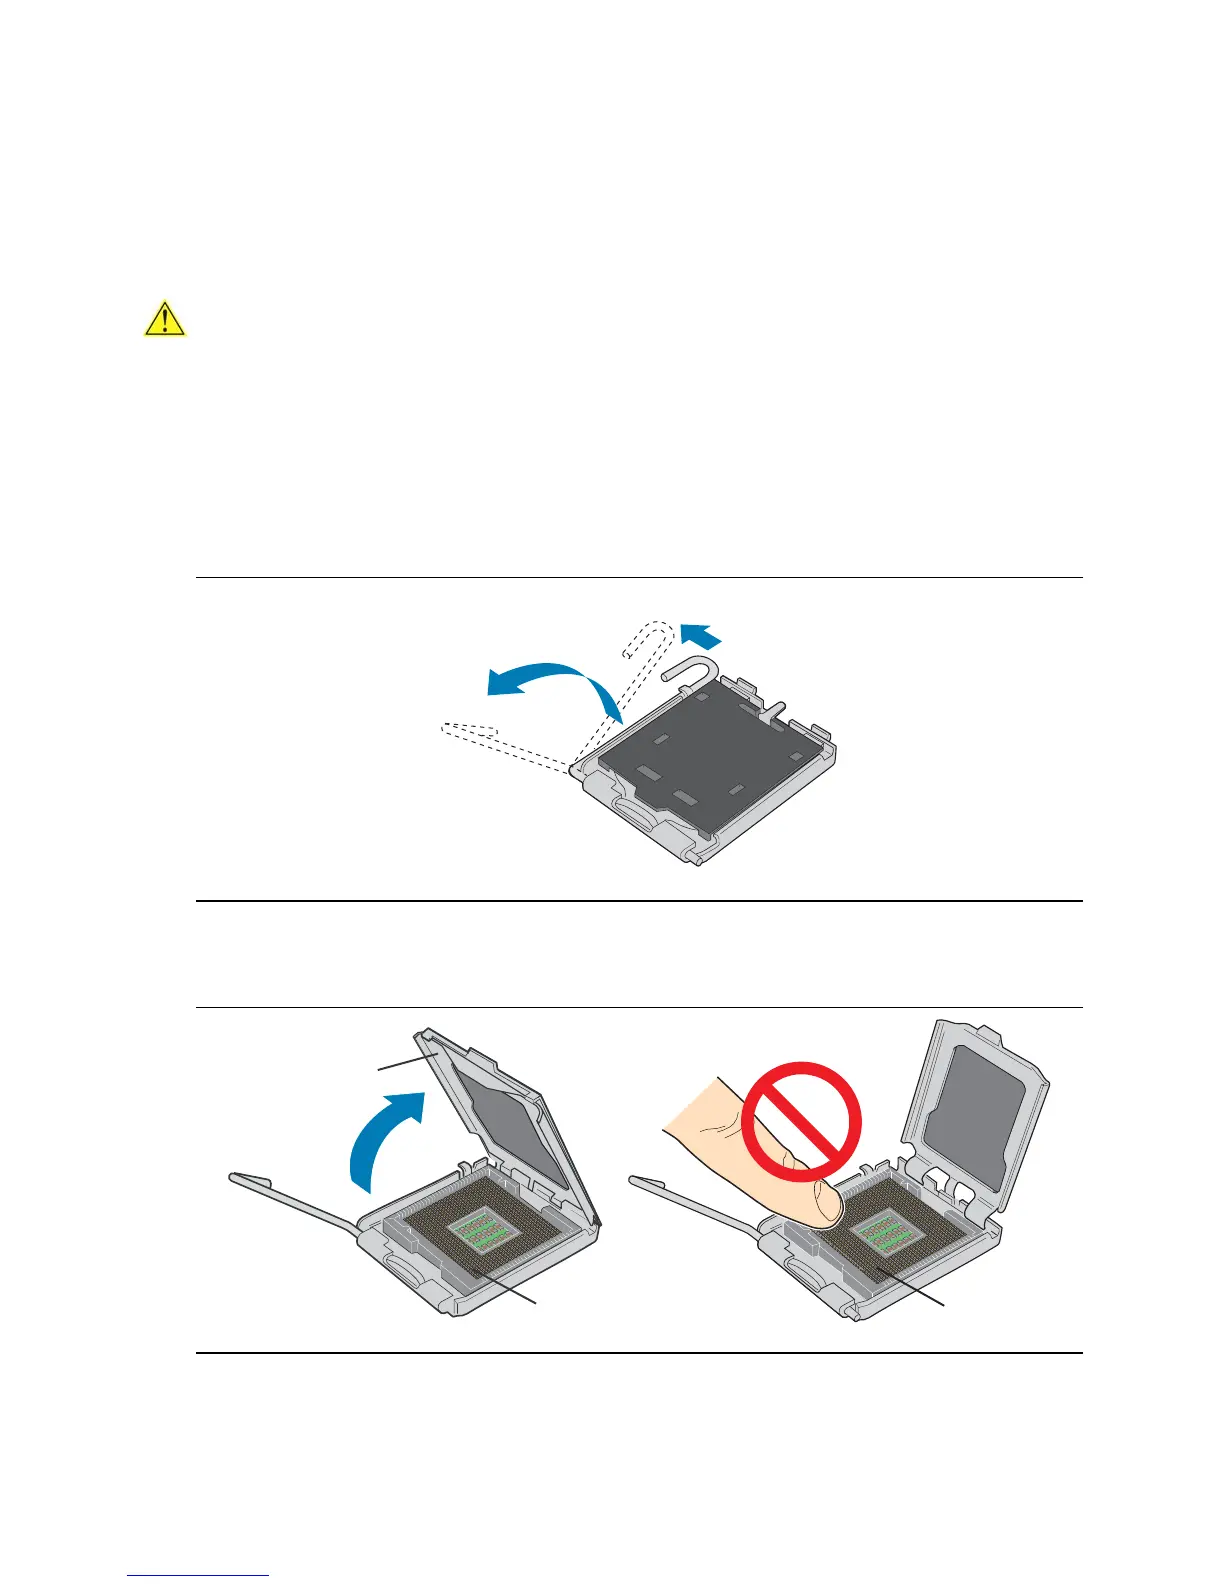
3. Lift the load plate (Figure 7, C). Do not touch the socket contacts (Figure 7, D).
OM19078
D
C
D
Figure 7. Lift the Load Plate and Don’t Touch the Socket Contacts
 Loading...