Page 11 www.123filter.com | +1 (678) 261-7611 | support@123filter.com
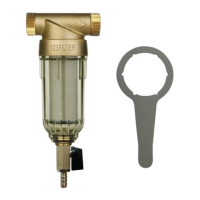
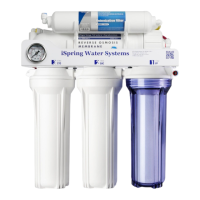
Step 6: Leak Stop Valve (ALS1) Installation
The Leak Stop Valve is a reusable mechanical leakage protector. Whenever a water leakage is
detected, it will shut down the feed water.
Step 6. a. Make sure the end of the tubing is cut square before connecting it to the fitting.
Step 6. b. Follow the water flow direction indicated on the Leak Stop Valve to connect it to the
water inlet pipeline.
Step 6. c. Tape the bottom of the Leak Stop Valve against the floor.
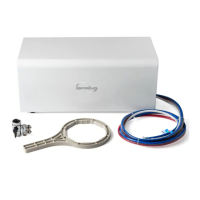
Step 7: Mounting the System (Optional)
• Mounting the system is NOT required. The system does NOT need to be
mounted to work correctly.
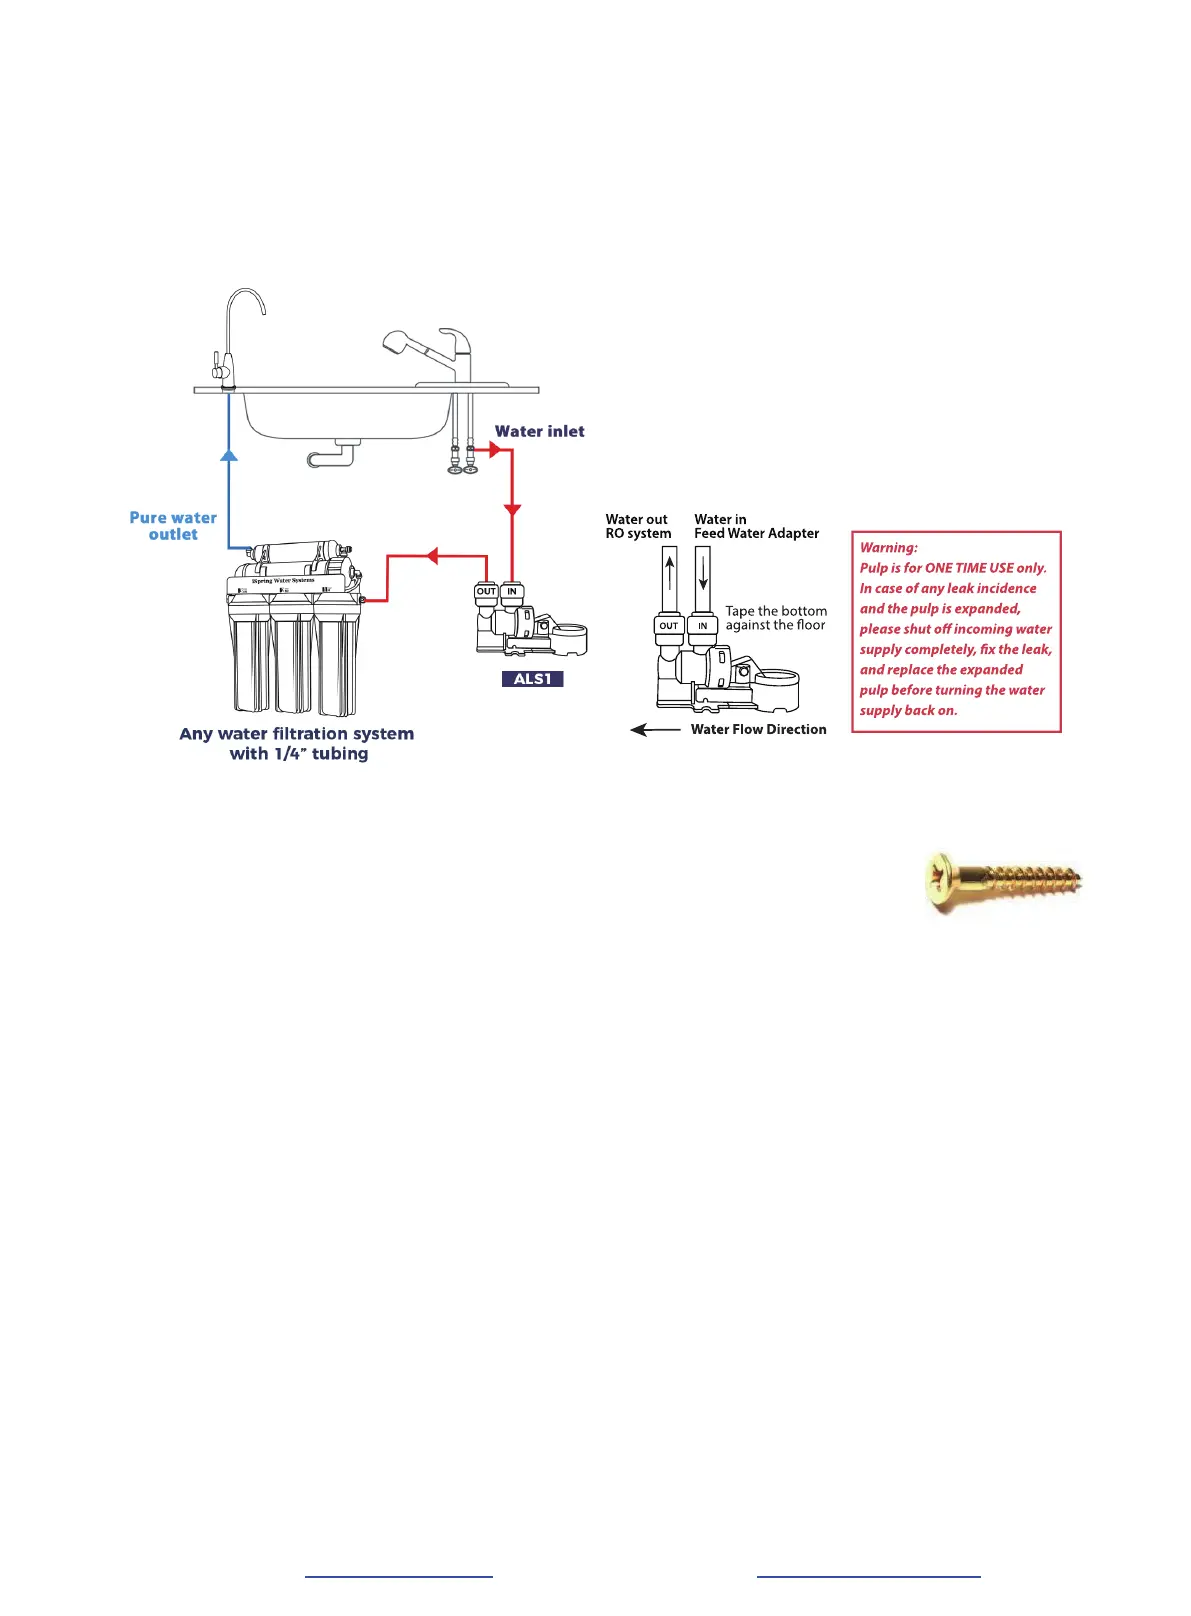
• Please note if the system is to be mounted, it is recommended to use two 10
x 1-1/4 Phillips Flat Wood Screws (not included). This will make replacing
filter cartridges easier.
Note: If you plan on mounting/hanging the system, it is highly recommended to include supports
under each of the bottom three housings. Supports under the housings will take the water weight
off the housing
threads and ensure the thread strength does not decay over the years.
Step 8: System Start-up
Note for model#RCC1DP: You may now plug in the booster pump to an outlet. The pump will
not turn on until the water is flowing.
Step 8. a. Make sure no tubings are kinked. Place a towel under the system to catch any possible
water leaks.
Step 8. b. Disconnect the RO membrane housing cap inlet tubing. Turn on the water inlet, and
flush the first three stages into a bucket until the
water turns clear. The water may appear
black at first due to loose carbon from new carbon filters.
Step 8. c. Once the water is clear, shut off the water inlet and reconnect the tubing to the RO
membrane housing cap. You will want to flush the first three stages like this whenever
they are changed.
Step 8. d. Open the pure water outlet. Slowly open the water inlet and check for any leaks. The
top 3 causes of leaks are 1) The tubing is not fully inserted into the quick-connect fitting.
2) T
he O-ring is not in the correct place or is kinked. 3) The Housing/Cap is not
tightened properly or is misaligned with the threads.
 Loading...