GETTING TO KNOW YOUR VEHICLE 91
4. Unfold the outer flap and zip the hard top
bag closed.
Step Four
5. Lift the Freedom Top bag into the vehicle
with the hooks and straps facing the back of
the rear seat. Attach the clip at the bottom
of the bag to the child restraint anchorage,
located at the base of the rear seat.
6. Wrap the upper strap around the rear head
restraints and loop the strap through the
buckle. Pull on the strap to tighten the
Freedom Top bag securely against the rear
seat.
HARD TOP FRONT PANEL(S)
I
NSTALLATION
1. Set the right side panel on the windshield
frame with the locating pin in the front
receiver mounting hole followed by the left
side panel, making sure there is no
overhang. Also, make sure that the panels
are sitting flush with the body.
2. Reinstall the panel(s) using the same steps
for removal in reverse order.
NOTE:
To prevent water leaks, the seals and hard top
panels should be clear of any dust and debris
prior to reinstallation.
REMOVING THE HARD TOP
1. Remove both front panels
Ú
page 87.
2. Open both front doors.
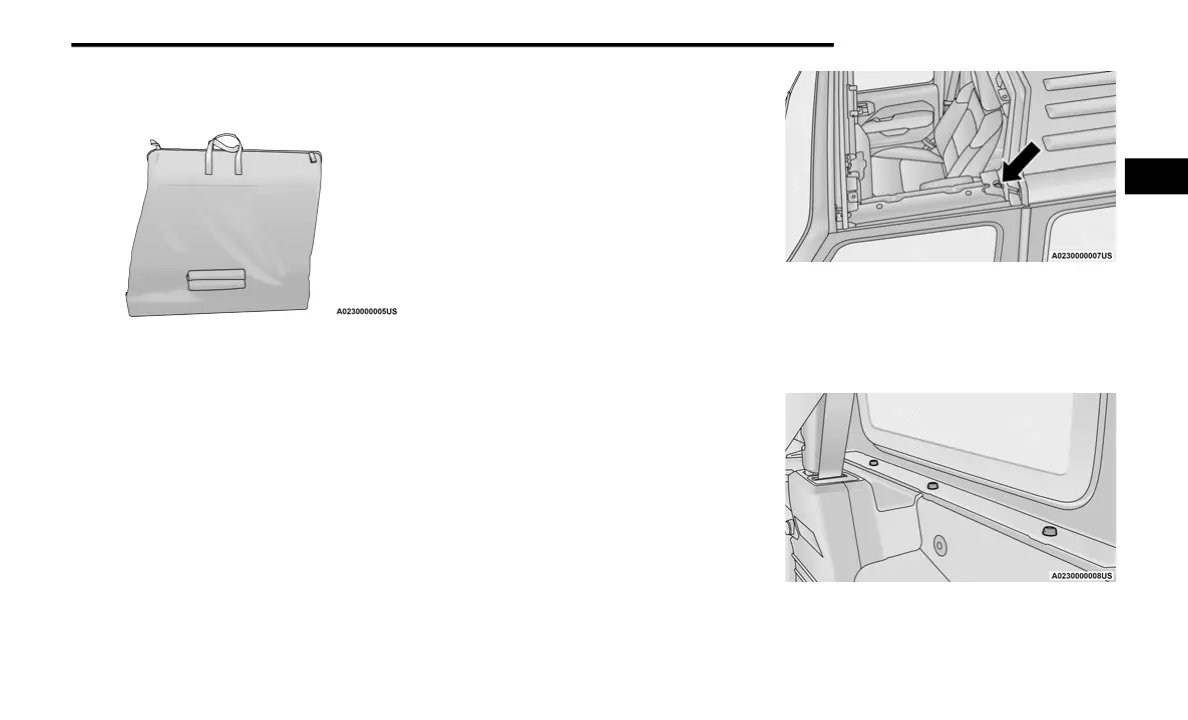
3. Using the provided #50 Torx head driver
and ratchet, remove the two Torx head
screws that secure the hard top at the
B-pillar (near the top of the front doors).
Step Three
4. Remove the six Torx head screws that
secure the hard top to the vehicle (along the
interior bodyside — three screws on each
side) using the #50 Torx head driver.
Step Four
2
21_JL_OM_EN_USC_t.book Page 91

 Loading...