101
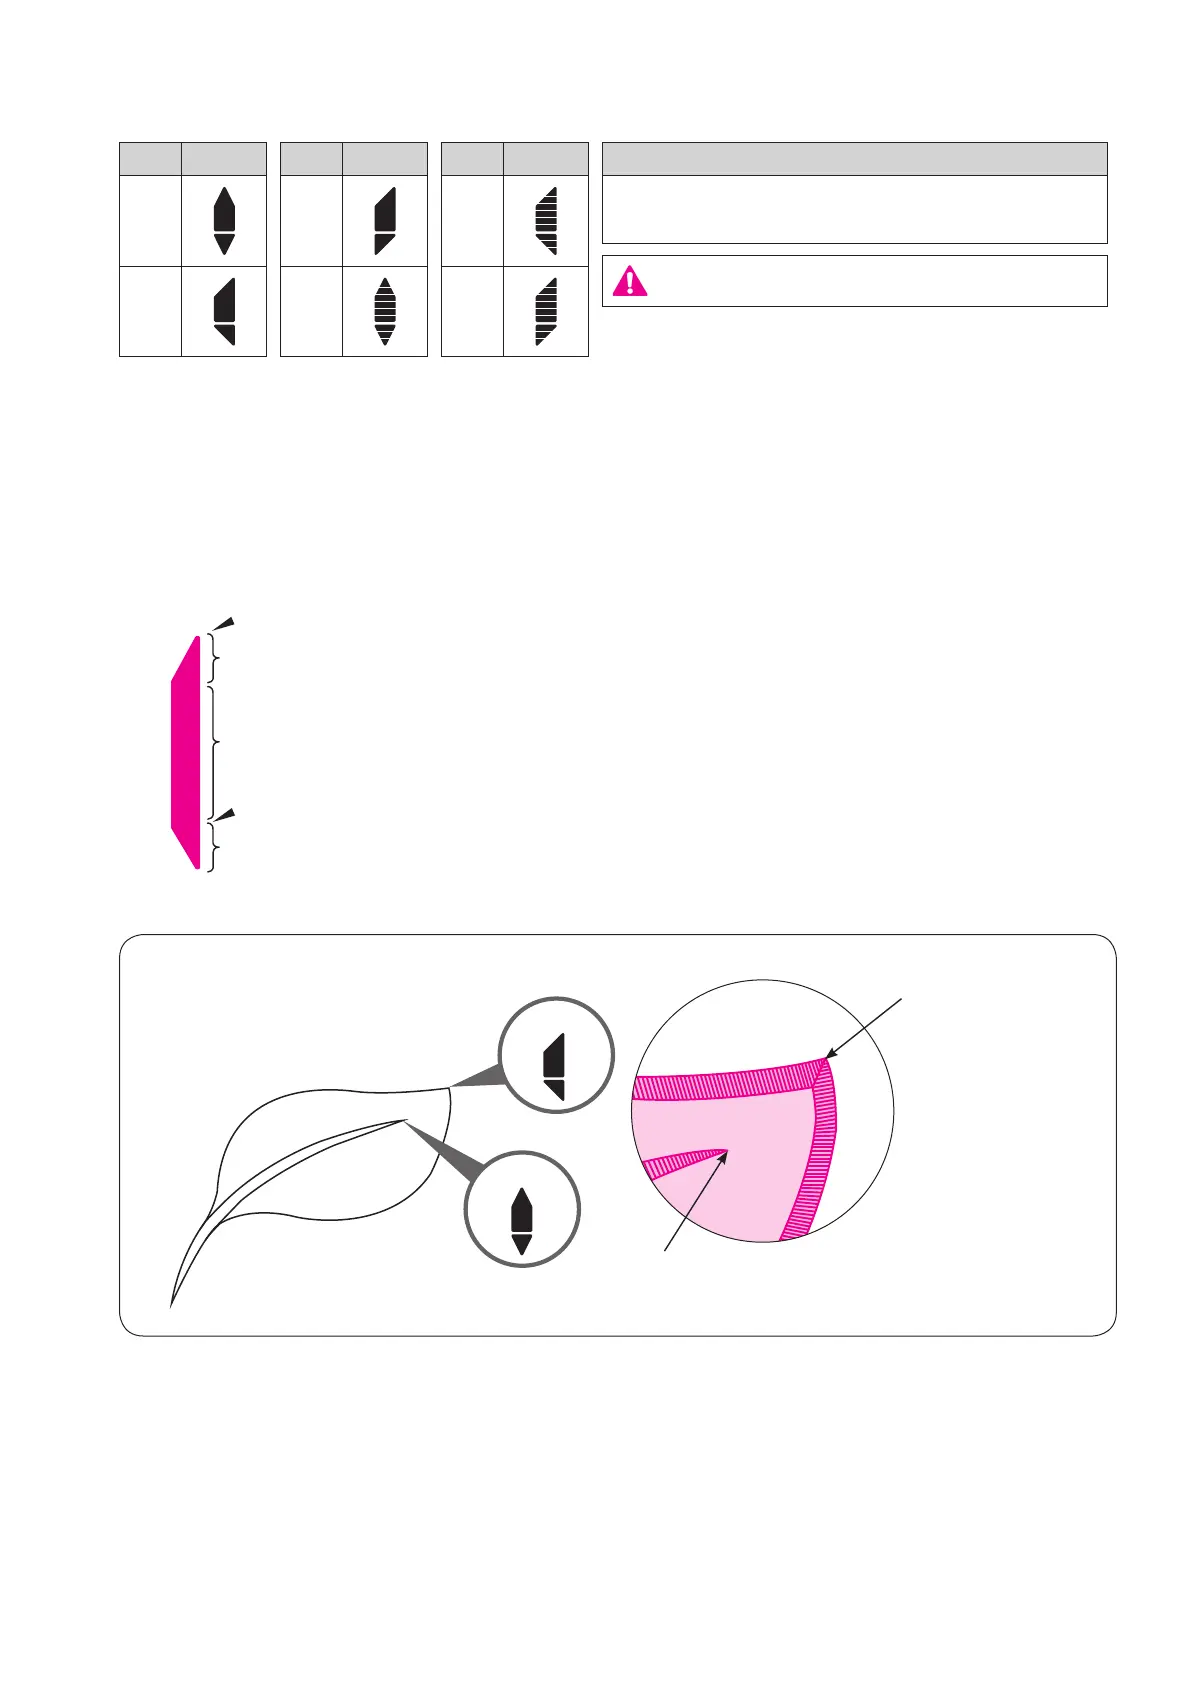
7.13. Tapering
Example of use)
Appliqué of a leaf
The more the gure of “Size” increases, the
sharper angle of degree of stitches will be.
Select the gure of
“Size” so that the
degree of angles of
stitches at the joining
point of the stitches at
the start and end of
sewing are aligned.
2
Press the lock stitch button at the end of sewing.
1
Select the pattern and start the sewing machine.
The zigzag width gradually increases.
When the preset zigzag width is reached, the sewing machine continues
sewing with that zigzag width.
For the same sewing length with the start of sewing, the zigzag width gradually decreases.
The sewing machine sews lock stitches and automatically stops.
339
340
No. Pattern
339
340
No. Pattern
341
342
Presser foot
Manual buttonhole presser foot (I)
No. Pattern
343
344
For the pattern Nos. 339 to 344, zigzag width gradually increases at the start of sewing the patterns and gradual-
ly decreases at the end of sewing. These patterns are used for overcasting appliqué, etc.
■
How to sew the pattern
Leave the machine in Lock mode
 Loading...