EasyManua.ls Logo

JUKI LBH-1700 Series User Manual

JUKI LBH-1700 Series
126 pages
To Next Page IconTo Next Page
To Previous Page IconTo Previous Page
Page #17 background imageLoading...
Page #17 background image
−13
Adjustment Procedures Results of Improper Adjustment
a) Lower the needle bar, loosen the knife installing base
setscrews, and move the knife installing base to the right or
left to adjust the clearance.
b) For the solenoid type, loosen the stopper nut and adjust the
position of the knife driving lever stopper.
For the air cylinder type, loosen the cylinder setscrews and
adjust the position of the knife driving cylinder.
(Caution) For the air cylinder type, when the cylinder is
positioned on the way, the adjustment becomes
improper. Perform the adjustment with the air
connected.
c) Loosen the solenoid setscrews and adjust the position of the
knife driving solenoid.
If the distance from the cloth cutting
knife to the needle bar is smaller
than the specified value, the knife
comes in contact with the needle
bar. As a result, noise will occur, the
knife will wear out, or cloth will be
stained.
If the distance from the cloth cutting
knife to the needle bar is larger than
the specified value, the distance
from the front bar-tacking and the
knife hole is increased and the rear
bar-tacking may be cut.
If the distance is excessively small,
the knife installing base comes in
contact with the jaw section of the
machine arm and a big noise
occurs.
If the distance is excessively large,
the knife may come out under the
presser when the presser is lifted.
If the distance is large, cloth may
not be cut.
If the distance is small, the knife
driving lever may come in contact
with the machine arm.

Table of Contents

Question and Answer IconNeed help?

Do you have a question about the JUKI LBH-1700 Series and is the answer not in the manual?
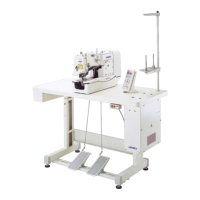
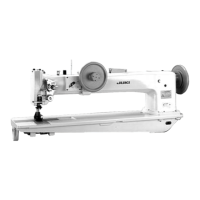
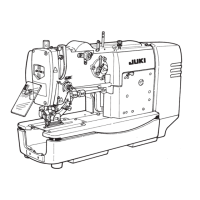
JUKI LBH-1700 Series Specifications

General IconGeneral
BrandJUKI
ModelLBH-1700 Series
CategorySewing Machine
LanguageEnglish

Summary

2. Standard Adjustment

Height of the Needle Bar

Adjusts the vertical position of the needle bar for correct sewing height.

Needle-to-Hook Timing

Ensures proper synchronization between needle and hook for stitch formation.

Knife Bar/Position of the Knife Installing Base/Knife Bar Stroke

Adjusts the knife mechanism for accurate cloth cutting.

Adjusting the Needle Thread Trimmer Control Lever

Fine-tunes the needle thread trimmer's control lever for proper function.

Position of the Bobbin Thread Trimmer/Position of Bobbin Thread Clamp Plate

Sets the correct position for the bobbin thread trimmer and clamp plate.

Adjusting the Presser Lifting Solenoid

Adjusts the solenoid controlling the presser foot lifting mechanism.

3. Disassembling/Assembling Procedure

4. Adjustment of the Origin Sensor

Adjusting Procedure of Stepping Motor Origin

Calibrates the origin position for stepping motors.

5. Lubrication Mechanism

6. Description of Operation Panel

7. Memory Switch

8. Test Mode

9. Error Display List

Servo Motor Error

Details on servo motor errors, their causes, and recovery steps.

10. Troubles and Corrective Measures

With Regard to Sewing

Addresses common sewing problems like needle thread breakage.

Woth Regard to Mechanical Components

Troubleshooting mechanical issues with the sewing machine parts.

With Regard to Electrical Components

Diagnosing and resolving electrical faults and component failures.

11. Circuit Diagram

Related product manuals