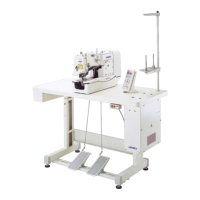
2.
SETTING
UP
THE
THREAD
STAND
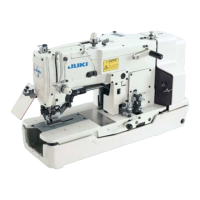
3.
SETTING
UP
THE
MACHINE
HEAD
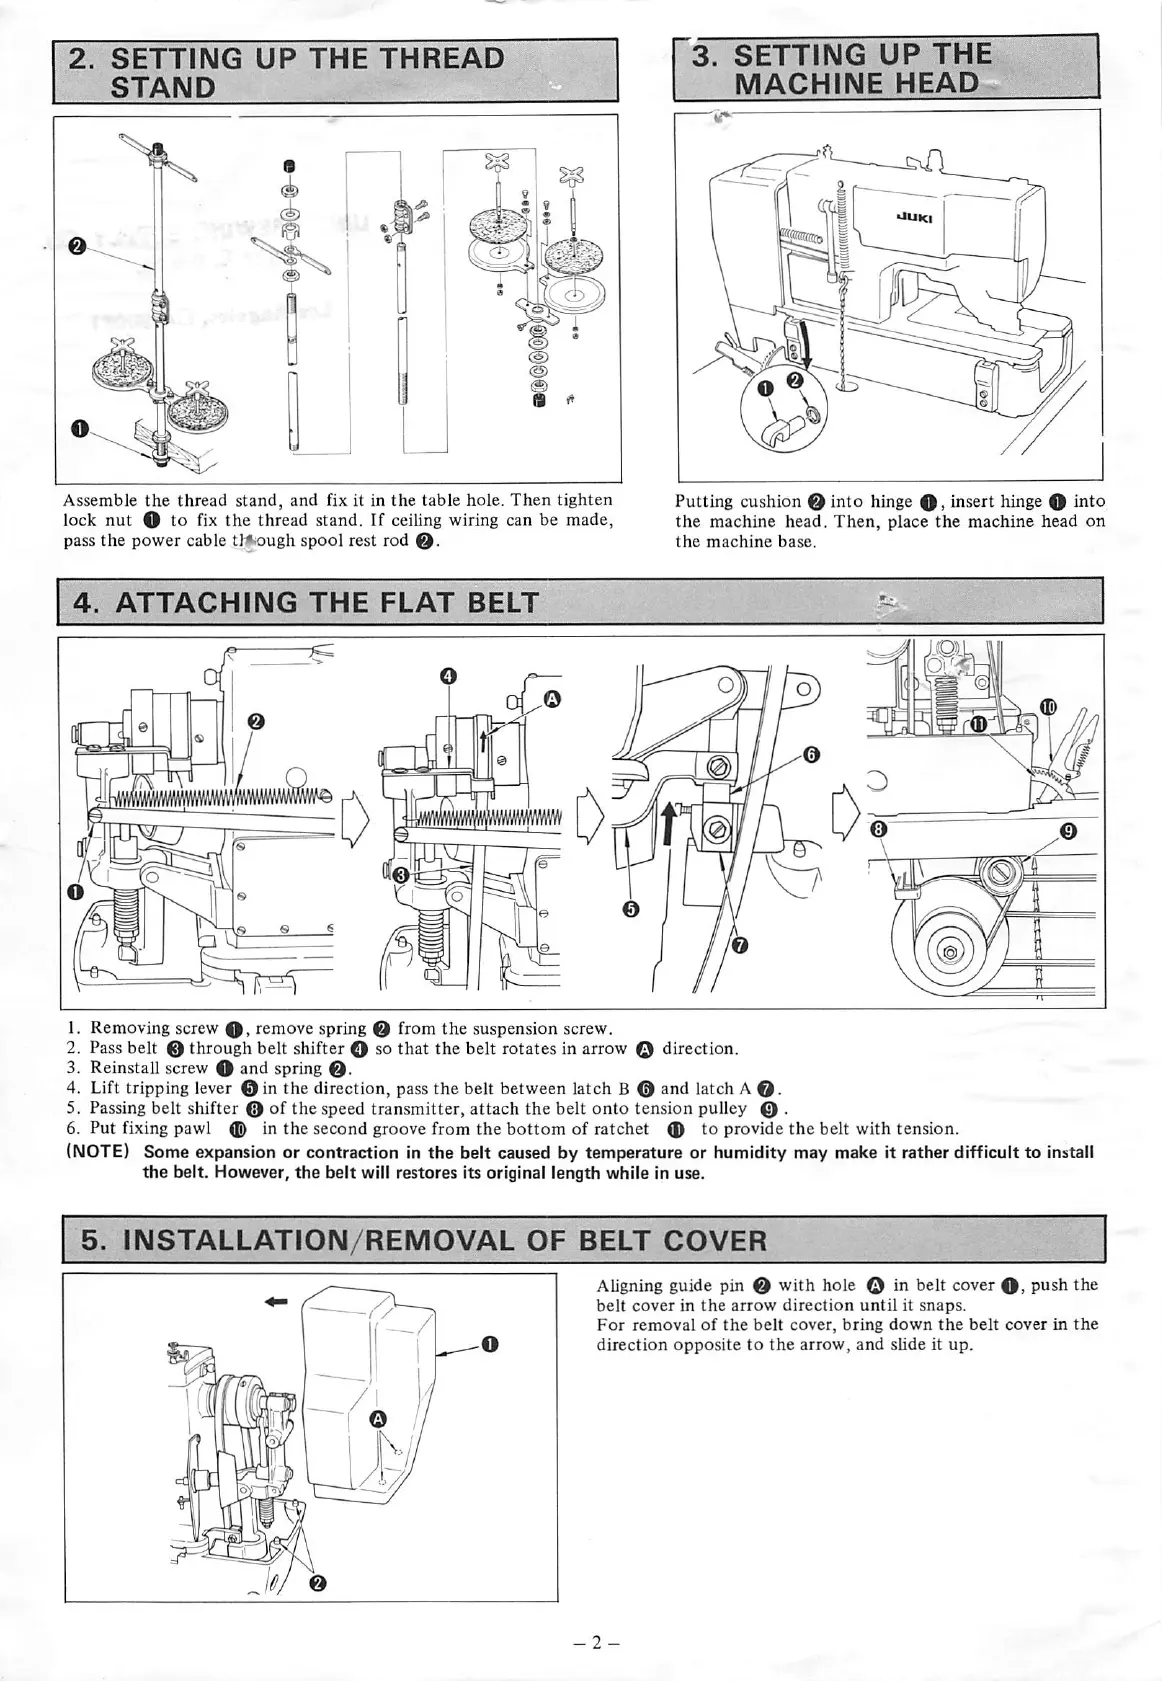
Assemble
the
thread
stand,
and
fix it in
the
table
hole.
Then
tighten
lock
nut
O to fix
the
thread stand. If ceiling wiring can be made,
pass
the
power
cable tl*iOugh
spool
rest
rod
0.
Putting cushion 0 into hinge
0,
insert hinge O into
the
machine
head.
Then,
place
the
machine
head
on
the
machine
base.
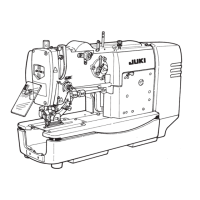
4.
ATTACHING
THE
FLAT
BELT
i
•iiiiiiiiliii'iiiiii
1. Removing screw
0,
remove spring 0 from
the
suspension screw.
2. Pass belt 0 through belt shifter 0 so that the belt rotates in arrow o direction.
3. Reinstall screw 0 and spring
0.
4. Lift tripping lever 0 in the direction, pass the belt between latch B 0 and latch A
0.
5. Passing
belt
shifter 0 of
the
speed
transmitter,
attach
the
belt
onto
tension pulley 0 .
6.
Put
fixing pawl 0 in
the
second
groove
from
the
bottom
of
ratchet
0
to
provide
the
belt
with
tension.
(NOTE) Some expansion or contraction In
the
belt caused by temperature or humidity may make It rather difficult to Install
the
belt. However,
the
belt
will restores its original length while In use.
5.
INSTALLATION/REMOVAL
OF
BELT
COVER
Aligning guide pin 0
with
hole 0 in belt cover
0,
push
the
belt
cover
in
the
arrow
direction
until
it
snaps.
For
removal
of
the
belt
cover,
bring
down
the
belt
cover
in
the
direction
opposite
to
the
arrow,
and
slide
it
up.
From the library of: Superior Sewing Machine & Supply LLC
 Loading...