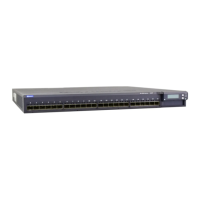


Do you have a question about the Juniper EX Series and is the answer not in the manual?
| Series | EX Series |
|---|---|
| Category | Switch |
| Layer | Layer 2/3 |
| Operating System | Junos OS |
| Managed | Yes |
| ACLs | Yes |
| Port Density | Varies by model |
| Power over Ethernet (PoE) | Available on some models |
| Virtual Chassis | Supported on some models |
| Form Factor | Fixed configuration, Modular |
| Switching Capacity | Varies by model |
| Forwarding Rate | Varies by model |
| Power Supply | Varies by model (AC or DC, redundant options available) |
| Management | CLI, Web UI, SNMP |
| Redundancy | Power supply, fan, Virtual Chassis |
| Latency | Varies by model |
| Jumbo Frames | Supported |
| VLAN Support | Yes |
| MAC Address Table Size | Varies by model |
| QoS | Yes |
| Energy Efficiency | EEE (802.3az) |
| Dimensions | Varies by model |
| Weight | Varies by model |
| Operating Temperature | 0° to 45° C |
| Storage Temperature | -40° to 70° C |
| Humidity | 5% to 90% non-condensing |
| MTBF | Varies by model |
| Warranty | Limited Lifetime |